
"Photography is not about the thing photographed. It is about how that thing looks photographed."
Medium Format Film Cameras: A Practical Beginner’s Guide
Medium format film cameras use film larger than the 35mm format familiar to many photographers. The larger frame records more visual information, produces smoother tonal transitions and gives photographs a distinctive sense of depth. Common formats include 6×4.5, 6×6, 6×7 and 6×9, all using 120 roll film. Some cameras also accept 220 film, although it is less widely available than it once was.
For a beginner, medium format photography is less about buying the most expensive camera and more about learning a slower, more deliberate way of working. The equipment can be entirely mechanical or electronically controlled, portable or studio-based, beautifully simple or surprisingly complex. Understanding the main formats, lenses, meters, film stocks and processing costs will help you choose a camera that suits both your photographs and your practical circumstances.
What Medium Format Changes
The most immediate difference is the size of the negative. A 35mm frame measures approximately 24×36mm, while a 6×4.5 medium format frame is roughly twice as large in area. A 6×7 frame is larger again. When these negatives are enlarged, fine details, skin texture and subtle tonal variations remain clearer, especially in black-and-white prints or large exhibition photographs.
Medium format also changes the visual character of depth of field. A portrait made with an 80mm lens on a 6×6 camera may show a similar angle of view to a 50mm lens on a 35mm camera, but the larger negative allows shallow focus with a different rendering. Backgrounds can appear soft without the subject looking excessively compressed. This quality is one reason medium format remains popular for fashion, editorial portraiture and fine art photography.
The larger frame does not automatically make a photograph better. Medium format cameras are often heavier, slower to focus and more expensive to operate. A typical 120 roll produces only 12 exposures on a 6×6 camera, 10 on 6×7, or 15 or 16 on 6×4.5. Each frame encourages careful composition, but it also makes mistakes more expensive than they are with a 36-exposure 35mm roll.
Choosing Format and Camera Design
The frame shape should reflect the way you naturally compose. A 6×6 camera produces a square negative, which can make portraits, still life and carefully balanced architectural images feel harmonious. The square format is also flexible when cropping for social media or print, although it may require a different visual instinct from photographers accustomed to horizontal or vertical frames.
The 6×4.5 format gives more images per roll and usually results in a smaller, lighter camera. It is a practical choice for travel, documentary work and events. The 6×7 format creates a large, near-rectangular negative with excellent detail and a strong presence in portraiture and landscapes, but cameras such as the Mamiya RB67 or Pentax 67 can be substantial to carry around Sydney, Melbourne or Brisbane.
There are three broad camera designs. Twin-lens reflex cameras, including the Rolleiflex and Yashica Mat, use a viewing lens separate from the taking lens. They are quiet and discreet, with a waist-level finder that can be useful for street portraits. Single-lens reflex cameras such as the Mamiya 645, Hasselblad V System and Pentax 67 show the image through the taking lens, making interchangeable lenses and close focusing easier, though the mirror can create vibration and noise.
Rangefinder cameras, including the Mamiya 7 and Fujifilm GF670, are often lighter and quieter than medium format SLRs. They are excellent for travel and documentary photography, but their lenses and bodies tend to command high prices on the used market. Folding cameras can be remarkably compact, although bellows, shutters and coupled rangefinders need careful inspection before purchase.
Film, Exposure and Metering
Most medium format film is supplied on 120 backing paper. The roll is loaded in subdued light rather than complete darkness, and the backing paper protects the film until it reaches the take-up spool. Colour negative, colour transparency and black-and-white emulsions are all available, though local stocks can vary. Popular black-and-white choices include Ilford HP5 Plus, Kodak Tri-X and Ilford FP4 Plus, while Kodak Portra and Fujifilm 400 are common colour-negative options when available.
Film speed affects both exposure and image character. ISO 100 or 125 films can provide very fine grain in bright conditions, but they may require a tripod or wide aperture indoors. ISO 400 is a useful general-purpose speed for portraits, travel and overcast Australian light. Faster film can help in dim interiors, but it may show more grain and place greater demands on development and scanning.
Many older cameras do not have a built-in meter, and even cameras with meters may contain unreliable electronics. A handheld incident meter measures the light falling on the subject, while a reflected-light meter measures light bouncing from the scene. Smartphone light-meter applications can assist in a pinch, but a dedicated meter is usually easier to read accurately in strong sun.
The exposure triangle remains the same: aperture controls the amount of light and depth of field, shutter speed controls light and motion, and ISO is fixed by the film loaded. Medium format lenses often have maximum apertures around f/2.8 to f/4, so a tripod becomes valuable for still life, interiors and evening work. Keep notes about lighting, aperture, shutter speed and development. These records turn each roll into a practical lesson rather than a collection of unexplained successes and failures.
Finding and Using a First Camera
A good first camera should be reliable, serviceable and comfortable enough to carry. Mechanical cameras are attractive because they can work without batteries, but age does not guarantee durability. Shutter curtains, foam seals, bellows, film backs, focusing screens and light seals all deteriorate. A camera that looks clean in photographs may still have a slow shutter or inaccurate spacing between frames.
When buying used equipment, inspect the lens for haze, fungus, separation and scratches. Operate every shutter speed and check whether the speeds sound distinct. Test the aperture blades for oil and sluggish movement. Look through the viewfinder for dust or damage, and confirm that the focusing mechanism turns smoothly from close distance to infinity. For a folding camera, open the bellows against a bright light and look for pinholes.
A professional service can be worthwhile, particularly for a camera intended for paid portraits, events or commercial assignments. In Australia, used equipment is commonly found through specialist dealers, camera fairs, marketplace listings and photography groups in Sydney, Melbourne, Brisbane, Perth and Adelaide. Specialist dealers often cost more than private sellers, but a tested camera with a short warranty may be better value than an apparently cheap body needing an expensive repair.
Start with one lens and a simple workflow. An 80mm lens on 6×6 or a 75mm lens on 6×4.5 gives a natural perspective for portraits and everyday scenes. Learn the camera’s loading procedure at home with an expired roll or backing paper before taking it on a location shoot. A spare light meter battery, cable release, lens hood and protective bag are more useful than immediately collecting several lenses.
Processing, Scanning and the Australian Market
Film costs continue after the camera purchase. You pay for film, processing, scanning and sometimes printing. Black-and-white development can be done at home with a tank, changing bag, thermometer and basic chemistry. Colour-negative processing requires more controlled temperature, so many beginners use a professional laboratory. Home scanning can lower the long-term cost, but a suitable scanner, holder and editing software require an initial investment.
Australia has a strong independent film community, with laboratories and specialist retailers serving photographers in Melbourne, Sydney and other capital cities. Some businesses accept mail-in orders from regional areas, which is useful for photographers in Hobart, Darwin or rural New South Wales. Turnaround times, scan resolution and file delivery methods vary, so compare the lab’s treatment of dust, colour correction, push or pull processing and damaged-film policies before sending important work.
A medium format roll can produce a large, high-resolution scan, but “high resolution” is not a universal standard. Ask whether scans are made with a dedicated film scanner or a camera scanning system, and whether the quoted file size is the actual optical output or an enlarged export. Request a contact sheet or low-resolution preview if you are working on a personal project and want to select frames before paying for premium scans.
Think carefully about the Australian climate. Film should be stored cool and dry, especially during hot summers in inland areas or humid conditions in Brisbane and Darwin. A domestic refrigerator can be useful for unopened film, but allow it to return fully to room temperature before opening the packaging to prevent condensation. Keep exposed rolls labelled and process them promptly rather than leaving them in a hot car.
Building a Responsible Photographic Practice
Medium format works well when the subject has room to develop: a considered portrait, a quiet landscape, a business identity session or a conceptual series. Slow down before releasing the shutter. Check the edges of the frame, examine the light on faces and clothing, and decide whether the background supports the subject. The limited number of exposures encourages visual editing before the photograph is made.
For portraits and fashion work, communicate clearly about the film process. The subject should know that results are not available instantly and that some frames may be affected by focus, exposure or development. Discuss how images will be used, where they may appear and whether a model release or written permission is appropriate. This is especially important for commercial photography, public events and images intended for advertising.
Australian photographers also need to distinguish between photographing in a public place and using an image commercially. Copyright generally belongs to the photographer who creates the image, subject to specific agreements and employment arrangements. A person’s privacy, property rights, contractual restrictions and the intended use of an image can create separate concerns. The Australian Privacy Act may apply to organisations and businesses handling personal information, while event venues may impose their own photography conditions. Written agreements and clear client records reduce uncertainty.
Archiving matters as much as exposure. Keep negatives in archival sleeves, away from heat, moisture and direct sunlight. Store scanned files in at least two locations, with meaningful filenames that include the date, project and frame number. A labelled negative can be re-scanned years later, while an unlabelled roll may lose its connection to the people, place and purpose that made it valuable.
Practical Choices for a First Camera
There is no single ideal model for every beginner. A photographer making quiet portraits in a studio may value a modular SLR and interchangeable backs, while someone walking through Fitzroy, Newtown or Fremantle may prefer a compact rangefinder or twin-lens reflex camera. Consider how far you will carry the kit, whether you need interchangeable lenses and how easily the camera can be serviced.
Use the following principles when comparing a camera, lens and accessories:
- Choose a format that suits your composition: 6×4.5 for efficiency, 6×6 for square compositions, or 6×7 for a larger rectangular negative.
- Prioritise a clean, tested lens and accurate shutter over cosmetic condition or a large accessory collection.
- Buy a dependable handheld light meter if the camera’s internal meter is absent, inconsistent or difficult to repair.
- Budget for film, processing, scanning, batteries, servicing and transport before spending your entire budget on the body.
- Begin with ISO 400 black-and-white or colour-negative film while learning loading, metering and focusing.
- Keep a notebook or digital record of every frame, including exposure settings, lighting conditions and development details.
- Protect film from Australian heat and humidity, and use written permissions for commissioned portraits, commercial campaigns and sensitive event work.
The best medium format system is the one that encourages regular use. A modest, reliable camera carried on real assignments will teach more than an elaborate kit left at home. With patient handling, careful exposure and a consistent processing routine, the larger negative becomes more than a technical advantage: it becomes a way to make photographs with intention, texture and lasting presence.
Selected Series
A cross-section of commissioned and personal projects spanning fine art, commercial, and conceptual work.
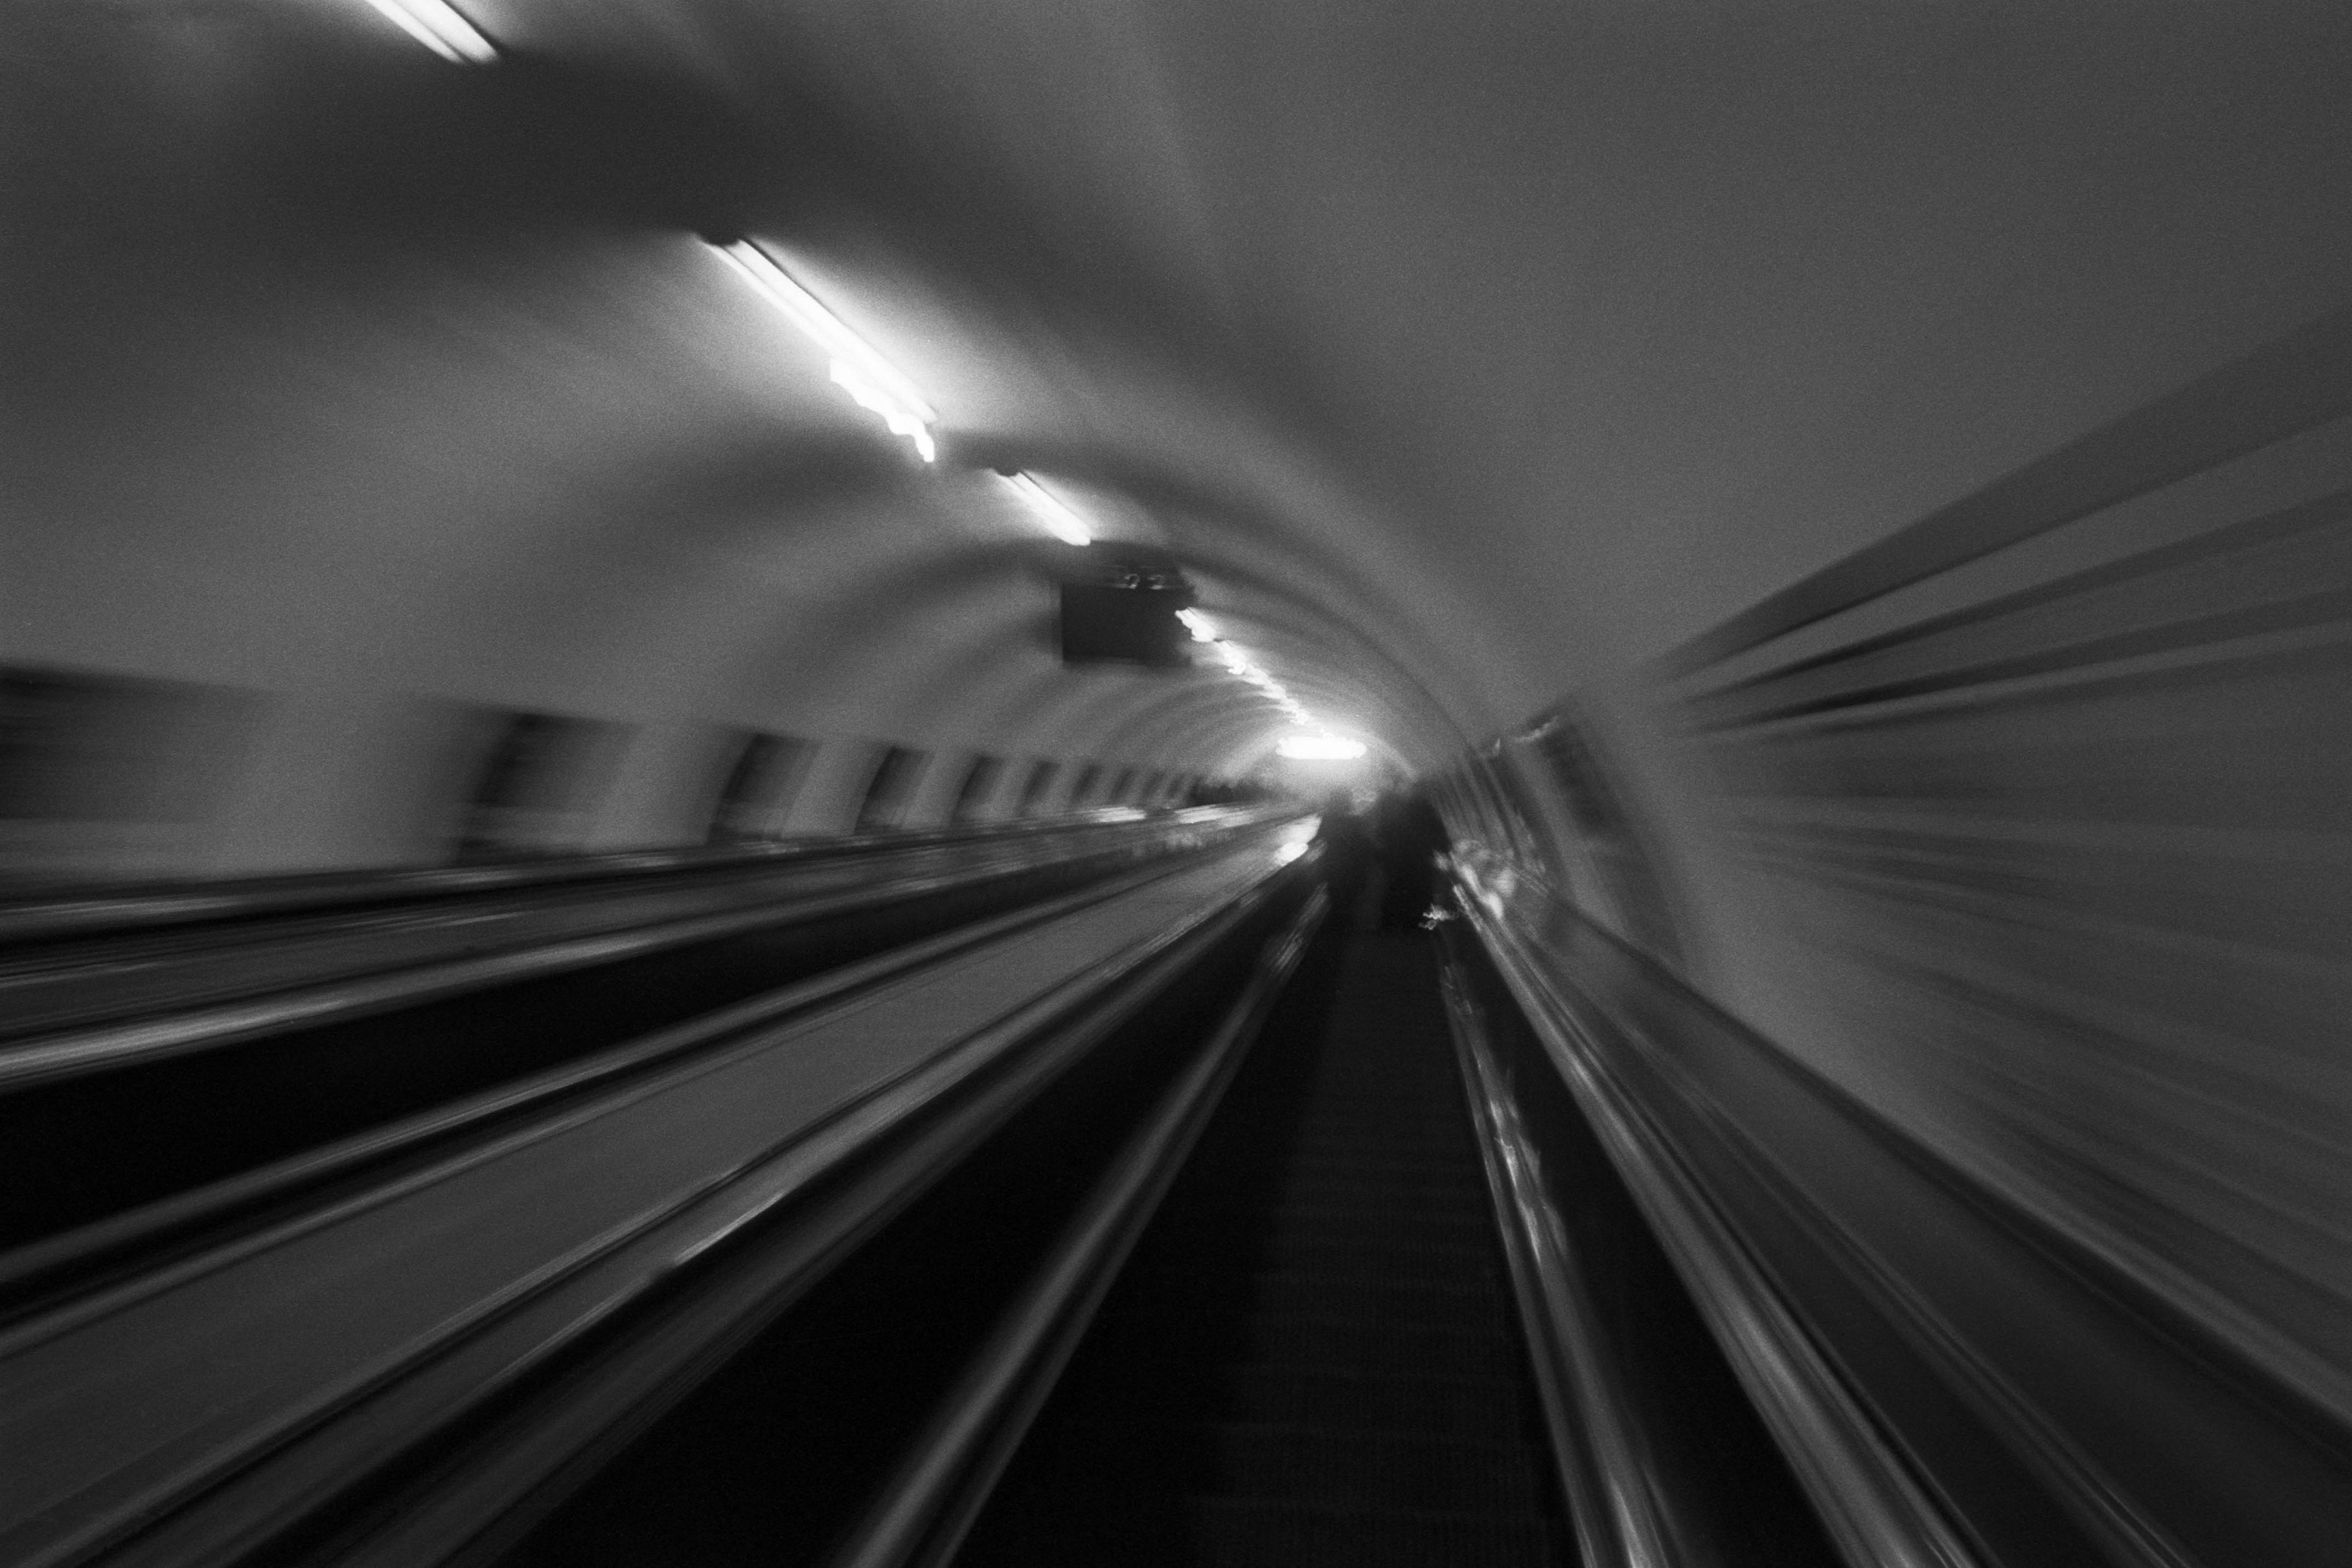
The Wall
2015Winner of the 1st prize & Golden Glass Award at the 11th Photographic Open Championship Olsztyn, and 1st place with the Special Prize of FORMAT magazine at the 3rd Biennial of Art in Piotrków Trybunalski.
View Series →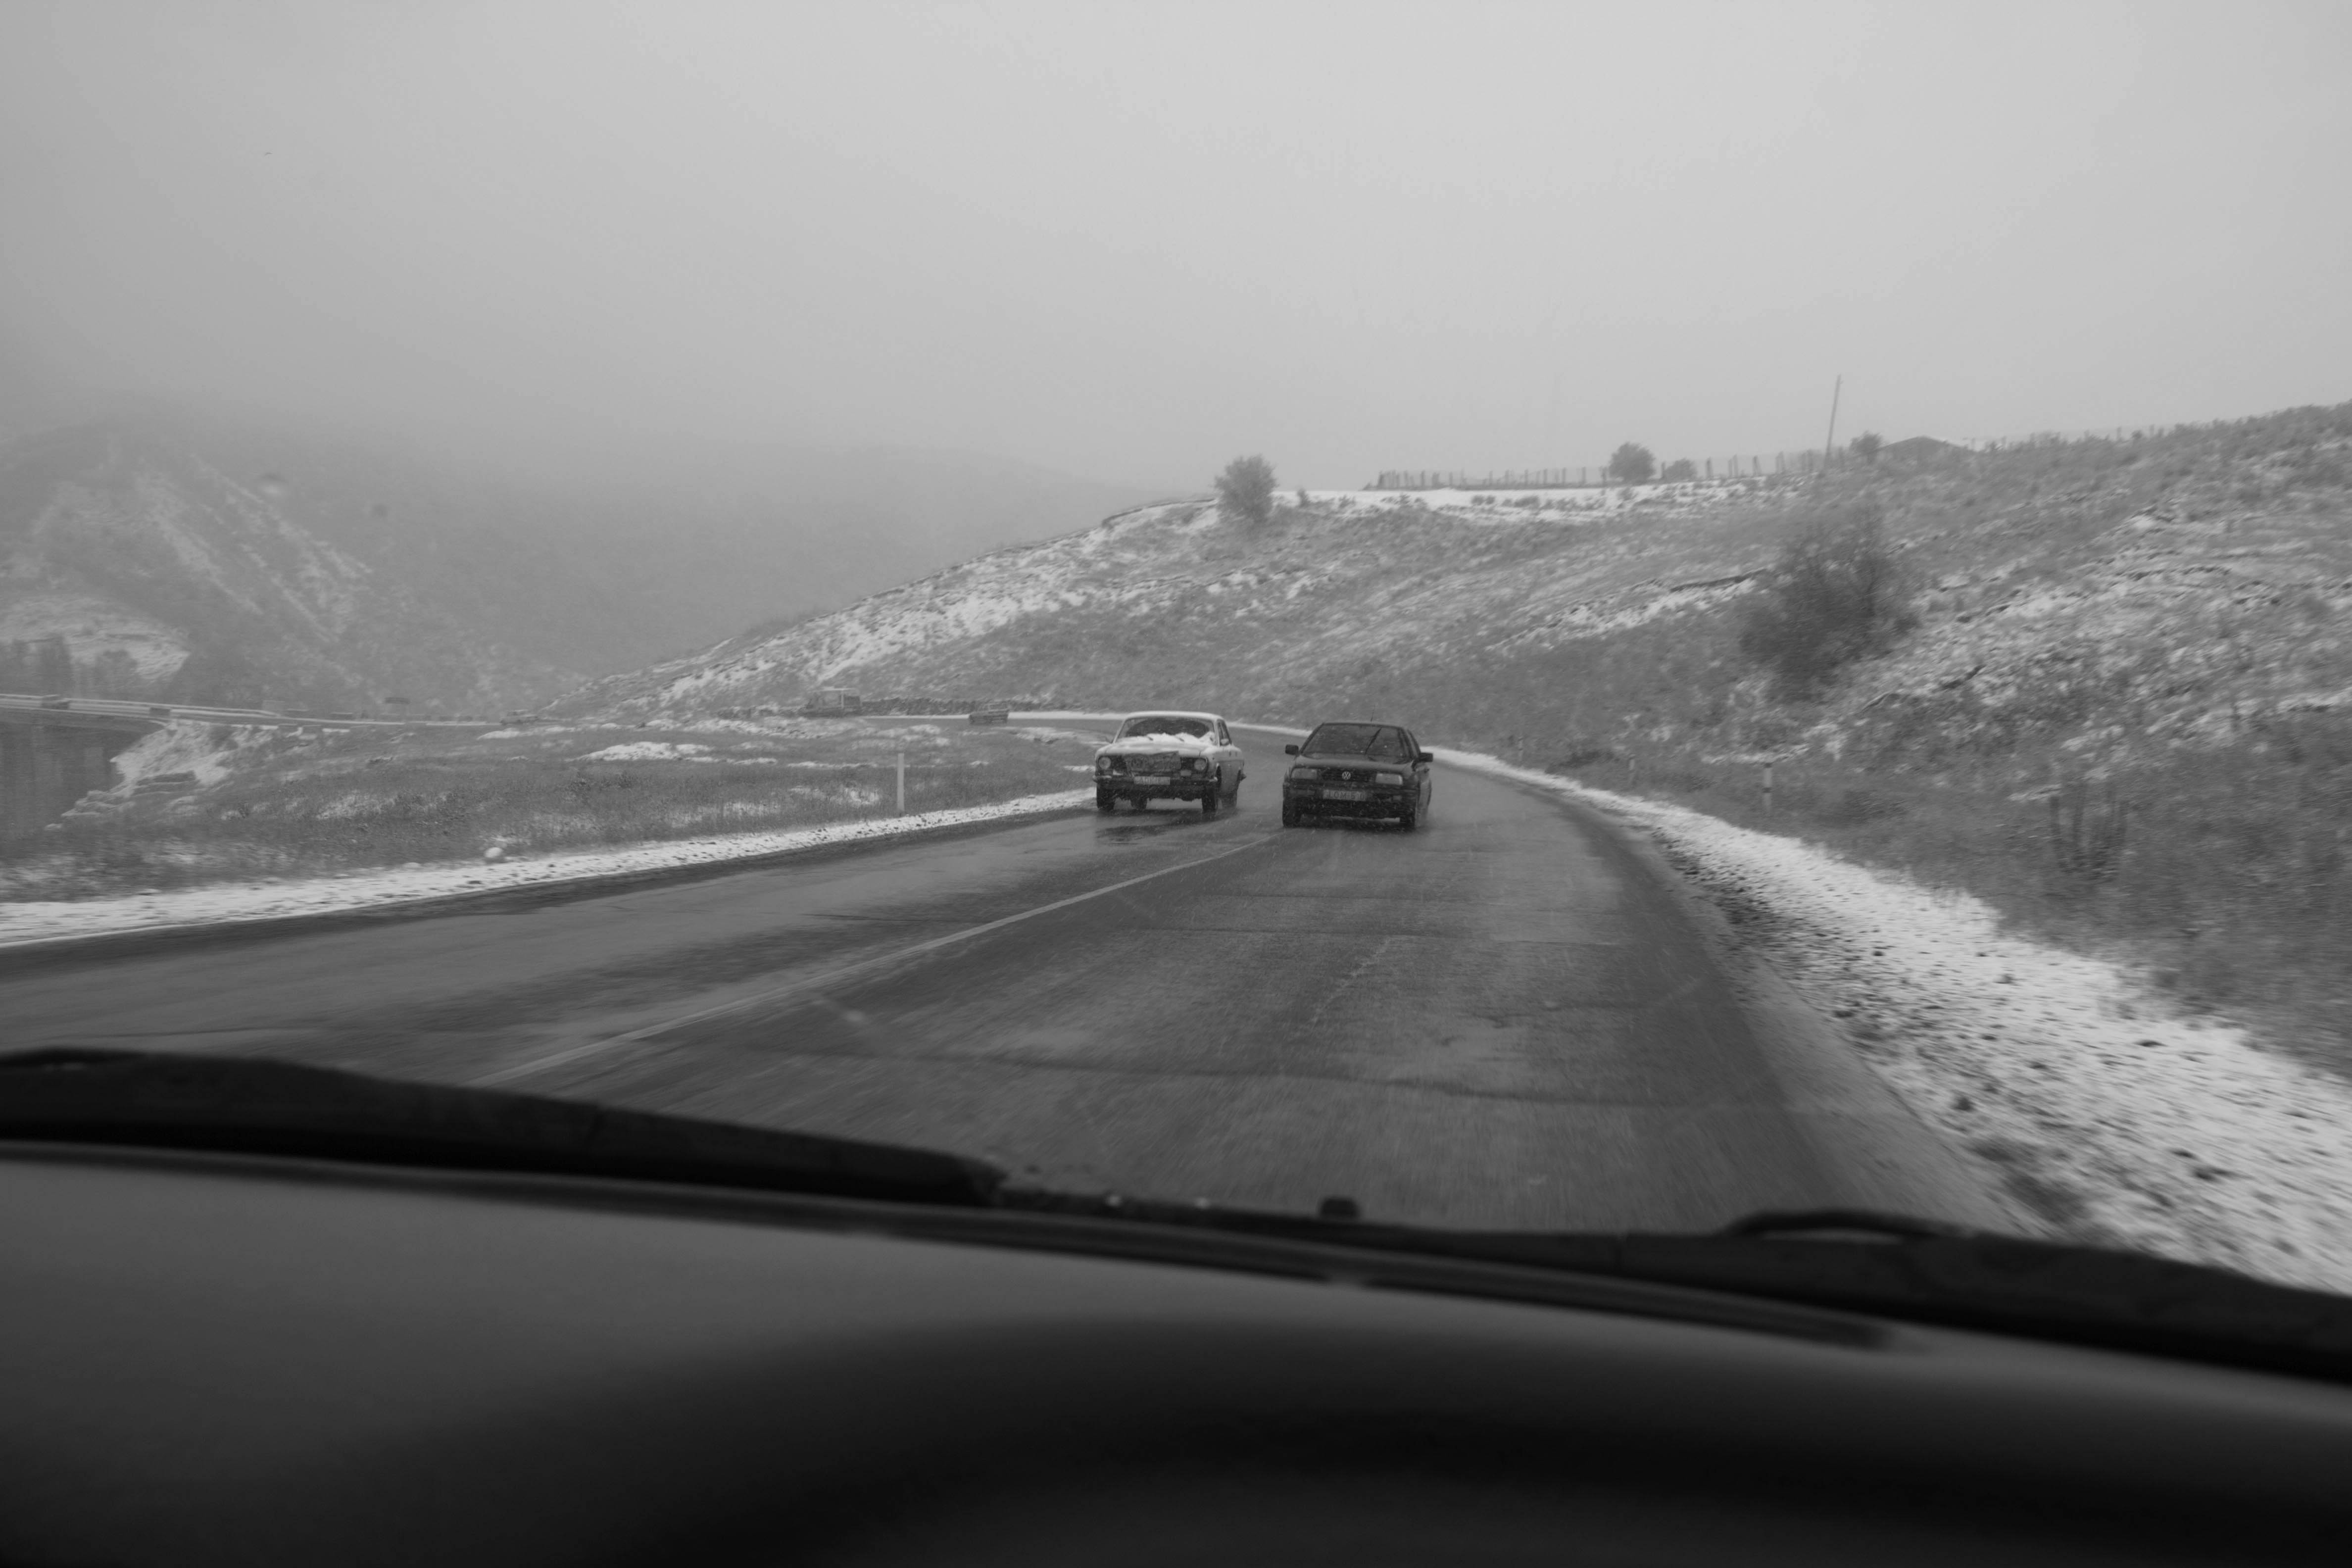
An Engagement Ring
2011A narrative series set in Wrocław in August 2011. Awarded 2nd prize & Silver Glass at the 10th Photographic Open Championship Olsztyn in 2014.
View Series →
Heat Wave
2014A documentary series recording spontaneous events across August and September 2014, capturing the raw energy of a city under the grip of summer.
View Series →