
"Photography is not about the thing photographed. It is about how that thing looks photographed."
Building a home darkroom for black-and-white printing
A home darkroom turns the photographic process into a physical, deliberate craft. Instead of sending exposed negatives to a laboratory, you can make contact sheets, test enlargements and finished prints while decisions about contrast, cropping and tonality are still fresh. The result is a closer relationship with the image and a clearer understanding of how a negative becomes a photograph.
Black-and-white printing is especially suitable for a modest home setup. You do not need a large studio, expensive colour processors or a permanent wet room. A light-tight corner, a stable enlarger, safe working surfaces and reliable temperature control can support excellent fibre-based or resin-coated prints.
Australian homes present practical considerations that vary from city to city. A spare laundry in Melbourne may offer useful plumbing, while a rented flat in Sydney might require a removable setup that can be packed away. In Brisbane or Perth, summer temperatures can affect chemistry quickly, making ventilation and cooling more important.
The best darkroom is designed around your actual working habits. Start with the equipment needed to print safely and consistently, then improve the room as your skills develop. A carefully chosen enlarger and disciplined workflow will matter more than a large collection of accessories.
Choose the right room and workflow
The ideal location is a room with a sink, washable surfaces and enough space to move between dry and wet areas. A laundry, bathroom or enclosed section of a garage can work well. The enlarger and photographic paper must stay in a completely dark area, while trays, measuring cylinders and chemicals belong in the wet zone.
In a small Australian rental, a temporary darkroom can be built on a sturdy bench with a blackout curtain, collapsible trays and storage tubs. The bathroom may provide a convenient sink, but check that chemical splashes cannot reach painted walls, metal fittings or family toiletries. A dedicated folding table can protect household surfaces and be stored when the room returns to normal use.
Keep the process moving in one direction: negative carrier, enlarger, exposure timer, developer, stop bath, fixer, wash and drying. This arrangement reduces confusion when working under a red safelight. It also limits the chance of carrying fixer into the developer tray, where contamination can ruin a session.
Make the room light-tight and safe
Begin in daylight and inspect every edge for leaks. Cover windows with blackout fabric, foam board or heavy curtains, paying particular attention to gaps around frames. A door sweep or removable draught excluder can block light at floor level. Allow your eyes several minutes to adjust before deciding whether the room is truly dark.
The safelight should be suitable for photographic paper and placed far enough from the enlarger and trays to avoid fogging. Test it with a sheet of photographic paper: cover sections for different periods, develop the paper without exposure, and compare the results. If the covered and uncovered areas differ, the safelight is too bright, too close or fitted with the wrong filter.
Ventilation deserves equal attention. Black-and-white chemistry is manageable in a domestic setting when used correctly, but a small sealed bathroom can become unpleasant after a long session. Use an exhaust fan or open the room between stages while keeping the paper and enlarger protected from stray light. Wear nitrile gloves, label every bottle and keep chemicals away from children, pets and food preparation areas.
Select an enlarger and essential equipment
A medium-format or 35mm enlarger gives a home printer flexibility. If your negatives are 120 film, choose an enlarger with the appropriate negative carrier and a lens designed for that format. A 35mm enlarger is often cheaper and more compact, while a medium-format enlarger can produce larger prints with smoother tonal transitions from a suitable negative.
A condenser enlarger produces strong contrast and crisp edges; a diffusion enlarger tends to give a softer, more forgiving image. Variable-contrast paper works well with either type when paired with multigrade filters. Look for a rigid column, a stable focusing mechanism and a lens board that sits squarely. A poor enlarger alignment can create softness in one corner of the print, regardless of how good the negative is.
Essential accessories include an easel, grain focuser, focusing magnifier, timer, negative carriers, safelight, thermometer, measuring graduates and four trays. A timer with repeatable exposure settings is valuable when making test strips. A small spirit level helps check the enlarger baseboard, while a clean pair of tongs for each tray prevents chemistry from travelling between solutions.
Second-hand equipment is often available through Australian camera clubs, online marketplaces and specialist analogue suppliers. Before buying, check that the enlarger has its original lamp or a compatible replacement and that the bellows, focusing thread and negative stage are intact. Replacement parts for older models can be difficult to find outside major markets.
Set up chemistry and temperature control
A standard black-and-white paper process uses developer, stop bath and fixer, followed by washing. Manufacturer instructions provide working dilutions and processing times, but consistency matters more than chasing a particular brand. Mix small quantities at first, record the date and dilution on each bottle, and use separate graduates for developer and fixer.
Room-temperature processing is practical for paper, although a stable range around 20°C is commonly used for predictable results. In an Australian summer, a darkroom in an uninsulated garage can become much warmer than this. Keep working solutions in a shallow water bath, use a thermometer and allow concentrates or mixed chemistry to settle before printing.
Fixer capacity must be monitored carefully. Exhausted fixer can leave silver compounds in the print and cause staining or fading later. Follow the capacity figures supplied with the product, or use a fixer test solution if you are printing regularly. Fibre-based paper requires thorough washing and hypo clearing, while resin-coated paper is faster and simpler for learning exposure and contrast control.
Store concentrated chemistry in clearly marked, tightly closed containers away from heat and direct sunlight. Never combine different chemical products unless the manufacturer specifically permits it. Used fixer contains recoverable silver, so do not pour it casually into a household drain. Contact your local council about hazardous household chemical collection or silver recovery; requirements differ between councils in Sydney, Melbourne, Adelaide and other Australian areas.
Plan the printing sequence
Start with contact sheets. Place the developed negatives in a contact frame with a sheet of photographic paper, expose it briefly and process it using the same sequence as a print. A contact sheet shows which frames deserve enlargement and reveals whether your film development produced useful shadow and highlight detail.
For an enlargement, clean the negative, place it in the carrier and project the image onto the easel. Focus with the grain focuser, set the desired crop and make a test strip in measured intervals. Begin with a middle filter grade when using variable-contrast paper, then adjust contrast only after the basic exposure is close.
Process each test consistently. Use a timer for the exposure and a separate timer for chemical stages. View the wet print under neutral room light only after fixing has begun, and record the exposure, filter grade, paper type and development time. These notes create a personal reference system that becomes increasingly useful as your negatives and printing style mature.
Evaluate prints for more than overall brightness. Check whether important shadows retain texture, highlights remain printable and the subject receives visual emphasis. Dodging and burning can refine local values, but they work best after the global exposure and contrast are already under control.
Work with analogue materials and digital tools
Film choice influences the entire darkroom experience. Traditional cubic-grain films can deliver a classic structure and broad tonal range, while tabular-grain films may appear cleaner and sharper. Medium-format negatives offer generous detail for exhibition prints, portraits and fine-art projects, but 35mm remains economical for testing ideas and documenting everyday life.
Black-and-white photography benefits from careful negative development. Agitation, dilution and temperature affect contrast, so use a consistent routine when processing film. A negative that looks slightly flat can often be printed successfully with a higher contrast filter, whereas blocked highlights may be difficult to recover. Keeping a film-processing notebook makes these relationships easier to understand.
Digital tools can support, rather than replace, analogue printing. A scanned contact sheet can help catalogue negatives, while a digital proof may indicate likely cropping or compositional issues. Some photographers make a digital reference before returning to the enlarger, then use the wet print to decide whether the analogue surface, grain and tonal response better serve the image.
In Australia, local analogue communities can provide practical support through camera clubs, workshops and exhibitions. Seeing darkroom work in person at independent photographic venues, including Gestalt Projects, can help clarify how print size, paper surface and presentation affect the finished photograph. The commercial market also rewards a hybrid skill set: a photographer may deliver digital campaign files while offering limited-edition silver gelatin prints for collectors.
Dry, inspect and archive finished prints
Resin-coated paper can be washed relatively quickly and dried on a clean rack or screen. Fibre-based paper needs more care. Use a proper wash sequence, hypo clearing agent and extended final wash, then dry the prints face down on a clean screen or between drying boards. Fibre paper may curl, so flattening under weight after it is fully dry is often necessary.
Handle prints by their edges and keep the work area free of dust. A soft brush can remove particles from the enlarger baseboard and easel, but never brush aggressively across a wet emulsion. Inspect each print under consistent light, looking for dust marks, uneven development, scratches and drying stains.
Record the negative number, paper type, filter, exposure and any local adjustments on the back of a work print. For an edition or portfolio, use archival sleeves and acid-free storage materials. Avoid damp cupboards, garages with large temperature swings and direct sunlight. In coastal locations such as Sydney or Perth, humidity control can be important for long-term storage.
A darkroom becomes more efficient when every item has a fixed place. Store dry paper in its original light-proof packaging, keep tongs separated by tray and maintain a small cleaning routine at the end of each session. These habits protect materials and make the room ready for the next print rather than turning each session into a reconstruction project.
Develop a personal printing practice
The first successful print may be exciting, but a consistent body of work comes from repeating decisions with intention. Print the same negative at several sizes, compare glossy and matte surfaces, and observe how contrast changes the emotional character of the image. A restrained grey scale may suit a quiet portrait, while deeper blacks and sharper contrast can give architectural or fashion work greater force.
Keep the darkroom financially sustainable. Buy paper in quantities you can use before it ages, test unfamiliar chemistry with inexpensive work prints and repair or replace equipment gradually. A small setup with dependable tools is more productive than a crowded room filled with rarely used accessories.
For photographers working professionally in Australia, the darkroom can occupy a distinct place beside commercial assignments. Digital files may be expected for business portraits, events and editorial commissions, while hand-printed photographs can support exhibitions, artist statements and premium client offerings. The physical character of a silver gelatin print gives a project an object-based quality that cannot be fully represented on a screen.
With a light-tight room, measured chemistry, careful notes and patience, home printing becomes a repeatable creative process. The enlarger then serves as more than a device for copying a negative: it becomes the point where exposure, material, craft and interpretation meet.
Selected Series
A cross-section of commissioned and personal projects spanning fine art, commercial, and conceptual work.
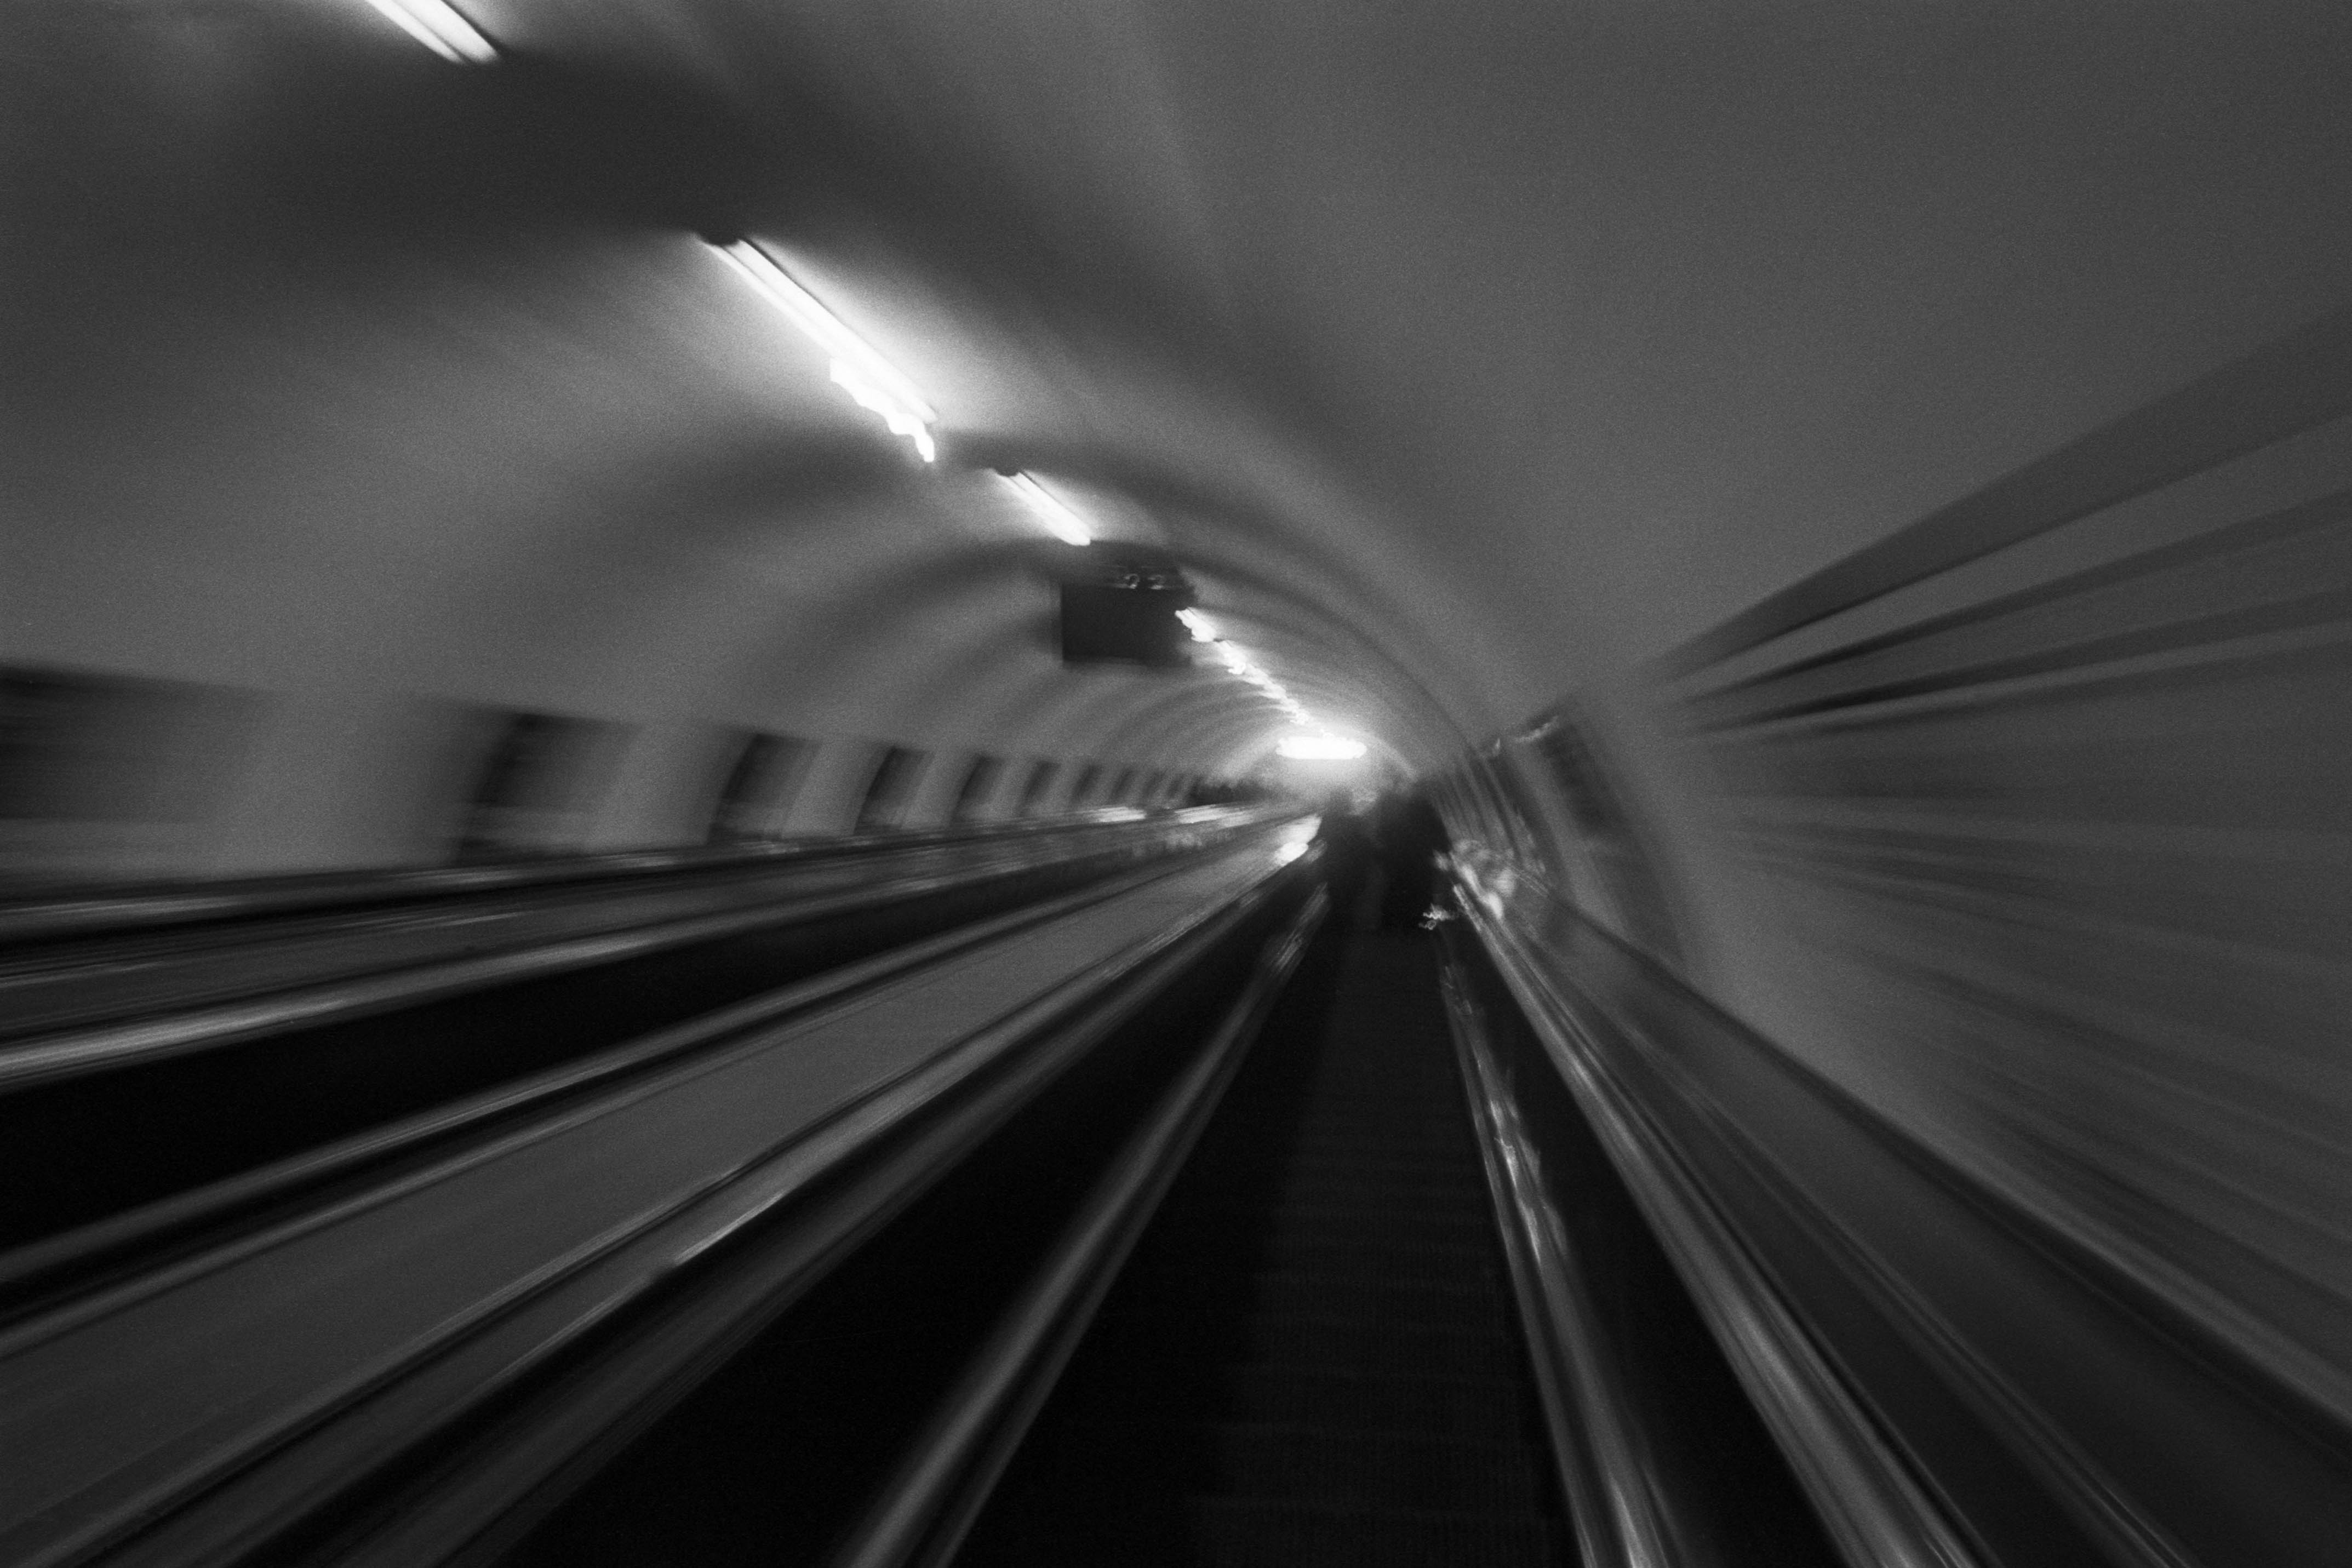
The Wall
2015Winner of the 1st prize & Golden Glass Award at the 11th Photographic Open Championship Olsztyn, and 1st place with the Special Prize of FORMAT magazine at the 3rd Biennial of Art in Piotrków Trybunalski.
View Series →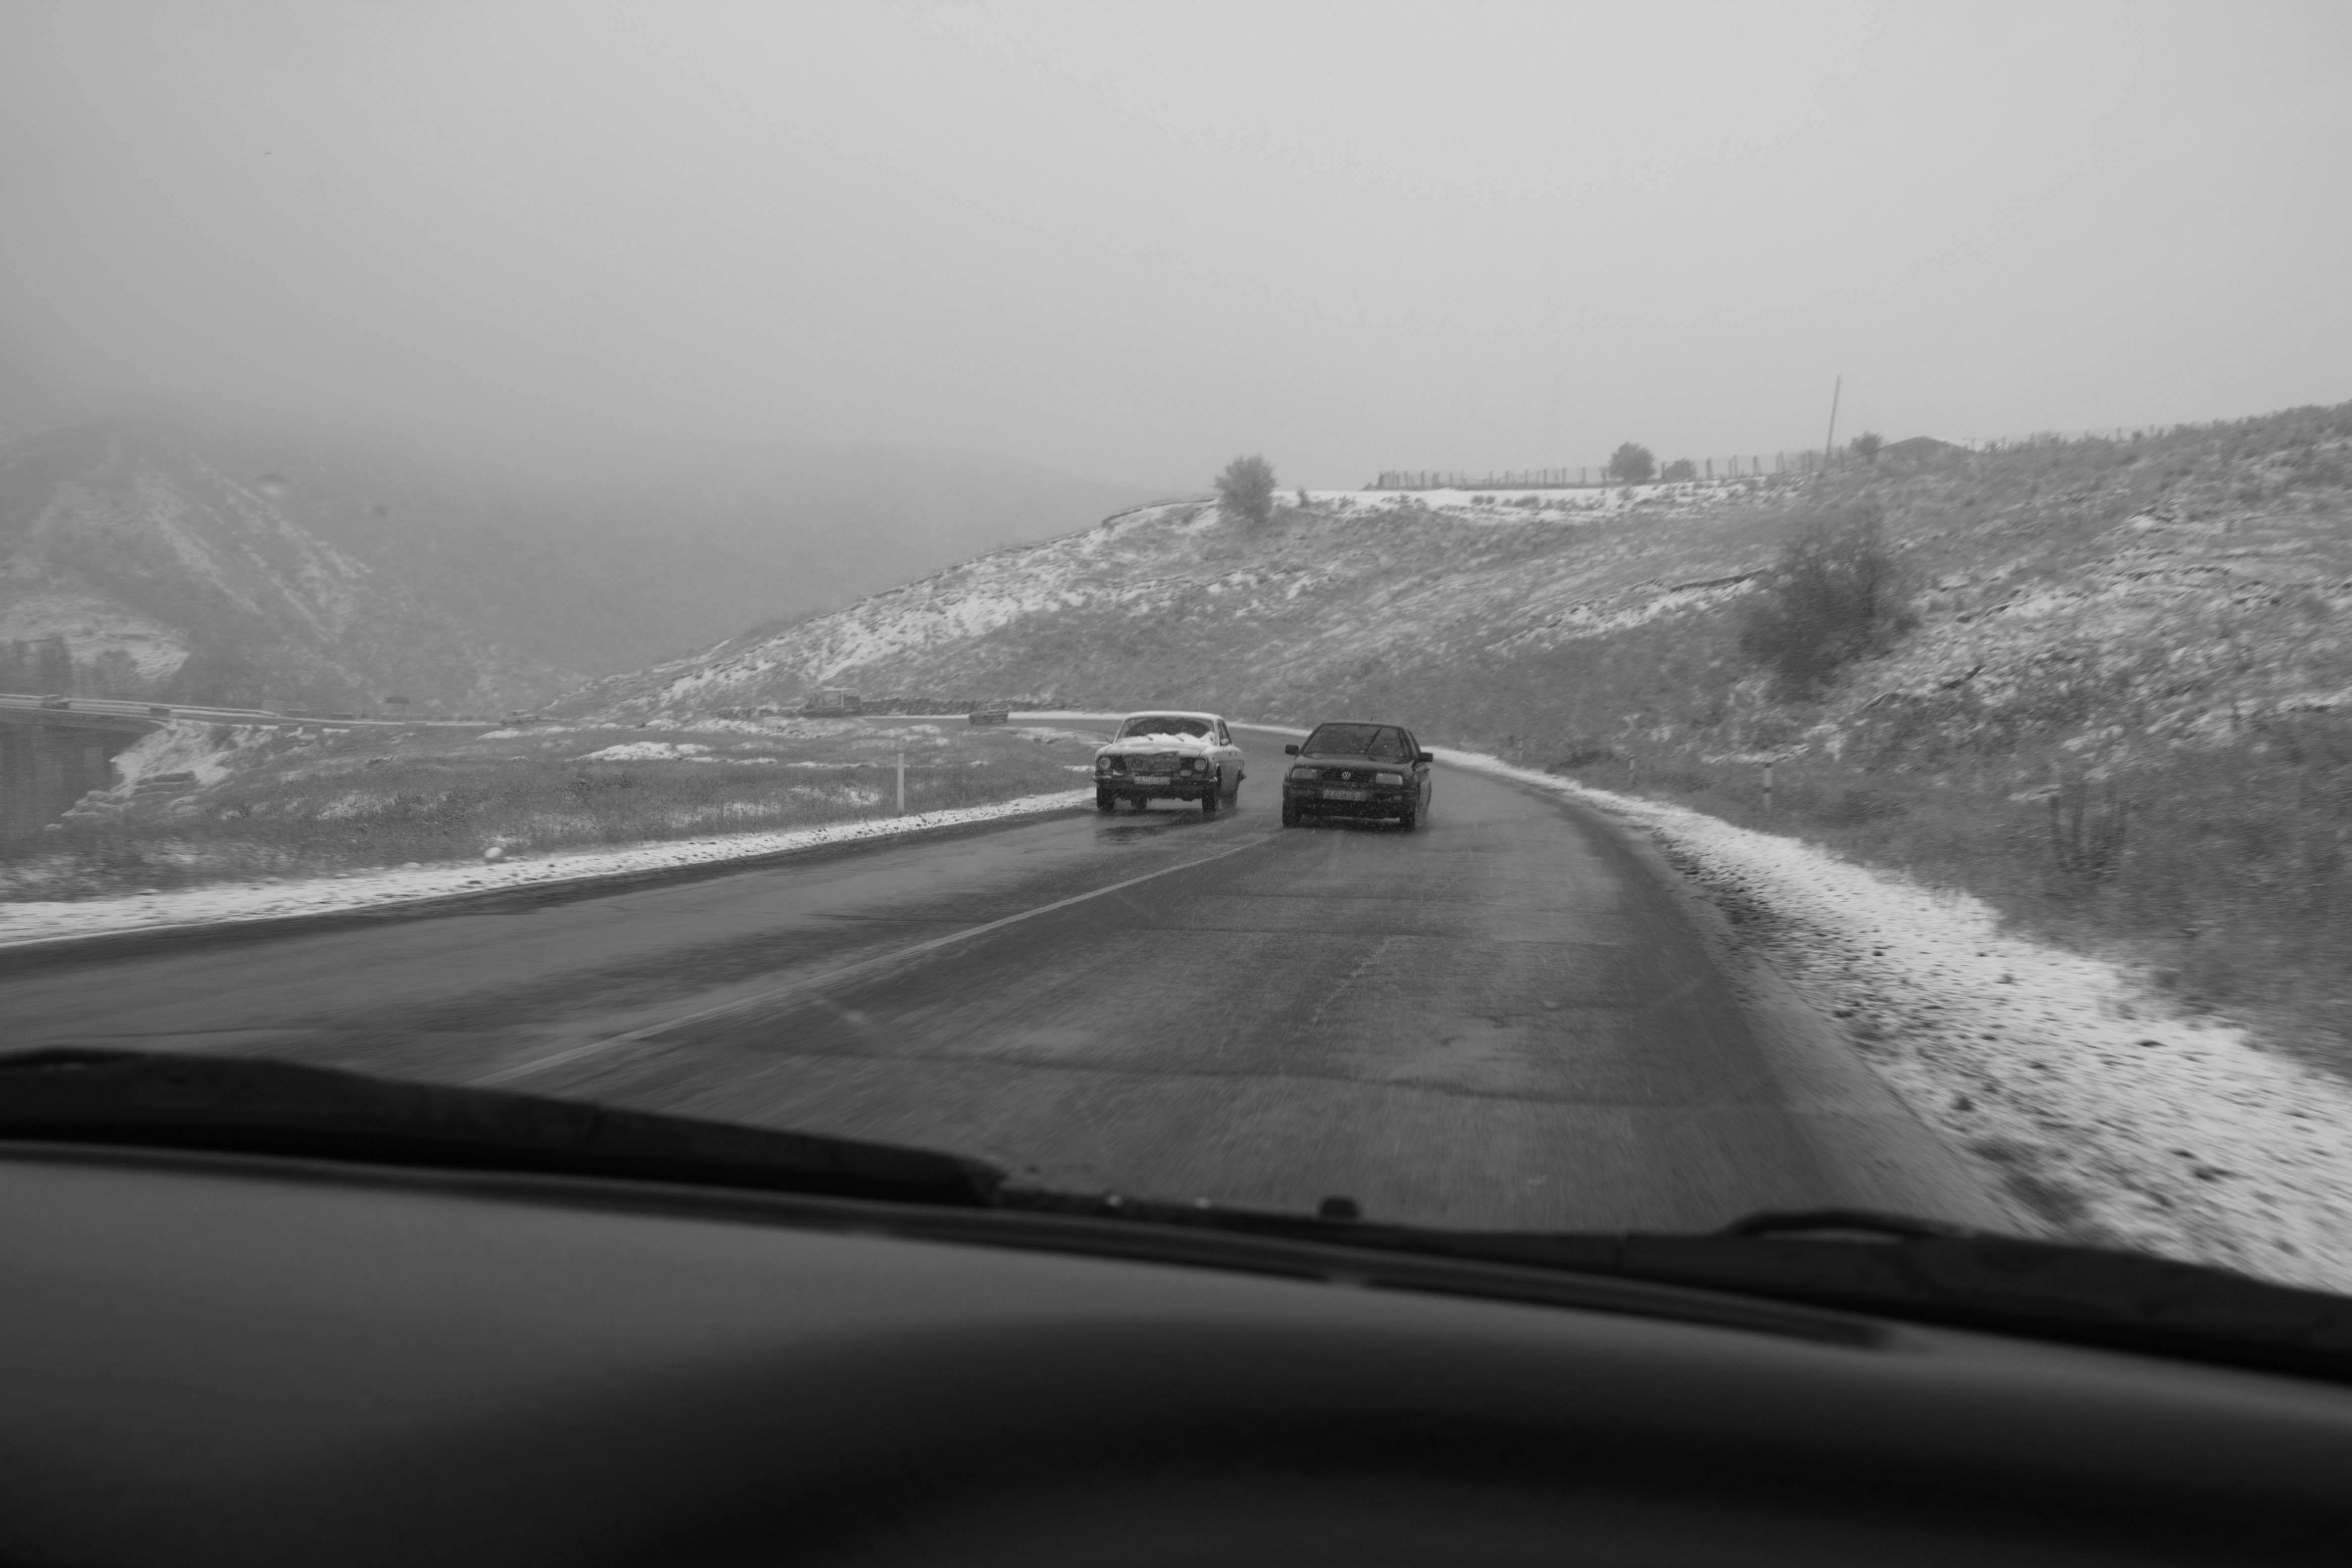
An Engagement Ring
2011A narrative series set in Wrocław in August 2011. Awarded 2nd prize & Silver Glass at the 10th Photographic Open Championship Olsztyn in 2014.
View Series →
Heat Wave
2014A documentary series recording spontaneous events across August and September 2014, capturing the raw energy of a city under the grip of summer.
View Series →