"Photography is not about the thing photographed. It is about how that thing looks photographed."
Creating portrait atmosphere with fog and smoke
A strong atmospheric portrait begins with a visual idea, not a fog machine. Decide whether the image should suggest distance, mystery, heat, memory or a dreamlike pause. That decision determines the haze level, the direction of the light, the subject’s expression and how much of the surroundings should disappear. Atmosphere works best when it supports the character rather than announcing the special effect.
Fog and smoke reveal light differently. A fine mist creates a luminous veil and softens edges, while smoke shows movement, turbulence and warmer texture. The practical challenge of creating atmosphere in portraits with fog and smoke is to make that movement support the face, not obscure it. Test a small volume, keep the air clear enough to work safely and reserve the densest atmosphere for the frames that need it.
Defining the visual atmosphere before the shoot
Start with a written brief covering mood, setting, wardrobe, crop and intended use. A fashion editorial may need a sharp face against a fading background, while a corporate portrait might require restrained atmosphere and an uncluttered silhouette. Events can use a gentler veil to suggest warmth and scale. Defining the deliverable first prevents the set from drifting toward a generic smoky look.
Choose fog for volume and smoke for character. Dense, cool haze can turn a single hard light into a visible cone, but excessive density hides the eyes and flattens skin texture. Smoke is more revealing of air currents, so it suits movement, wind and a slightly unsettled mood. Test both against the same face and backdrop before committing to one effect.
Storyboard at least three frames: a clean reference, a moderate veil and the strongest atmospheric version. Mark where the light should enter, how far the subject should stand from the background and which edges must remain sharp. This becomes a practical reference on the day and gives the photographer and assistant shared expectations.
Create a visual reference for the crew alongside the technical call sheet. A small image showing the intended background density, key-light angle and final crop helps stylists and assistants contribute to the same mood. On larger commercial productions, agree on image examples and approval rights before the first effect is released.
Planning around Australian conditions
Local conditions deserve equal attention. Sydney’s harbour air and coastal humidity can hold a delicate veil for longer, while Brisbane’s subtropical moisture often makes theatrical fog look especially full. These are useful conditions, but they also require more ventilation and shorter periods of exposure for people who are sensitive to aerosols.
Melbourne can move from still morning light to a stiff afternoon wind in a single session, and that wind can tear smoke into uncontrolled ribbons. Perth’s dry heat disperses water-based fog quickly and may raise concerns around hot equipment and hydration. In every city, measure the room, observe the air-conditioning cycle and keep windows, vents and doors under control.
Venue rules can shape the effect as much as the camera. Australian hotels, function rooms and council-managed facilities may prohibit smoke machines, require detectors to be managed under an approved procedure or insist on a written risk plan. Confirm permission before the truck arrives, especially for fashion, music and corporate commissions. Clear approval protects the crew, the venue and the client’s schedule.
Local studios often solve these variables with blackout blinds, portable air curtains and sealed doors. A fashion or event crew may also need to preserve a clean background for compositing, while a corporate portrait benefits from predictable room conditions. Build the atmospheric plan around those production needs, and confirm whether the client expects the effect visible in the room or only in the camera.
Controlling haze, smoke and separation
Place the haze source where it can be directed across the set, never directly toward the lens. A low output creates a gentle floor of mist; a narrow jet aimed above or behind the subject makes the beam visible. Have an assistant vary the flow and watch the edges of the light. The best density is often less than the room looks after a minute.
Create separation with distance. Move the subject a few metres from the wall, place a dark background beyond the haze and flag any spill from side lights. A black or deep grey backdrop can make even a light veil feel rich, whereas a pale wall may disappear completely. Negative fill on the camera side then restores contrast to the face.
Smoke needs a controlled path. Shield the output from the prevailing breeze, position it beyond the subject when it should drift behind them and keep it below the sensor if there is no rising plume. Ask the subject to remain still while the first density settles, then introduce a small turn of the head to make the atmosphere feel alive.
Choose a machine by the result you need, not by its largest output. Compact units suit restrained portrait work; larger haze generators can fill an event space but demand more ventilation, containment and clean-up. A short test at the working distance reveals whether the beam will hold around the subject or merely pass through the room.
Shaping light and exposure
Backlight does the main work. A bare flash with a grid, a snoot or a narrow spotlight can carve a defined shaft through the fog, while a large diffused source gives a broad and gentle halo. Place the source high and to the side for a sculptural edge, or behind the camera for a softer, more ethereal mood. Watch skin texture rather than assuming softness always helps.
Control exposure against the brightest haze, not the face. A meter reading taken through the brightest mist can be fooled, so compare readings, check the histogram and protect the highlights on a digital body. Slightly underexposed files often preserve the colour and texture of fog better than a bright, pale veil. On film, bracket a few frames and inspect the negatives under safe darkroom conditions.
Build the light ratio around the eyes. Let the key sit two stops above a restrained fill, then use white foamcore for a gentle lift or black fabric for depth. Warm light through a cool veil can suggest sunset, whereas cool light can create a clinical or dreamlike effect. Tint the atmosphere only when the story requires it; clear control is usually more convincing.
Building depth, texture and character
Depth depends on layers. Leave a little mist between the lens and the subject, place the face in a clearer pocket and let the background fall away. A foreground veil can frame the edge of the image, but it must not soften the eyes. Try a wide environmental composition, a normal lens for a natural relationship and a longer portrait lens for compressed, formal imagery.
Let wardrobe and grooming reinforce the atmosphere. Saturated colour can disappear against a dark field, while black clothing benefits from a bright rim and controlled skin exposure. For monochrome work, watch the tonal separation between hair, jaw and background. Medium-format film can preserve hair, skin and tonal transitions that a heavily softened portrait would lose, while a restrained digital grade can add subtle contrast.
The blend of traditional film practice and controlled digital finishing shown by Rafal Michalak Photography offers a useful reference for that balance. Build the effect around a believable face and purposeful light rather than a spectacular but empty cloud. A hint of imperfection in the haze often feels more human than perfectly smooth air.
Direction matters as much as equipment. Ask the subject to turn slowly through the light, pause with the face clear of the densest plume and return to a settled pose for the formal frame. Capture the eyes open and closed, a neutral expression and a moment of movement. Variation gives an editor useful choices without changing the core lighting plan.
A practical on-set checklist
Before the camera starts, use this short preparation list:
- Confirm the effect fluid, device condition, safety data sheet and venue approval.
- Check fire detection, ventilation, exits and the clean-up plan with the venue.
- Scout wind, air-conditioning flow, power access and a safe cable route.
- Protect the floor, keep the lens capped near dense output and brief everyone on the signal.
Once the set is live, keep the workflow disciplined:
- Photograph a clean reference frame with identical lighting and camera settings.
- Record every exposure change, including haze density and effect distance.
- Capture both a still pose and small turns to reveal natural movement.
- Review highlight clipping, focus, skin detail and facial contrast after each take.
Assign one person to control the effect and another to watch the subject, so neither task is neglected. Work in short bursts, allow the room to clear and keep backups running. Ten quiet minutes of testing can prevent an expensive sequence of unusable frames.
Safety, ethics and final finishing
Do not create smoke by burning paper, oils or other materials. Use only equipment and fluids approved for the intended environment, follow the manufacturer’s instructions and keep the safety data sheet on hand. Respiratory sensitivity, asthma, allergies and skin contact need consideration. The person operating the device should have a clear route away from the plume and should never work alone around a dense cloud.
Outdoor conditions require another layer of judgement. During bushfire smoke or a high-pollution episode, even clean theatrical haze adds airborne material and can affect breathing, so check local air-quality advice and postpone if people will be exposed. Cultural expectations around smoking and smoke-free spaces also vary across Australian workplaces and homes; a dramatic effect should never override hospitality, comfort or individual choice.
Finish the image with restraint. Remove accidental hotspots, stray fibres and sensor dust, then use local dodging and burning to guide attention toward the eyes. A monochrome conversion can unify colour casts, but preserve skin texture and tonal detail. Keep the original camera file, document the effect settings and deliver a version that feels atmospheric without making the air look like a digital accessory.
After the shoot, ventilate the room, remove residue from floors and textiles and return equipment to its assigned storage area. Preserve unedited files, a clean reference frame and notes on every atmospheric variable. If the portrait will appear in a campaign, keep the retouching brief aligned with the photographer’s intent and preserve the original effect images for approval, especially when smoke or environmental conditions carry part of the story.
Selected Series
A cross-section of commissioned and personal projects spanning fine art, commercial, and conceptual work.
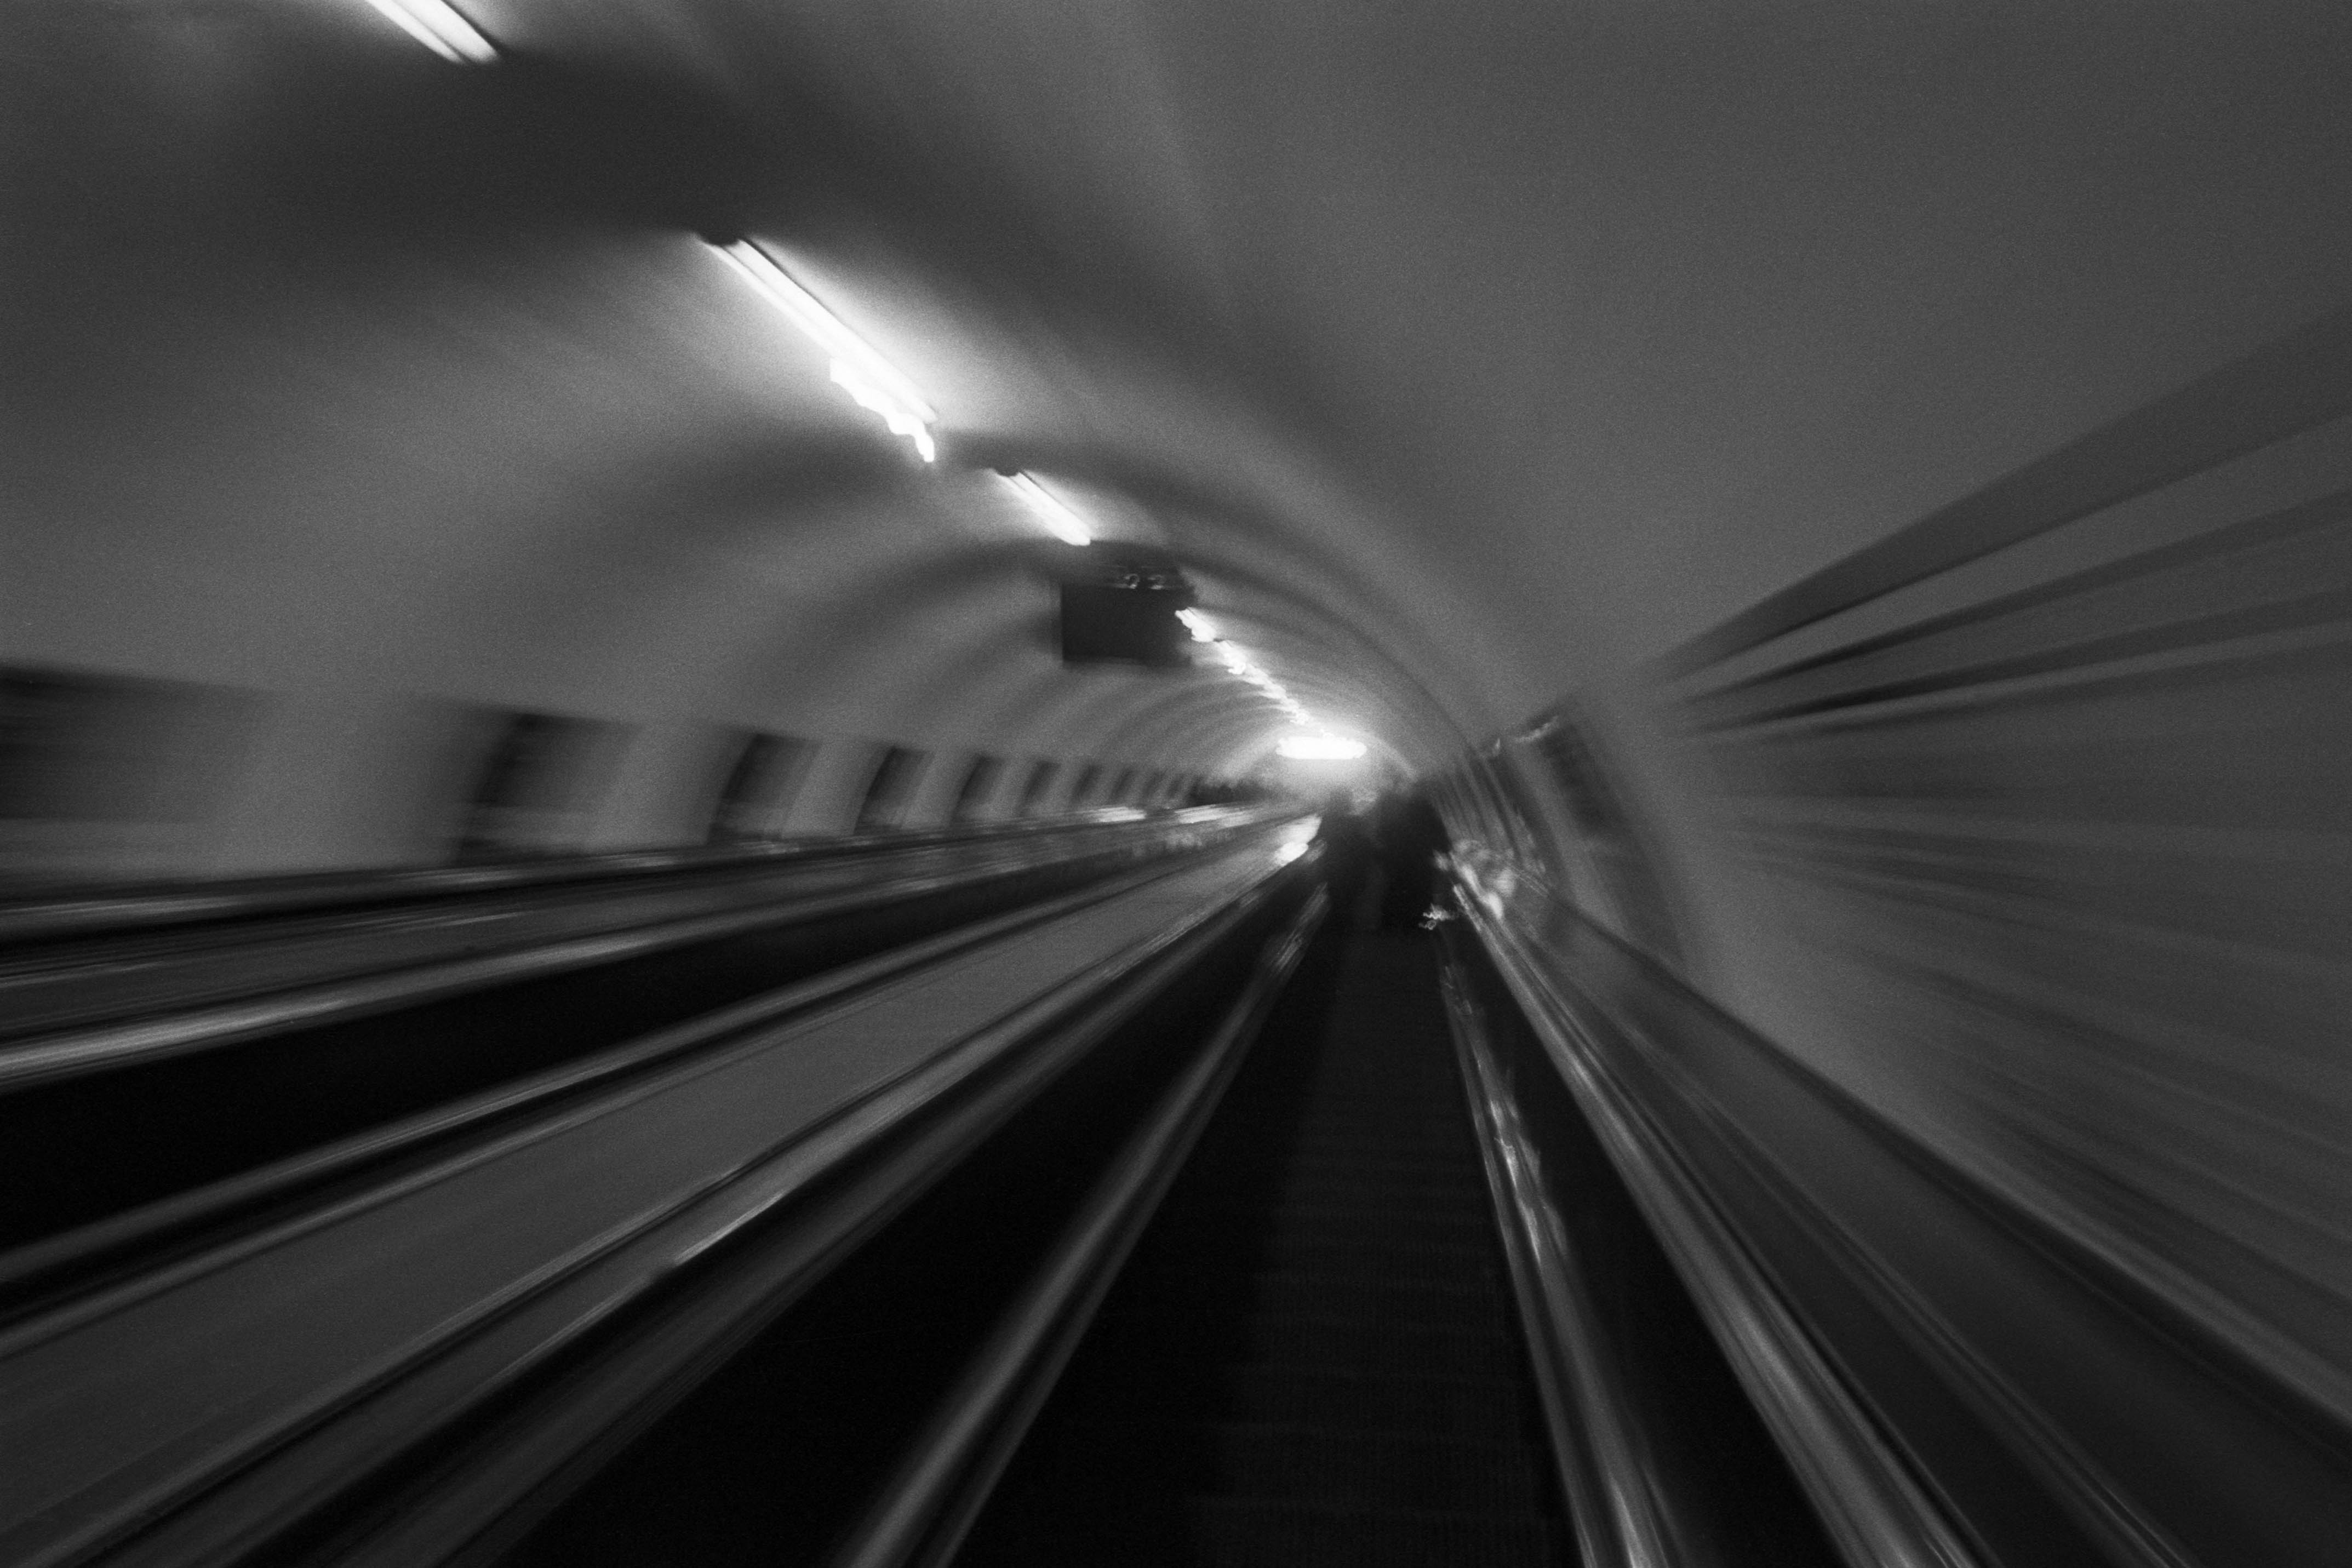
The Wall
2015Winner of the 1st prize & Golden Glass Award at the 11th Photographic Open Championship Olsztyn, and 1st place with the Special Prize of FORMAT magazine at the 3rd Biennial of Art in Piotrków Trybunalski.
View Series →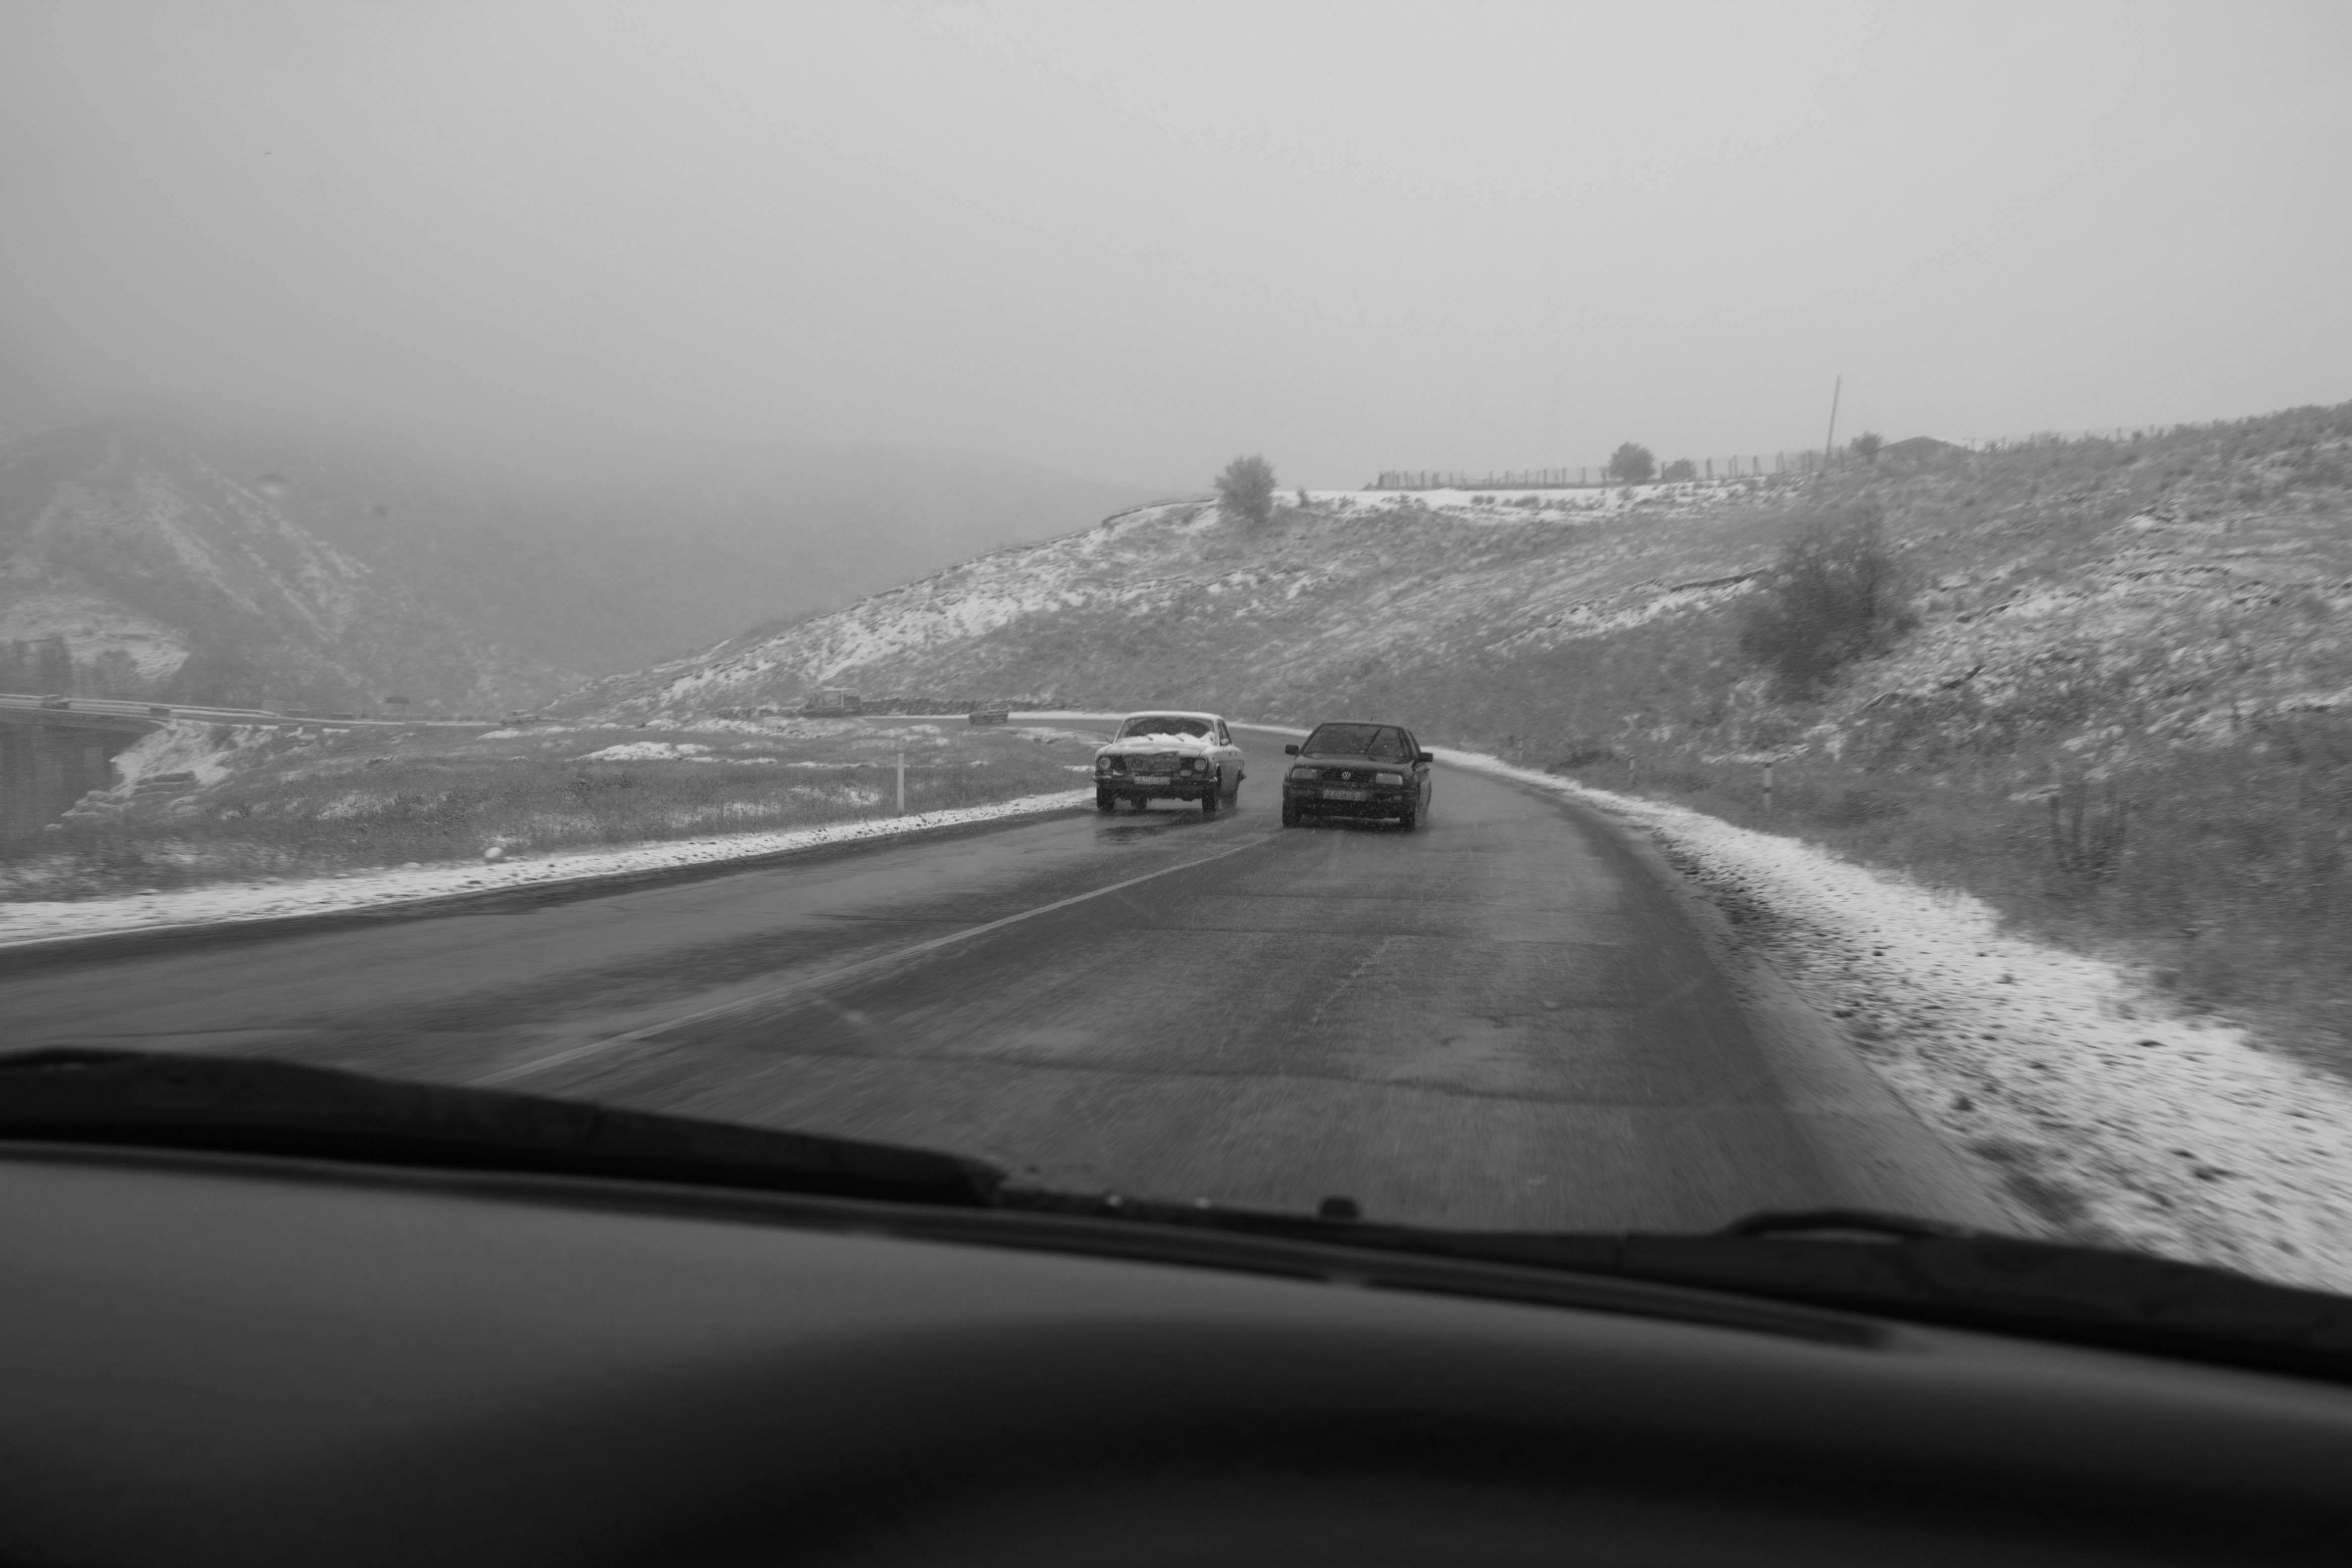
An Engagement Ring
2011A narrative series set in Wrocław in August 2011. Awarded 2nd prize & Silver Glass at the 10th Photographic Open Championship Olsztyn in 2014.
View Series →
Heat Wave
2014A documentary series recording spontaneous events across August and September 2014, capturing the raw energy of a city under the grip of summer.
View Series →