
"Photography is not about the thing photographed. It is about how that thing looks photographed."
How to Restore and Digitize Old Film Negatives
Old film negatives hold a surprisingly rich record of family life, travel, work and changing Australian cities. A small strip may contain more detail than a faded print, yet years of dust, fingerprints, humidity and poor storage can make negatives look cloudy, scratched or dangerously brittle. Careful handling and a well-planned scan can recover much of that information without damaging the original.
Restoring film is best understood as two related tasks: preserving the physical negative and creating a high-quality digital copy. The aim is not to make every mark disappear or produce an artificially perfect image. A good restoration respects the character of the emulsion, records the condition of the original and makes a faithful image that can be printed, shared and archived for the future.
Identify the film before handling it
Begin by identifying the format, process and condition of the material. Common examples include 35mm, 120 medium-format film, 620 roll film, sheet film and older glass plates. A negative may be black and white, colour negative, slide film or an unusual process such as Kodachrome. The format determines the appropriate holder and scanning setup, while the process affects colour correction and expected density.
Look for markings along the edges. Manufacturer names, frame numbers and film codes can help establish whether the material is photographic film or motion-picture stock. Very old negatives may be made from cellulose nitrate or cellulose acetate. Nitrate film can become amber, sticky or powdery and may release a sharp, unpleasant odour. Acetate film can develop vinegar syndrome, with a vinegar-like smell, shrinking, curling and crystalline deposits.
Do not attempt to flatten, wash or scan severely deteriorated material at home. Store questionable negatives separately in a cool, ventilated area and seek advice from a photographic conservator or an institution such as the National Film and Sound Archive of Australia in Canberra. Negatives affected by mould should also be isolated, since spores can spread to other photographs and may create a health risk.
Before cleaning anything, photograph or record the original condition. Note frame numbers, envelopes, dates, names and any writing on the sleeve. This information may be historically important, especially when a family collection includes unidentified portraits from places such as Brisbane, Perth or regional New South Wales.
Create a safe workspace
A clean workspace prevents more damage than an elaborate restoration setup. Use a stable table away from food, drink, direct sunlight and sources of heat. Nitrile gloves are useful for handling film, although clean, dry hands can provide better control for some flat negatives. Avoid cotton gloves, which can catch on perforations and transfer lint.
Hold film by its edges and never touch the image area. Fingerprints contain oils and salts that can leave marks in the emulsion. Place negatives on a clean, lint-free surface and work with a hand blower designed for photographic equipment. Canned air is risky because its propellant can spit liquid or move dust at excessive pressure.
A soft anti-static brush can remove loose particles, but it should be used gently and only when clean. Do not use household glass cleaner, methylated spirits, alcohol wipes or paper tissues. These products can dissolve the emulsion, scratch the surface or leave residues. Water-based cleaning is a specialist procedure because different film bases and emulsions react in different ways.
Australian conditions make storage especially important. A damp coastal environment in Sydney, Melbourne or Darwin can encourage mould, while garages and sheds across inland areas may experience large temperature changes. Keep negatives in a stable indoor room, away from kitchens, bathrooms and roof spaces. Archival polyester or polypropylene sleeves are preferable to PVC, which can release chemicals and become sticky over time.
Prepare the negative for scanning
Once the negative is stable and free from loose dust, inspect it under soft, indirect light. A simple light table can reveal scratches, fingerprints, mould and uneven curling. Use a magnifier to check whether marks are on the base side or the emulsion side. The emulsion is more delicate and should never be pressed against a rough surface.
Flattening should be gradual. Many curled negatives will sit safely in a suitable scanner holder for a short period, while badly curled film may need professional treatment. Do not place books on top of negatives or use heat to straighten them. Excessive pressure can create Newton rings, permanent creases or abrasion.
Choose a scanner with a true film holder and a dedicated light source. Flatbed scanners designed for documents often produce acceptable reference images but may lack the optical resolution and dynamic range needed for valuable 35mm or medium-format negatives. Dedicated film scanners are usually better for smaller film, while a high-resolution digital camera copying system can work well when it is carefully aligned.
Resolution should reflect the original format and intended use. A 35mm negative may benefit from a scan around 3200 to 4000 pixels per inch, while medium-format film can provide excellent detail at a lower pixel density because the frame is physically larger. Scanning beyond the lens and film’s resolving power creates larger files without recovering additional information.
Capture a faithful digital master
Scan the negative as a positive raw image whenever the software allows it, rather than applying strong automatic corrections during capture. Save a high-bit-depth master, such as 16-bit TIFF, and keep the untouched file separate from edited versions. A compressed JPEG is useful for email or a website, but it should not be the primary archive.
Turn off aggressive dust removal if the scan is important. Infrared-based systems can detect many surface defects on conventional colour and black-and-white film, but they are not suitable for every emulsion. Some traditional black-and-white films contain silver that interferes with infrared cleaning, and certain specialised films can produce artefacts. Make a test scan before processing an entire collection.
A negative requires inversion, tonal adjustment and often colour correction. For black-and-white film, adjust the black point, highlights and mid-tones carefully so that shadow detail remains visible. For colour negatives, the orange mask must be accounted for before balancing colour. Automatic software can provide a useful starting point, but it may misread faded film or scenes with unusual lighting.
Keep the first correction restrained. Old negatives may have faded unevenly, and aggressive contrast or saturation can create a modern-looking image that no longer reflects the original exposure. A photographer experienced in analogue and digital workflows will often preserve some grain and tonal variation, particularly when the image is intended as a fine art print rather than a casual social media post.
Remove dust and repair damage
Digital retouching is safest when performed on a duplicate of the master scan. Use a layered editor so that dust removal, scratch repair and tonal changes can be adjusted or reversed. Work at high magnification, then check the image at normal viewing size. A repair that looks convincing at 200 per cent may become an obvious blur in the final photograph.
Small dust spots can usually be removed with a healing or clone tool. Long scratches require more care because they may cross faces, patterned fabric or architectural lines. Reconstruct missing detail from nearby texture rather than copying a repeated shape across the image. In a portrait, an over-smoothed cheek or eye can be more distracting than the original scratch.
Mould marks are especially difficult. They may represent surface contamination, permanent emulsion damage or both. Digital restoration can improve the appearance, but it cannot recover information that has physically disappeared. Keep a copy showing the original condition, particularly when the negative has documentary, genealogical or cultural value.
A restoration should distinguish between conservation and creative reinterpretation. Removing a date written on a sleeve, changing a person’s expression or rebuilding a missing background goes beyond ordinary repair. If the image will be used in an exhibition, family archive or commercial project, preserve a restoration log recording the scan date, equipment, software, major adjustments and any areas reconstructed by hand.
Store, back up and share the finished files
Digital preservation begins with sensible file organisation. Give each frame a stable identifier based on the collection, film roll and frame number. For example, a family archive might use a format such as “Miller_1978_Roll03_Frame12”. Keep notes about the original envelope, approximate date, location and people pictured in a separate text file or catalogue.
Use at least two different storage locations. One copy can remain on a local computer or external drive, while another is stored in a different building or a reputable cloud service. A third working copy is helpful for editing. Check important files periodically, because a hard drive can fail without warning and cloud storage is not a substitute for organised local records.
For long-term archiving, retain a high-quality TIFF master and create smaller JPEG derivatives for everyday use. Web images can be resized and sharpened separately from print files. Exporting an image for Instagram, a family slideshow or a website should never overwrite the archival scan.
Useful preservation habits
- Keep film in archival sleeves with clear identification
- Store originals in a cool, stable indoor environment
- Record the scanner, resolution and colour settings
- Maintain an untouched master beside every edited version
Australian families often have photographs dispersed between relatives in Adelaide, Hobart, the Gold Coast and rural communities. A shared digital archive can reunite those collections, but file names and written descriptions matter as much as image quality. A scan without context may be visually beautiful yet difficult for future generations to understand.
Decide when professional help is worthwhile
Home digitisation is practical for clean, stable negatives in modest quantities. It becomes less suitable when the collection includes nitrate film, extensive mould, severe curling, glass plates, rare formats or hundreds of frames. Professional operators may have wet-mount scanning, high-end drum or virtual-drum systems, calibrated monitors and methods for handling fragile material.
Ask a service provider what they deliver. Important details include optical resolution rather than interpolated resolution, bit depth, file format, colour management, dust removal policy and whether the originals are returned in archival sleeves. A low-cost scan may be adequate for family viewing, while exhibition printing, publication or commercial licensing requires greater control.
Local pricing can vary considerably. A Melbourne or Sydney lab may offer automated batch scanning for standard 35mm rolls, while a specialist in Perth, Canberra or regional Victoria may focus on conservation-quality work. Compare sample scans instead of relying only on advertised resolution. The best provider will explain limitations clearly and avoid promising that every scratch or faded colour can be perfectly restored.
Copyright and privacy also deserve attention. In Australia, the person who owns a negative is not necessarily the person who owns copyright in the photograph. Older family images may involve unknown photographers, commissioned work or commercial assignments. Obtain permission before publishing identifiable portraits, especially for advertising, editorial use or public exhibitions. For culturally sensitive material, consult the relevant family or community before placing scans online.
A carefully restored negative can become more than a digital copy. It may support a family history project, a local archive, a gallery print or a new photographic series that connects analogue history with contemporary practice. Medium-format film, black-and-white grain and small imperfections can carry a visual character that modern cameras often imitate but rarely reproduce exactly. The most responsible workflow protects that character while making the image accessible for many years.
Selected Series
A cross-section of commissioned and personal projects spanning fine art, commercial, and conceptual work.
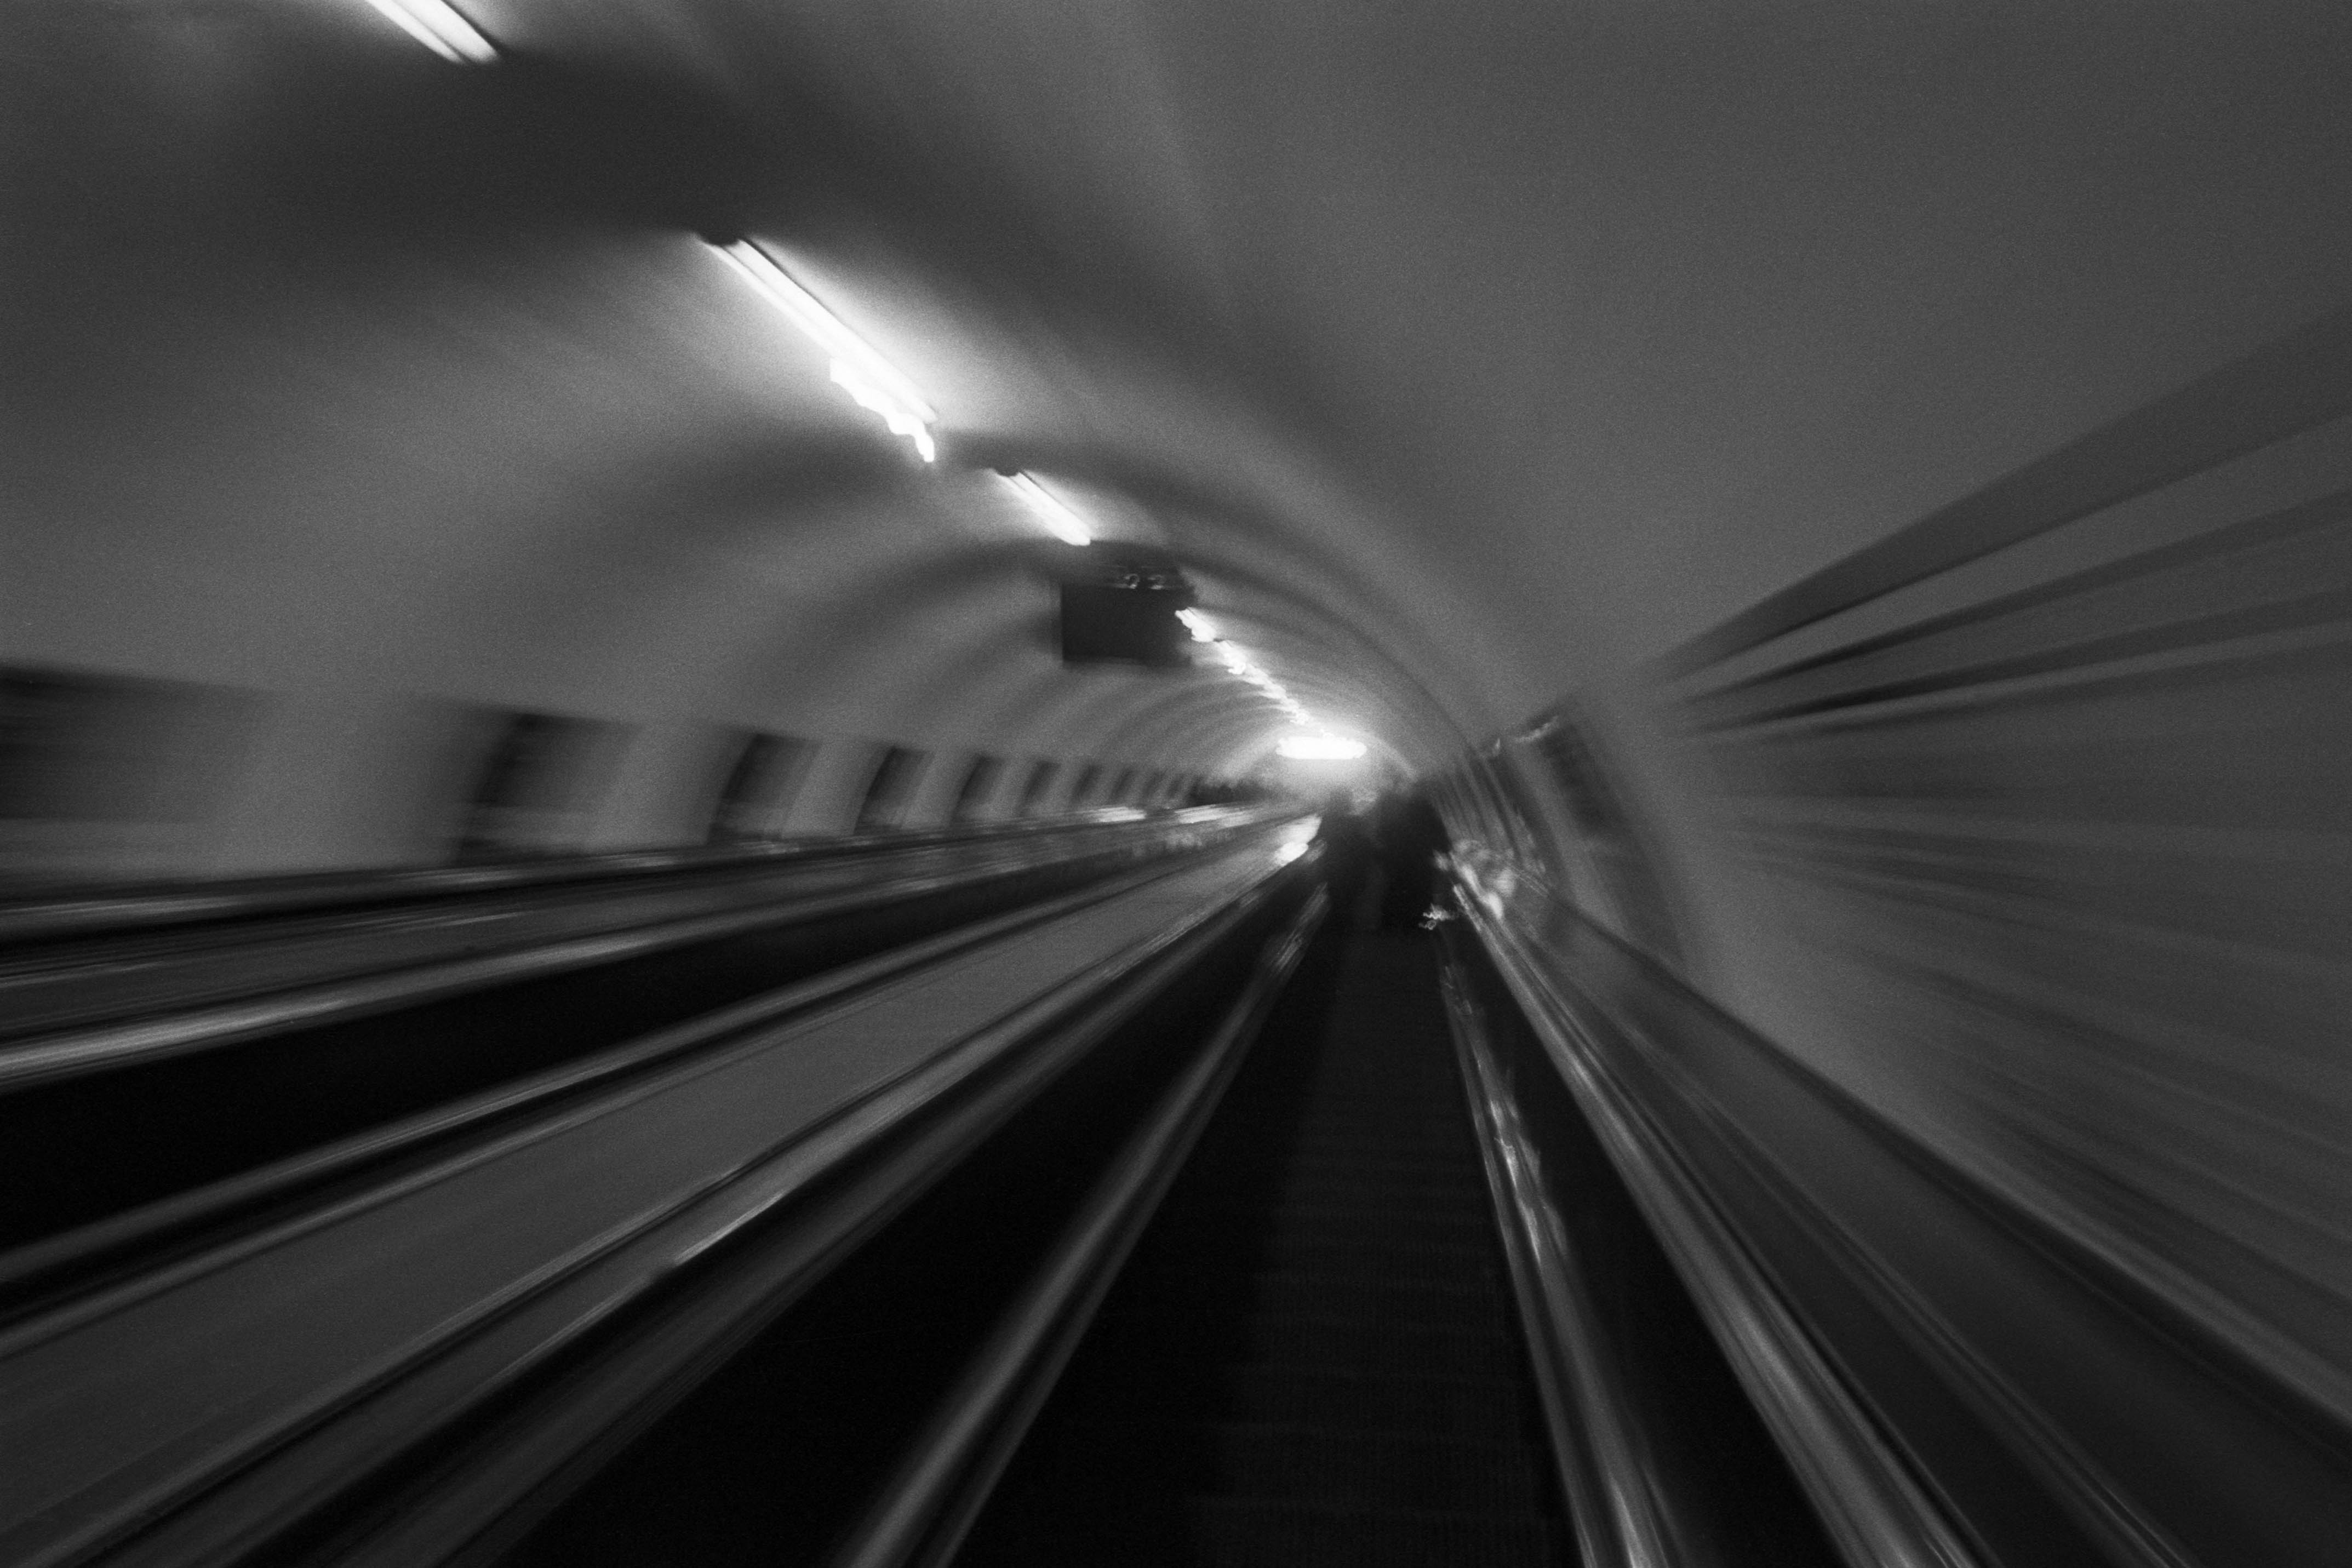
The Wall
2015Winner of the 1st prize & Golden Glass Award at the 11th Photographic Open Championship Olsztyn, and 1st place with the Special Prize of FORMAT magazine at the 3rd Biennial of Art in Piotrków Trybunalski.
View Series →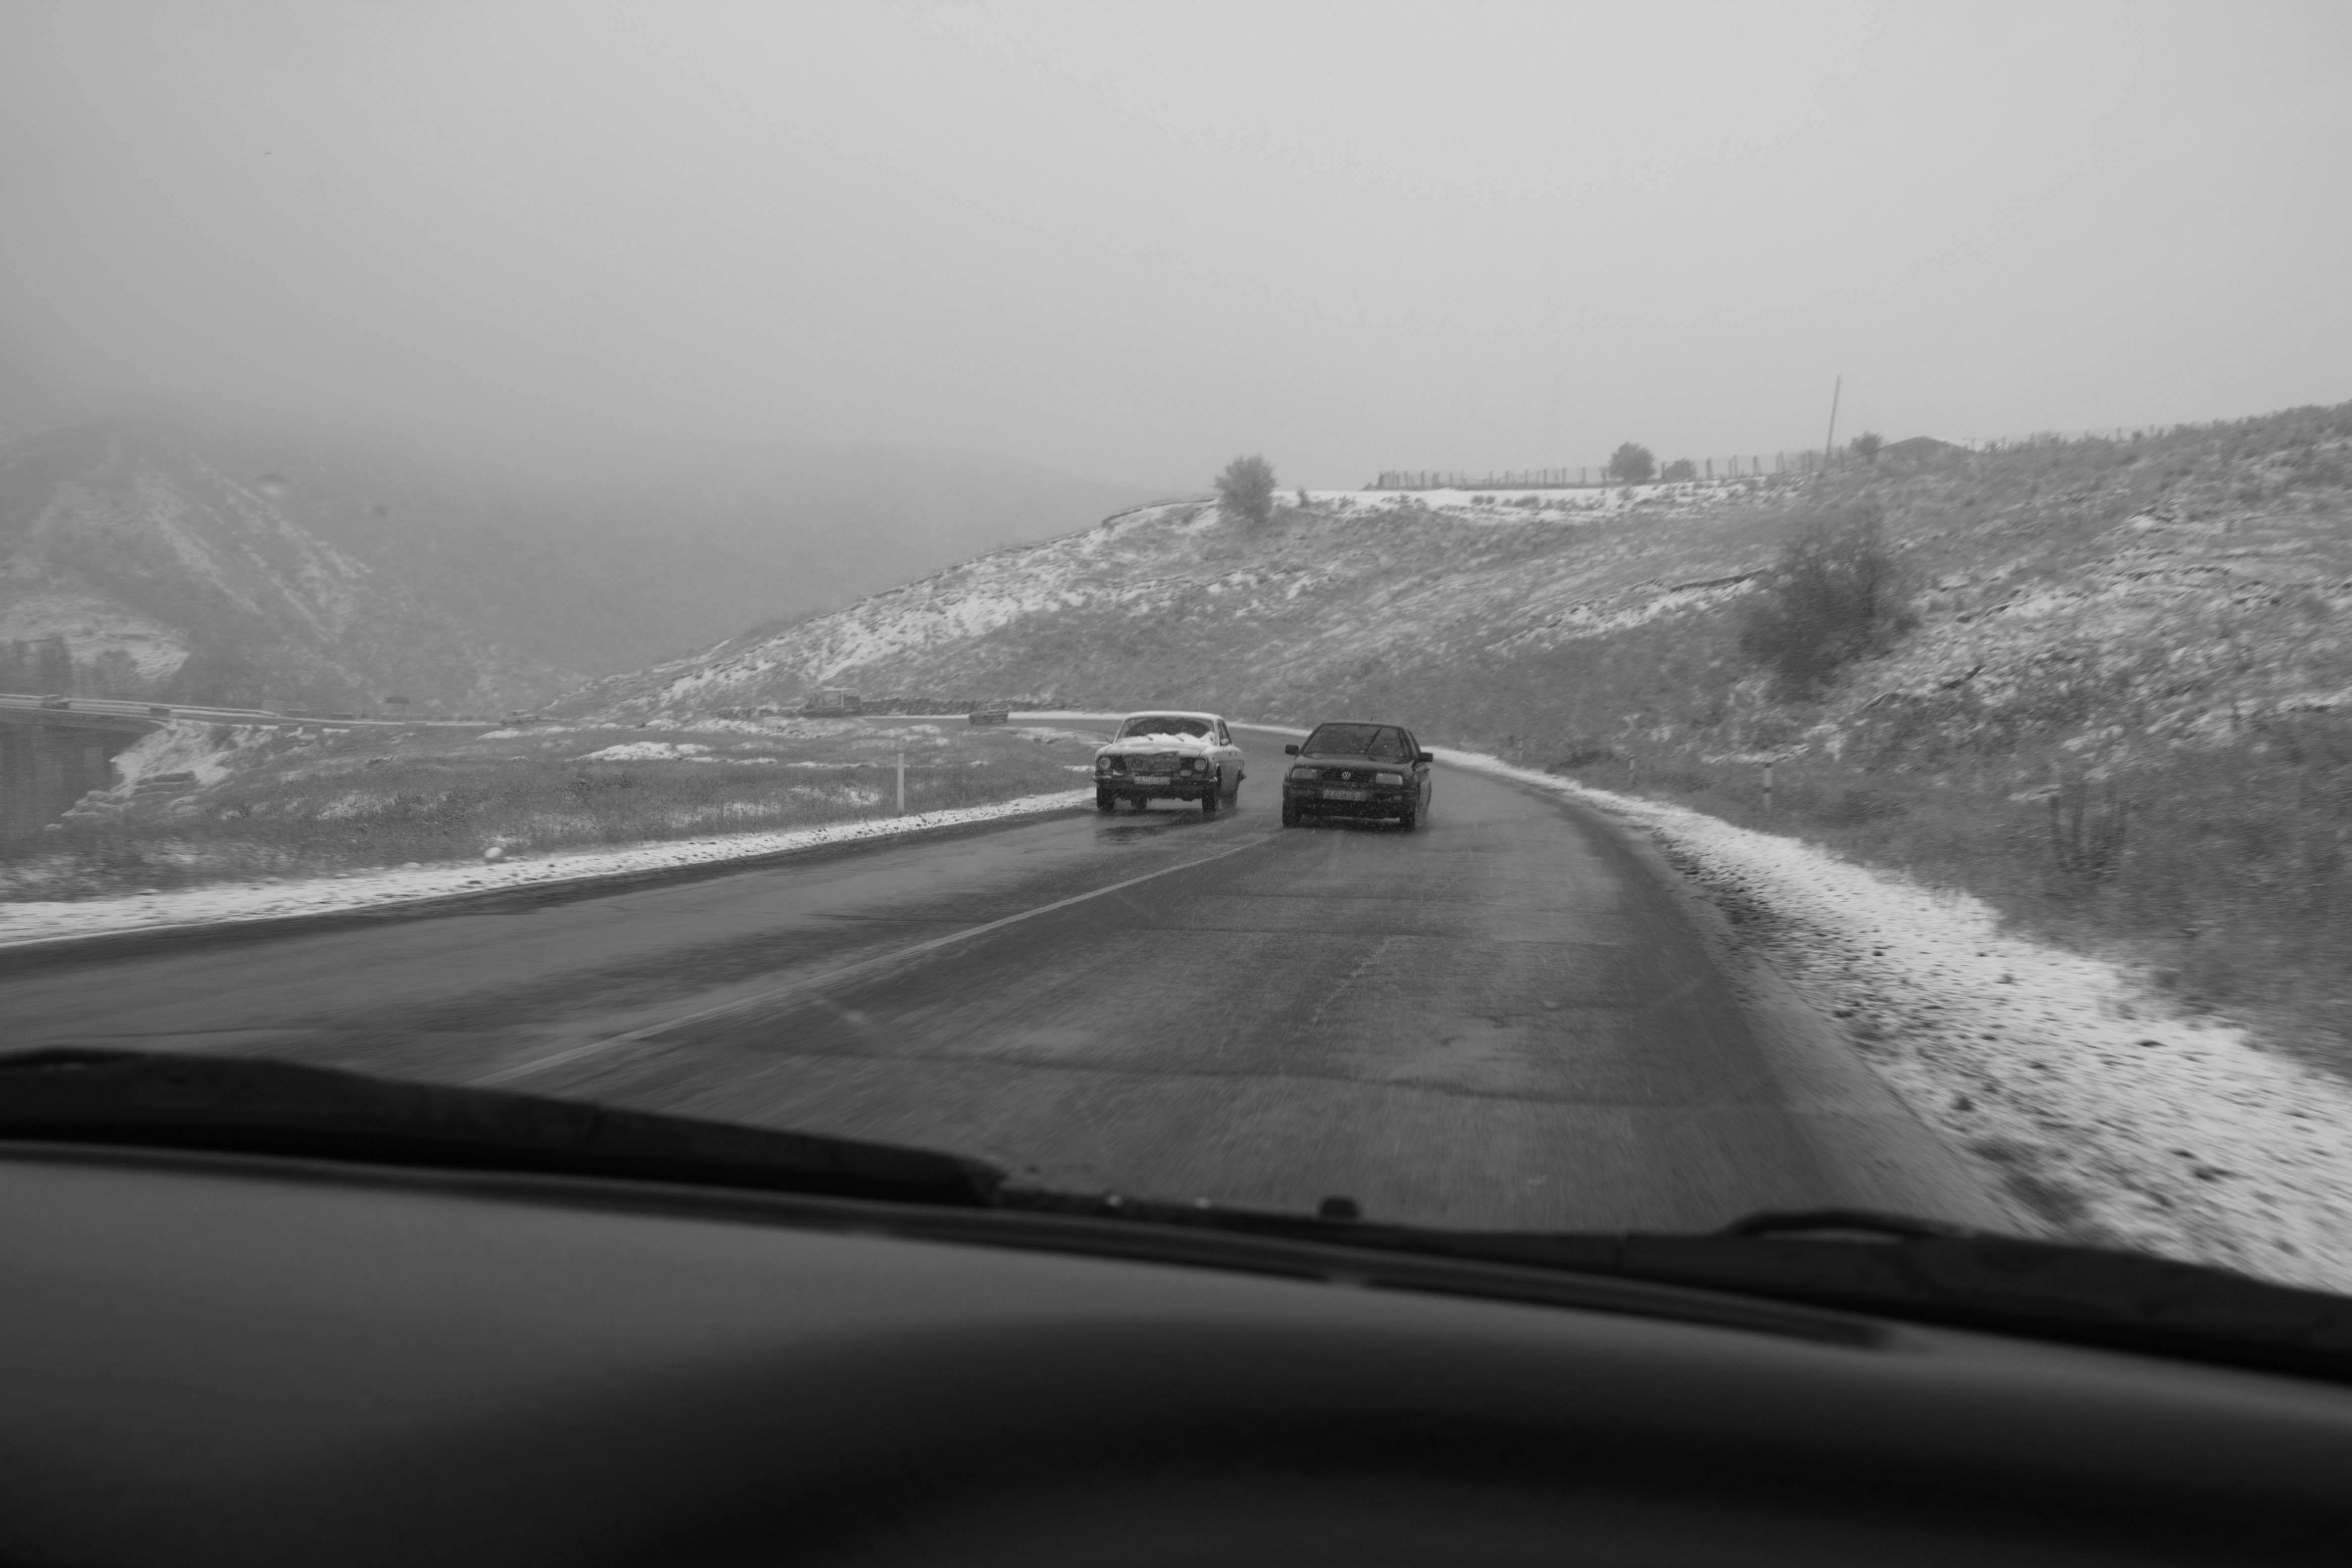
An Engagement Ring
2011A narrative series set in Wrocław in August 2011. Awarded 2nd prize & Silver Glass at the 10th Photographic Open Championship Olsztyn in 2014.
View Series →
Heat Wave
2014A documentary series recording spontaneous events across August and September 2014, capturing the raw energy of a city under the grip of summer.
View Series →