

"Photography is not about the thing photographed. It is about how that thing looks photographed."
Sharpness: aperture, focus and depth of field
Sharpness is more than a camera setting or an editing slider. It emerges from the relationship between lens design, aperture, focus, sensor or film, exposure and the final viewing size. Each element can either reveal fine detail or conceal it, so understanding how they interact gives photographers greater control over portraits, fashion images, events and conceptual work.
This guide connects the optical science to practical decisions in the studio and on location. It also reflects the combination of medium-format film, traditional darkroom thinking and digital workflows used by Wrocław-based photographer Rafal Michalak, whose work ranges from business portraits to conceptual photographic series.
Sharpness is a system, not a setting
A lens forms an image by gathering light from a scene and focusing it onto a flat recording surface. Its resolving power depends on how faithfully small points of light are reproduced as separate points. Two lenses can produce equally clear centres but differ across the frame because of aberrations, design and manufacturing. A sensor’s pixel count matters too, although more pixels do not guarantee a sharper result if the lens, movement or focus cannot support them.
Sharpness also depends on perception. Detail near the eye in a portrait attracts attention, while distracting background detail can make the subject appear less defined. In black-and-white photography, tonal separation may influence perceived clarity more than raw resolution. A photograph can therefore be technically precise yet visually soft because its planes are poorly arranged.
Measured sharpness should be considered alongside the purpose of the image. Fine detail in a fashion photograph may require critical focus and controlled depth of field, while a broad environmental portrait may gain impact from a deeper field. The best technical choice is the one that supports the intended visual hierarchy.
How aperture shapes the light cone
The f-number describes the ratio between a lens’s focal length and the diameter of its entrance pupil. At f/2, the aperture is wide; at f/16, it is narrow. This changes both the quantity of light and the geometry of the light cone passing through the lens. Because the cone converges at the focal plane, placing the sensitive area correctly inside it produces the greatest possible detail.
Stopping down generally increases depth of field, but it does not create detail by itself. At wide apertures, lens aberrations and shallow focus can make a subject appear extremely soft outside the central area. Around f/5.6, f/8 or f/11, many lenses provide their strongest overall performance because spherical aberration and other corrections are better balanced. The ideal range varies with lens design, so a consistent aperture is less useful than testing the particular optic.
There is a physical limit. As the aperture becomes smaller, diffraction spreads each point of light across a small Airy disc. At very high f-numbers, this spreading can reduce fine detail and create a slightly unnatural texture. The effect becomes easier to see when an image is enlarged or viewed on a high-resolution display. For ordinary portraits, event coverage and landscape work, the difference between f/8 and f/11 may be negligible, while a studio test can reveal whether either setting suits a particular camera system.
Focus, focal planes and breathing
Accurate focus means placing the subject’s most important feature on the sensor’s focal plane. In a portrait, this is often the nearer eye because a small error will be more noticeable there than on the farther eye. In group photographs, focus can instead be set between the nearest and furthest faces if the available depth of field is sufficient. Magnification provides a much more dependable check than simply enlarging the centre of the frame.
Focus is not always entirely fixed. Many lenses change their effective focal length slightly as they move from infinity to a closer subject. This focus breathing can alter the framing and the relationship between foreground and background. It matters most in close-up work, macro photography and images made with shallow depth of field. A lens that remains stable at infinity may still move noticeably at 0.5 metre.
Autofocus systems are sophisticated, but their performance depends on lighting, contrast and subject movement. In low light, their ability to confirm focus may decline as shutter speed and lens aperture become more constrained. Manual focus with magnification can be preferable for a static face, glass, reflective products or deliberate motion. In an event environment, a reliable autofocus point, a backup manual method and a pre-planned focal position can prevent missed critical moments.
Depth of field and visual separation
Depth of field is the range in front of and behind the focal plane that appears acceptably sharp. It depends on aperture, focal length, focus distance, sensor size and the standard used to judge acceptable blur. That final factor is important because a circle of confusion is only a reference. A small print viewed on a phone may tolerate more blur than a large print inspected closely.
The near and far limits of the focal plane can be calculated using the hyperfocal distance. Focusing at the hyperfocal distance places the far limit at infinity, although it does not guarantee infinite depth of field. At close focus distances, the near limit can be surprisingly close to the lens. Stepping back may therefore produce a deeper field than changing from f/5.6 to f/8.
Visual separation is not simply a matter of making a background blurry. Lens design, focal length, camera position, light direction and subject movement all shape the result. A compressed perspective may keep facial proportions natural while allowing a distant background to remain recognisable. A wide aperture at a close working distance can create stronger blur and more dimensional separation, but it also magnifies focus errors. For editorial portraits in Melbourne’s narrow laneways or on Sydney Harbour, careful background placement may be more effective than maximum blur.
Resolution, exposure and contrast
Sharpness cannot survive every exposure choice. A fast shutter speed can freeze movement, but an excessively slow one introduces subject or camera blur. High ISO settings may reveal noise and reduce fine tonal detail, especially in shadows. Underexposure also leaves less information to process, while overexposure clips highlights and destroys texture. In bright Australian daylight, a fast lens or neutral density filter may be needed to retain both exposure latitude and a shutter speed fast enough for movement.
Lens resolution and sensor performance must be matched carefully. A high-resolution body cannot recover detail that was blurred before reaching the sensor. Conversely, a medium-format digital back can reveal subtle lens characteristics that remain hidden at lower resolution. Film introduces a different relationship: grain, tonal response and the character of the negative can make an image feel crisp or diffuse in ways that do not correspond neatly to digital sharpness measurements.
Contrast affects perceived detail as well. Controlled side light can reveal texture, while frontal light may flatten it. For black-and-white work, the conversion from colour channels changes which colours become luminous or dark, and dodging and burning can direct attention more effectively than aggressive sharpening. Printing adds another layer of judgement. A sharp file can lose apparent detail if the output device, paper or viewing environment is poorly suited to it.
Working with Australian light and locations
Australian conditions create distinctive technical demands. Sydney’s harbour light is often bright and directional, producing strong facial modelling but hard shadows around midday. Melbourne’s rapidly changing weather offers soft window light one hour and hard sun the next, making a pre-visualised aperture and exposure strategy valuable. At an outdoor cafe or in a narrow city laneway, a reflector or portable diffusion panel may change the result more than any digital adjustment.
Heat and distance matter beyond the cities. In the outback, rising air can soften distant landforms and subjects through heat shimmer, while dust may reduce contrast. Perth’s exceptionally clear, dry light can reveal distant detail that appears hazy elsewhere, although that clarity also exposes every flaw in focus. Around Cairns and the Great Barrier Reef, humidity, salt spray and sudden rain require lens protection and careful handling. These conditions reward preparation because focus and clarity can shift between scouting and the decisive frame.
Local commercial priorities also influence creative decisions. Australian fashion labels, hospitality groups and creative studios in Sydney and Melbourne often need images that work across campaigns, lookbooks, social platforms and printed promotions. A portrait may need restrained sharpness for a corporate profile, while an event sequence must remain legible under mixed lighting and movement. If the work is shown at a gallery, salon or design market, consistency across a series matters as much as the isolated frame.
A dependable method for critical sharpness
Begin by identifying which part of the photograph carries the narrative. That feature should receive the most accurate focus and the clearest tonal separation. Once that decision is made, aperture can be chosen for the required depth of field, exposure checked for highlight retention and movement risk, and sharpness assessed at the size the image will actually be seen.
A repeatable process reduces uncertainty when conditions change. The following method applies across studio portraits, location work, fashion commissions and analogue or digital series:
- Define the subject’s priority, whether it is an eye, garment texture, gesture or architectural line.
- Choose the aperture after considering background separation, lens performance and diffraction.
- Focus on the nearest critical feature and verify it with magnification or a magnified live view.
- Test the lens at the intended focal length, distance and aperture before an important session.
- Stabilise the camera carefully, balancing tripod technique, shutter speed and subject movement.
- Inspect the result at delivery size on a calibrated display and a printed test.
- Preserve the same focus, tonal and crop decisions across photographs in a coherent series.
Technical control becomes most valuable when it serves expression. Sharpness can direct the eye, isolate a face or reveal the structure of an idea, but excessive emphasis on every plane can make an image feel mechanical. The decisive photograph is usually the one in which optical precision, physical conditions and visual intention agree.
Selected Series
A cross-section of commissioned and personal projects spanning fine art, commercial, and conceptual work.
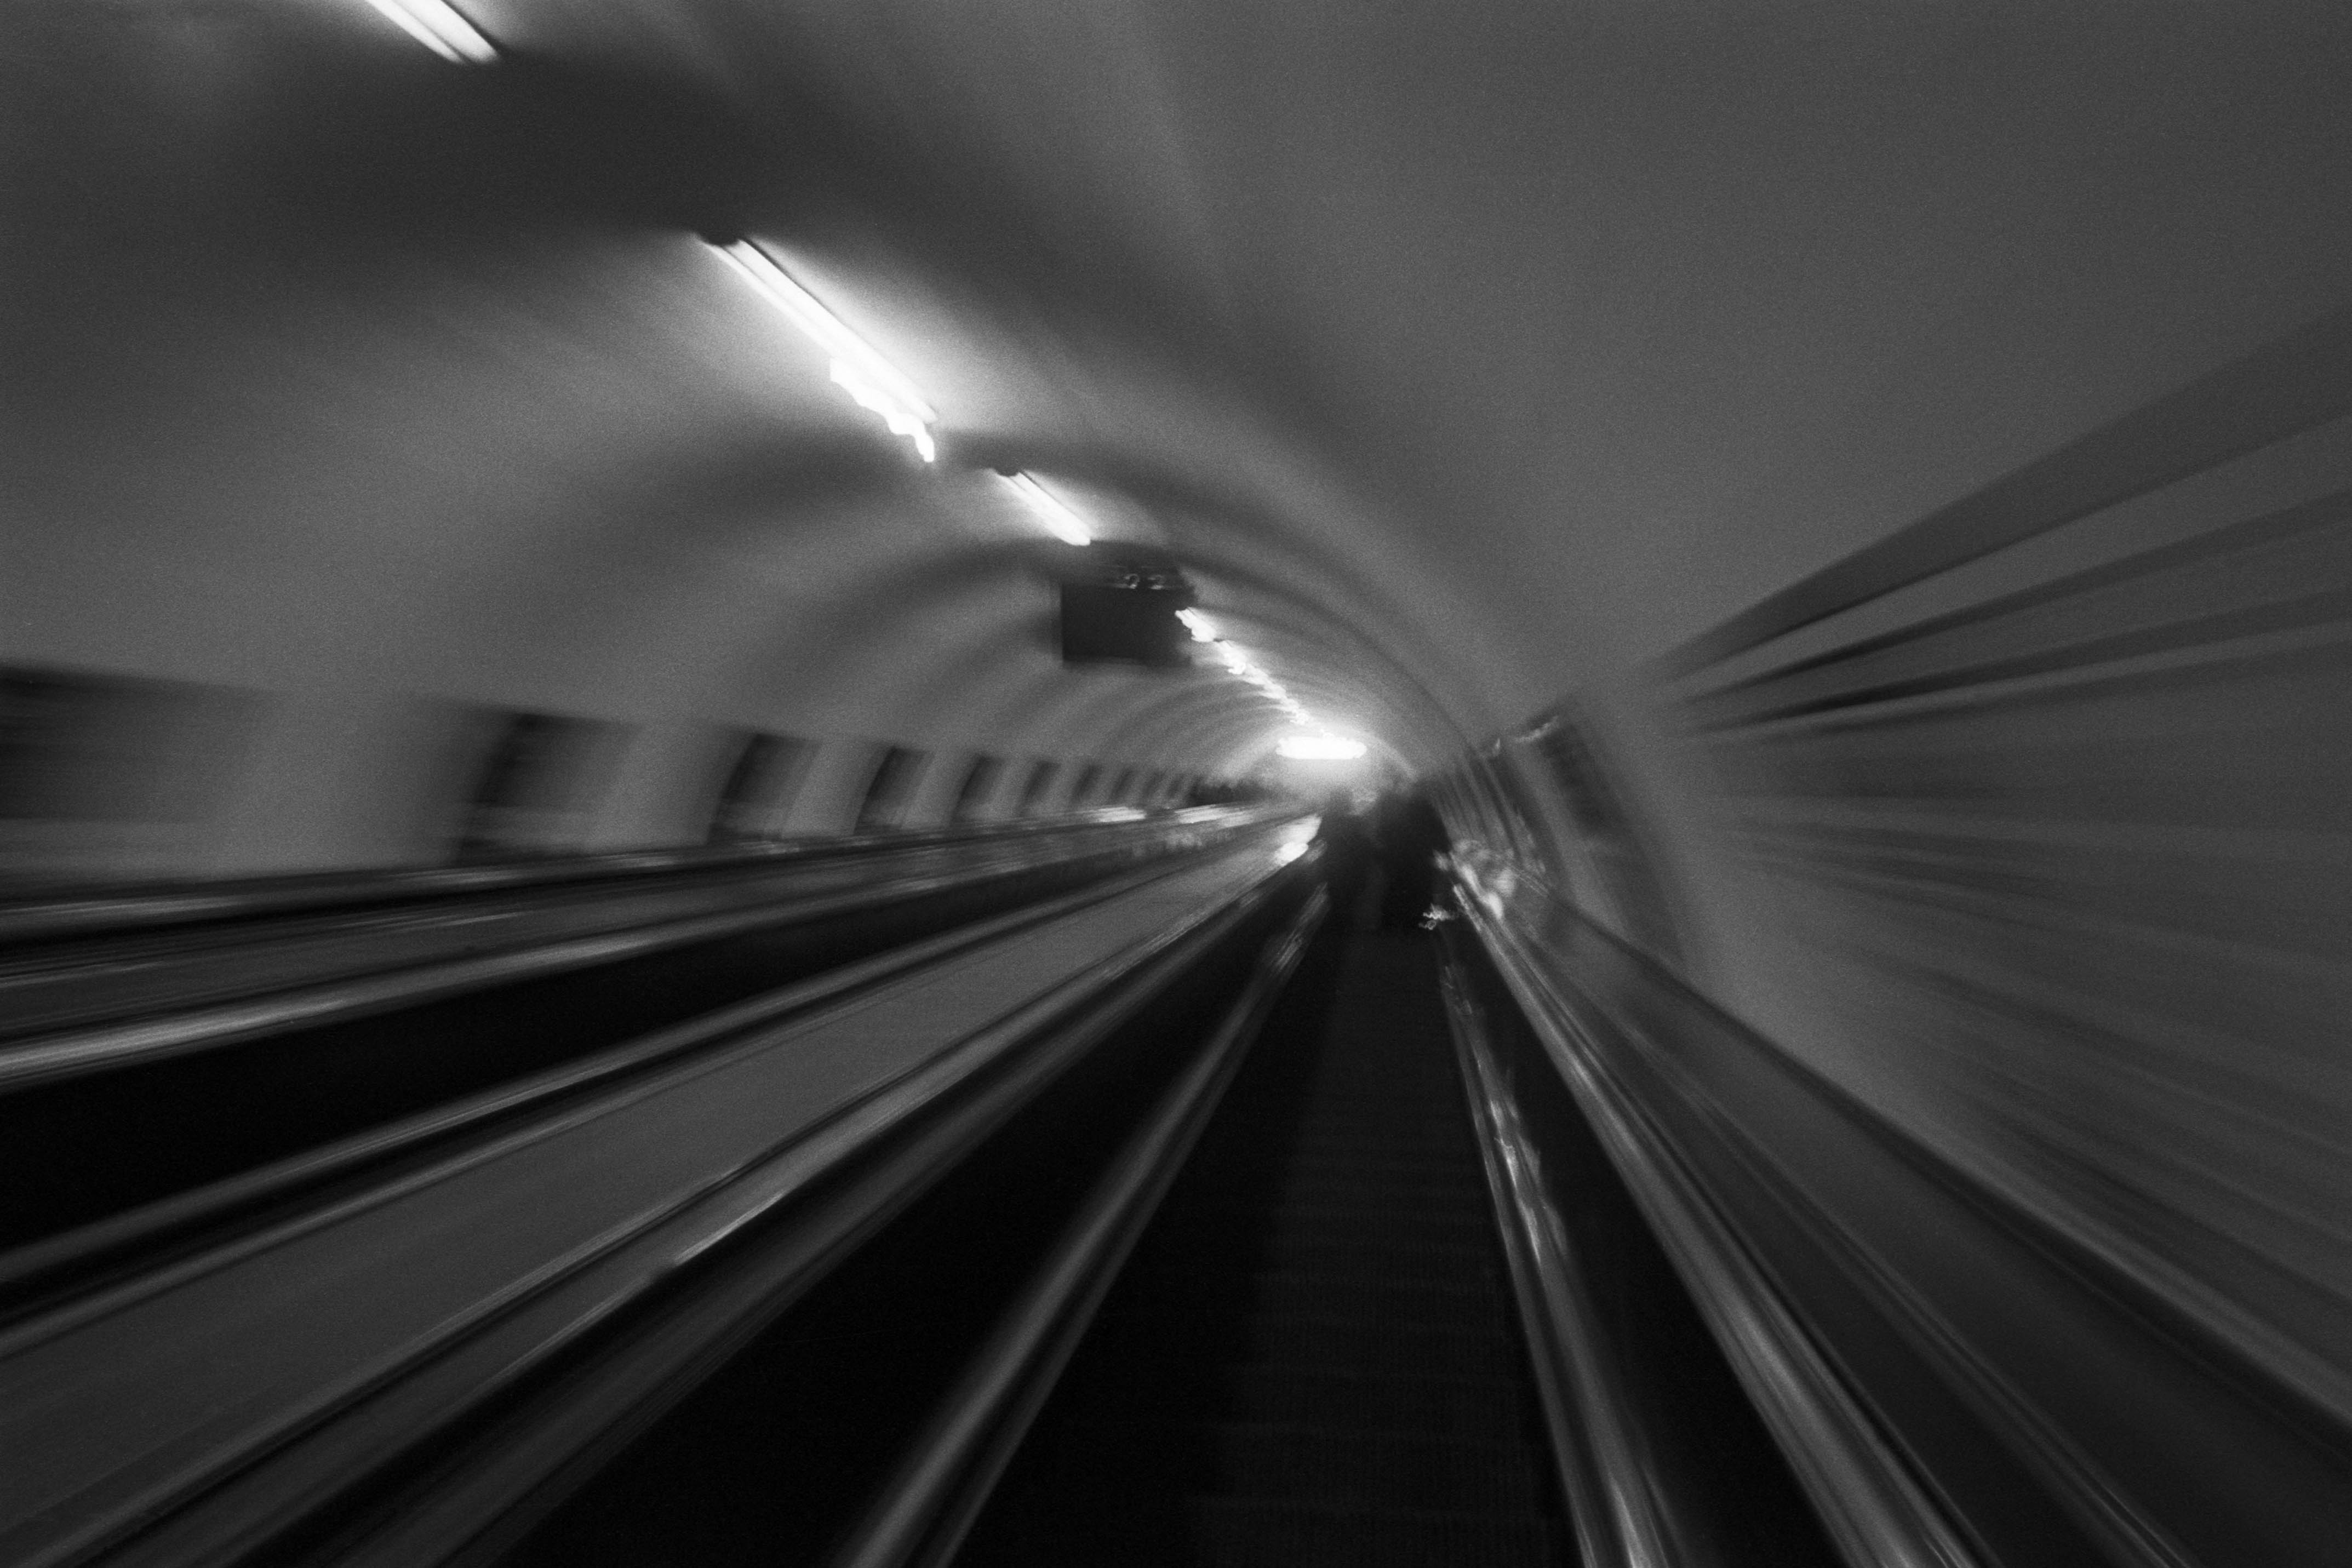
The Wall
2015Winner of the 1st prize & Golden Glass Award at the 11th Photographic Open Championship Olsztyn, and 1st place with the Special Prize of FORMAT magazine at the 3rd Biennial of Art in Piotrków Trybunalski.
View Series →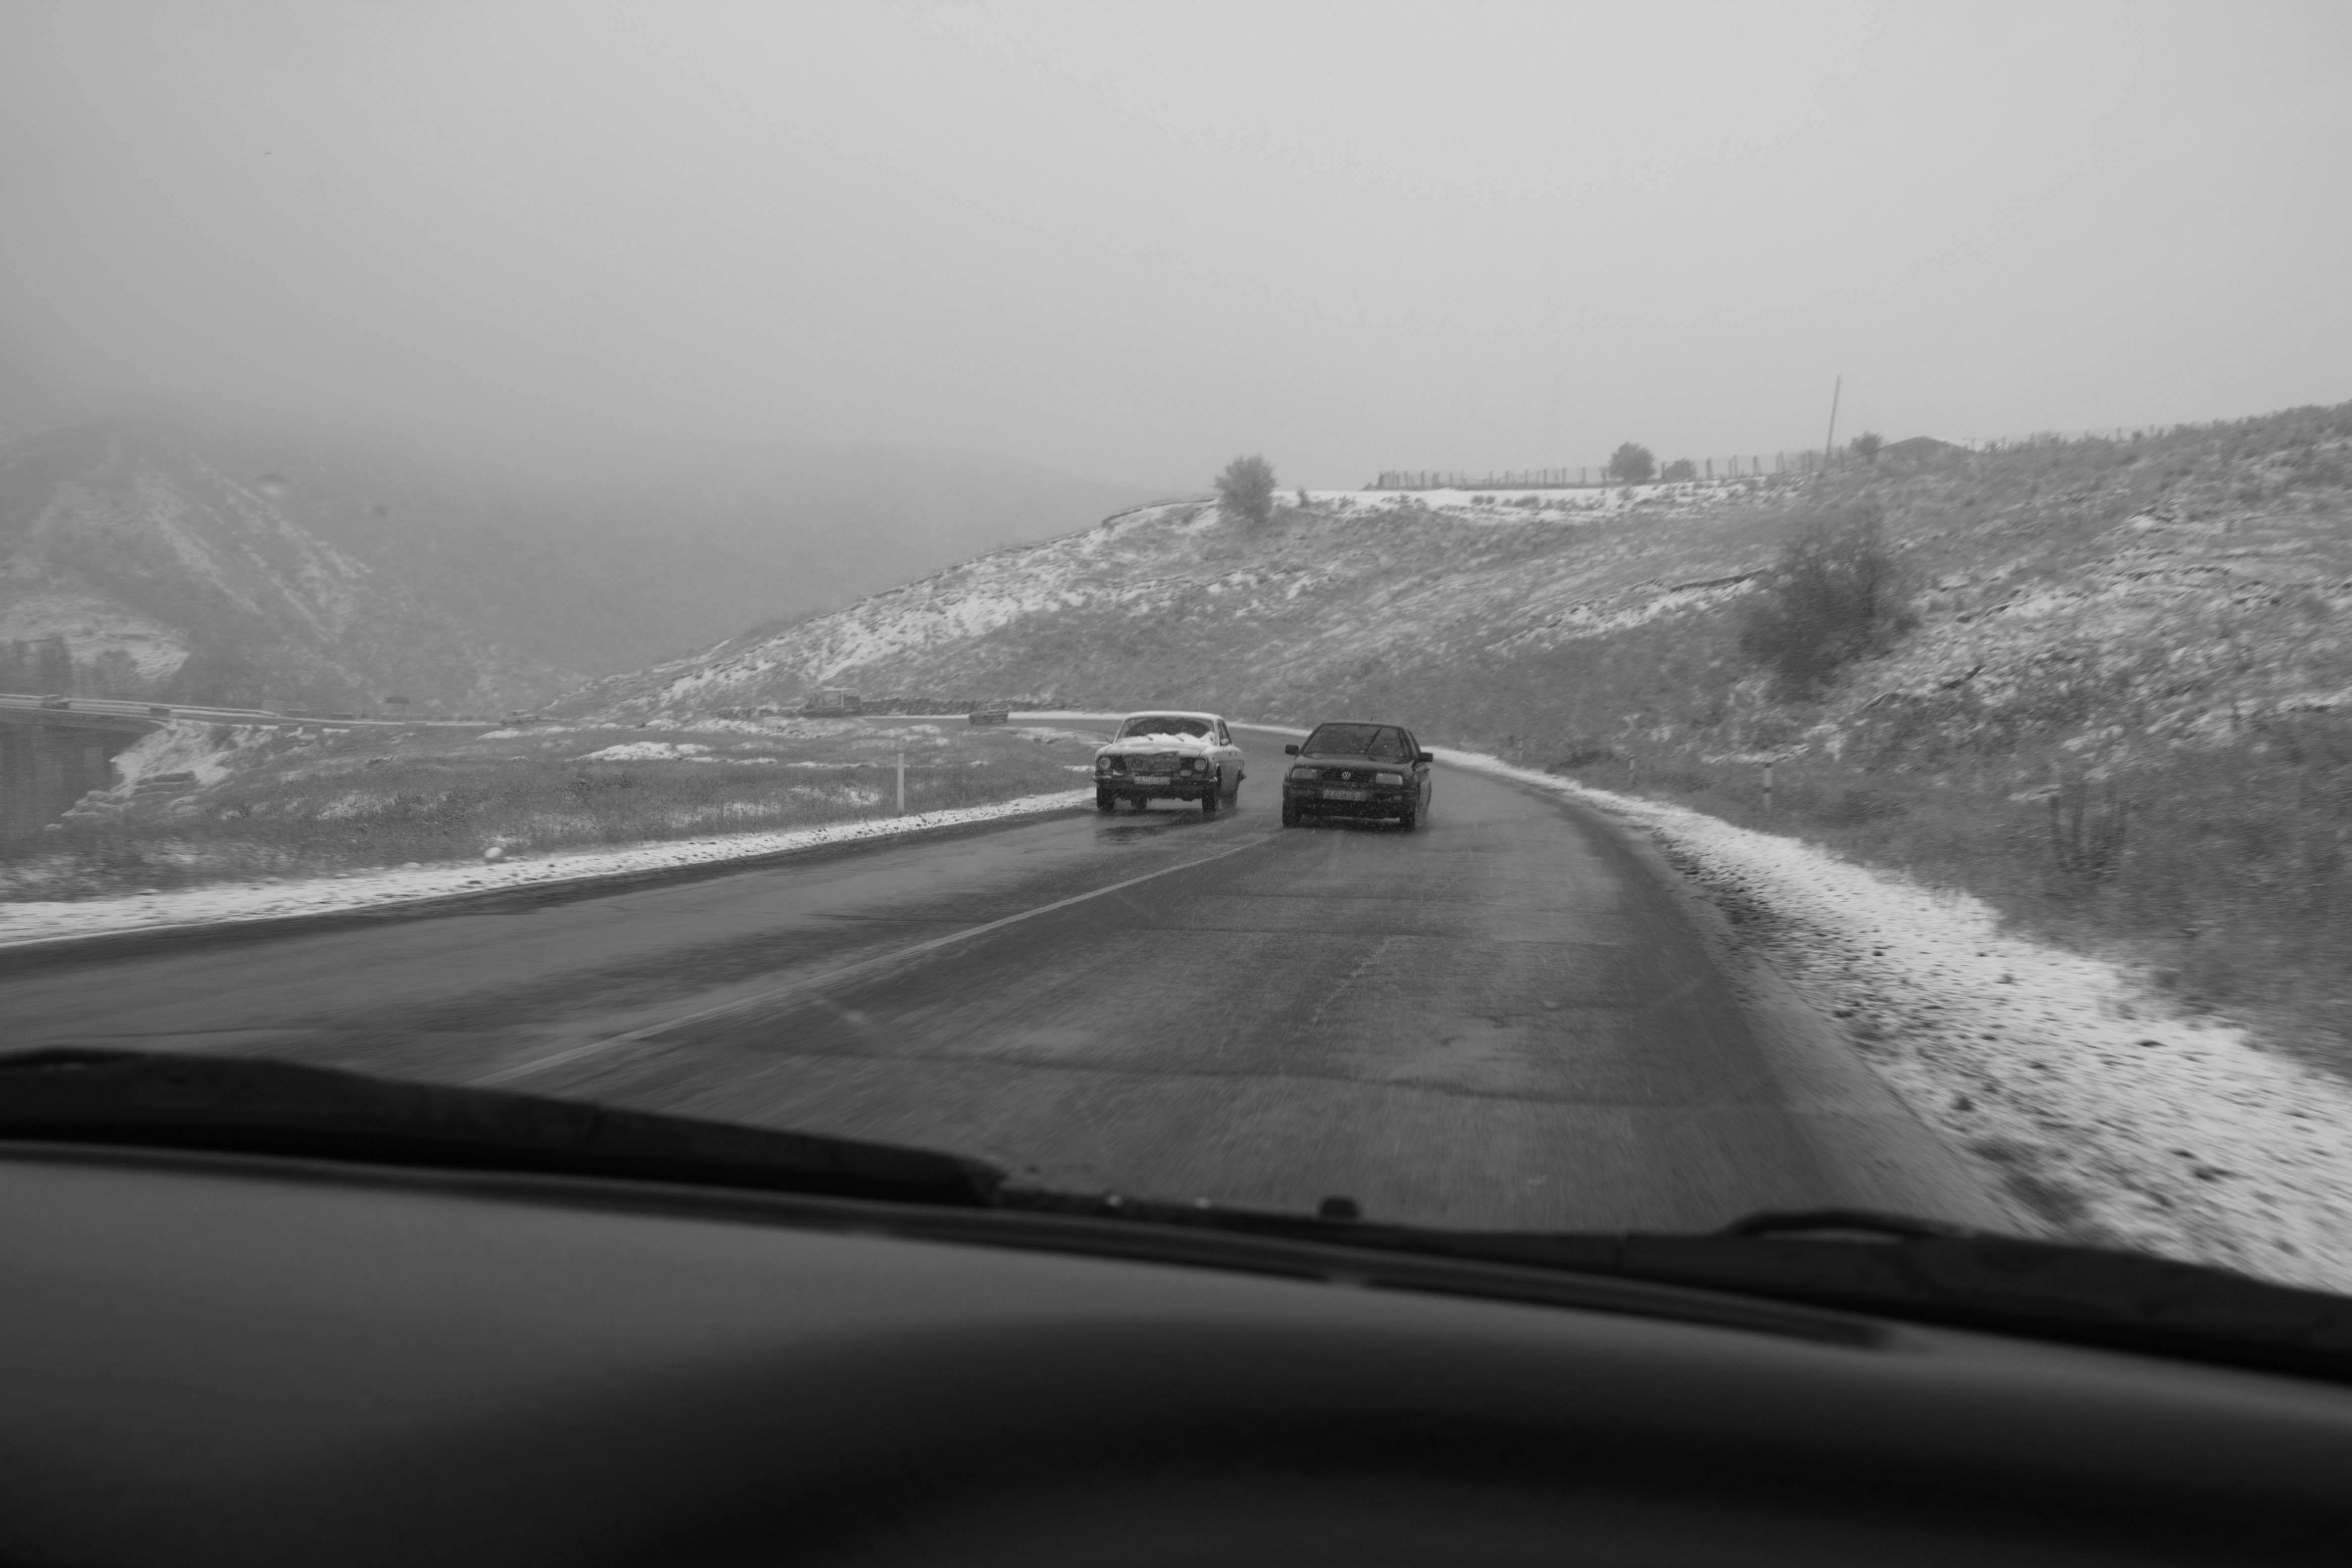
An Engagement Ring
2011A narrative series set in Wrocław in August 2011. Awarded 2nd prize & Silver Glass at the 10th Photographic Open Championship Olsztyn in 2014.
View Series →
Heat Wave
2014A documentary series recording spontaneous events across August and September 2014, capturing the raw energy of a city under the grip of summer.
View Series →