
"Photography is not about the thing photographed. It is about how that thing looks photographed."
Reading Light With the Zone System in Film and Digital Photography
A light meter is more than a device that tells you which shutter speed and aperture to choose. It is a way of translating the brightness in front of the camera into a deliberate exposure. Once that translation becomes familiar, you can decide whether a white shirt should retain texture, whether a shadow should remain deep, or whether a bright sky can be allowed to approach pure white.
The Zone System offers a practical language for those decisions. Developed through the work of Ansel Adams and Fred Archer, it divides tonal values into zones from deep black to brilliant white. Zone V represents middle grey, the value that many reflective meters are designed to interpret as an average. The system is especially valuable when a scene contains high contrast or when the emotional effect of the image depends on carefully controlled shadows and highlights.
For photographers working with film, exposure determines how much light reaches the emulsion, while development affects the density and contrast of the negative. Digital cameras record light with a sensor and provide immediate feedback through a histogram, highlight warning or electronic viewfinder. The tools differ, yet the central question remains the same: which parts of the subject must be rendered accurately, and which tones can be shifted for expressive effect?
In Australia, this judgement is often tested by intense sunlight, pale sand, reflective water and hard midday shadows. A portrait made in Sydney near the harbour, a fashion session in Melbourne laneways, or an outdoor event in Perth may contain a much wider luminance range than a camera can record in one frame. Metering becomes a creative discipline that helps balance the scene, the subject and the final purpose of the photograph.
How A Light Meter Sees The Scene
A built-in camera meter is usually a reflective meter. It measures light bouncing from the subject towards the camera, then assumes that the overall subject brightness should average out to middle grey. This works well for an evenly lit street, a neutral-toned room or a typical landscape. It can become misleading when the frame is dominated by snow, white architecture, black clothing or a backlit window.
A handheld incident meter measures the light falling onto the subject rather than the light reflected from it. With the white dome pointed towards the camera, it gives a reading that is less affected by the subject’s colour or reflectance. This is useful for studio portraits, business headshots and fashion work where the lighting can be measured at the model’s position. A reflective spot meter, by contrast, reads a very narrow part of the scene and allows you to place specific tones within the Zone System.
The distinction between incident and reflected readings is easy to apply in practice. An incident reading can establish a dependable base exposure for a face, while a spot reading can tell you whether a bright forehead, dark suit or distant background will remain within the desired tonal range. Many photographers take both readings, compare them, then adjust the lighting or exposure rather than accepting the first number automatically.
Translating Meter Readings Into Zones
Each full stop represents a movement of one zone. If a spot meter reads a grey card at f/8, 1/125 second and ISO 100, that grey card is being placed on Zone V. Opening the aperture by one stop places the same measured value on Zone VI, making it lighter. Closing by two stops places it on Zone III, rendering it considerably darker. The meter is not deciding the artistic result; it is giving you a reference from which you can place the tone.
A useful approach is to meter a significant area and ask where it should appear. A white shirt with visible weave might be placed on Zone VII, which requires two stops more exposure than the meter reading if the shirt is being read as middle grey. Dark hair with retained texture might be placed on Zone III, requiring two stops less exposure. These placements are based on the meter’s Zone V assumption and should be checked against the film or sensor’s ability to hold detail.
Negative film generally tolerates overexposure better than underexposure, particularly in the highlights, while colour transparency film has a much narrower exposure latitude. Digital files often preserve more recoverable information in the shadows than earlier sensors did, yet clipped highlights remain difficult or impossible to restore. For this reason, a digital photographer may place a bright critical highlight around Zone VII or VIII, while a black-and-white negative photographer may expose more generously and control density during development.
The Zone System becomes especially powerful when used for a series rather than an isolated frame. A portrait photographer can keep skin tones consistent across several poses, and a fine art photographer can create a coherent tonal structure across an entire body of work. The measurement supports visual intention without forcing every photograph into a technically neutral appearance.
Film Exposure And Development Decisions
With film, the meter reading is the beginning of a longer chain. Exposure controls the amount of information recorded in the negative, while development controls how that information is built into density and contrast. If a landscape contains a very bright sky and dark foreground, a photographer might reduce development time to compress the tonal range. In the Zone System, this is often described as contraction. Increased development expands contrast when a scene is too flat.
This relationship varies according to film stock, developer, dilution, agitation and darkroom printing method. A reading that works beautifully with a particular medium-format black-and-white film may not transfer directly to a 35mm emulsion or a modern colour negative. The most reliable method is to test: photograph a grey card or a controlled subject at several exposures, develop the film consistently, and examine the negative under an enlarger or scanner.
Medium format makes tonal placement especially rewarding because the larger negative can offer fine detail and graceful transitions in skin, fabric and architecture. It is well suited to editorial portraits and contemplative photographic series, where the quality of the negative matters as much as the final composition. A useful artistic reference is Gestalt Projects, where contemporary photographic work demonstrates how sequencing, material qualities and visual atmosphere can shape the reading of an image beyond technical sharpness.
The darkroom also changes the meaning of a meter reading. A negative that appears dense may print with luminous highlights, while a thin negative may produce muddy shadows and limited flexibility. Burning, dodging, paper grade and scanning adjustments can refine the final image, but they cannot fully replace information that was never recorded. Metering carefully gives those later decisions more room.
Digital Metering And Dynamic Range
Digital cameras offer several ways to evaluate exposure. Matrix or evaluative metering analyses broad areas of the frame, centre-weighted metering gives greater importance to the middle, and spot metering measures a small selected area. Live-view histograms, zebra patterns and highlight alerts provide additional feedback. These tools should be treated as evidence rather than absolute instructions, because the histogram reflects the camera’s interpretation of the file and may be influenced by a selected picture style.
Expose to the right, commonly called ETTR, is a digital technique in which the histogram is moved towards the highlight end without clipping important detail. More recorded data is available in the brighter tones, which can reduce noise when shadows are later lifted. ETTR is most useful for static subjects and controlled light. It is less practical when a fleeting expression, fast movement or changing sunlight makes repeated exposure adjustments disruptive.
The Zone System can be adapted to digital work by assigning priority to the most important tone. For a corporate portrait, that may be the face. For a white product against a pale background, it may be the brightest textured surface. For a conceptual series, the priority could be a near-black garment that must retain only a trace of form. Spot-metering that value and checking the histogram allows the photographer to make a conscious decision instead of pursuing a generic “correct” exposure.
Australian conditions make highlight control particularly important. Harsh sunlight on a Brisbane verandah, a pale beach near Adelaide or bright concrete in central Melbourne can push reflected readings towards unexpected results. A white reflector may become several stops brighter than a face, while shade under a tree may sit far below the open sky. Measuring the subject’s position, changing the angle of light or using diffusion can be more effective than trying to solve every problem through exposure alone.
Applying Metering To Professional And Personal Work
For business portraits, consistency is often the practical objective. A client may need images for a website, annual report, LinkedIn profile and media release, all with a professional appearance across different backgrounds. An incident reading at the subject’s face can establish a repeatable exposure, while a second reading from the background can reveal whether the separation is sufficient. Small changes in head position may alter the light on glasses, skin and hair, so metering should be followed by careful observation.
Fashion and editorial assignments require a broader interpretation. Deliberately placing a pale garment on a high zone can make it feel airy and graphic, while dropping the background into Zone II or III can create depth. On a commercial set, the photographer also needs to consider the client’s reproduction method, whether the image will appear in print, on a backlit screen, in a catalogue or across social media. A technically dramatic exposure may need adjustment if fine product detail is essential.
Local working conditions matter as well. In Australia, commercial photography can involve travel between city studios, coastal locations and outdoor venues where the sun changes quickly. A handheld meter, grey card and incident dome remain useful even when a camera has sophisticated automation. They make the photographer faster when a client, art director or event schedule leaves little time for trial and error.
Legal and professional responsibilities sit alongside technical decisions. Under Australia’s Copyright Act 1968, copyright generally belongs to the creator when a photograph is made independently, although contracts can alter ownership or licensing arrangements. Model releases are not universally required for every photograph made in a public place, but commercial use, privacy concerns, implied endorsement and contractual expectations should be addressed clearly. Good exposure cannot repair an unclear agreement, so a professional workflow records both the lighting decisions and the intended use of the images.
Practical Metering Habits For Consistent Results
A dependable routine prevents the meter from becoming a source of hesitation. Before pressing the shutter, identify the visual anchor, measure it, decide its intended zone and check the brightest important area. With practice, this takes only a few seconds. The process is equally useful for a single black-and-white frame, a sequence of film portraits or a fast-moving digital assignment.
The following habits keep the Zone System flexible rather than dogmatic:
- Calibrate a handheld meter with your camera, film stock and preferred development process before important work.
- Use an incident reading for controlled portraits, then use a spot reading when subject brightness or background contrast demands closer analysis.
- Place faces according to skin tone and lighting, rather than automatically treating every complexion as Zone V.
- Protect textured highlights in digital files and colour transparency film, while allowing negative film enough exposure to retain shadow information.
- Read the histogram together with the image, because a graph cannot tell you which tonal area carries the emotional or commercial priority.
- Carry a grey card or known neutral surface when lighting changes rapidly at outdoor locations.
- Record ISO, shutter speed, aperture, light direction and development details so successful exposures can be repeated.
Metering should eventually become quiet and intuitive. The aim is not to fill every frame with technically balanced grey, nor to follow a fixed formula regardless of subject. It is to understand the brightness relationships in a scene well enough to choose what remains open, what falls away and what gives the photograph its character. When measurement and observation work together, film and digital photography offer different routes to the same expressive control.
Selected Series
A cross-section of commissioned and personal projects spanning fine art, commercial, and conceptual work.
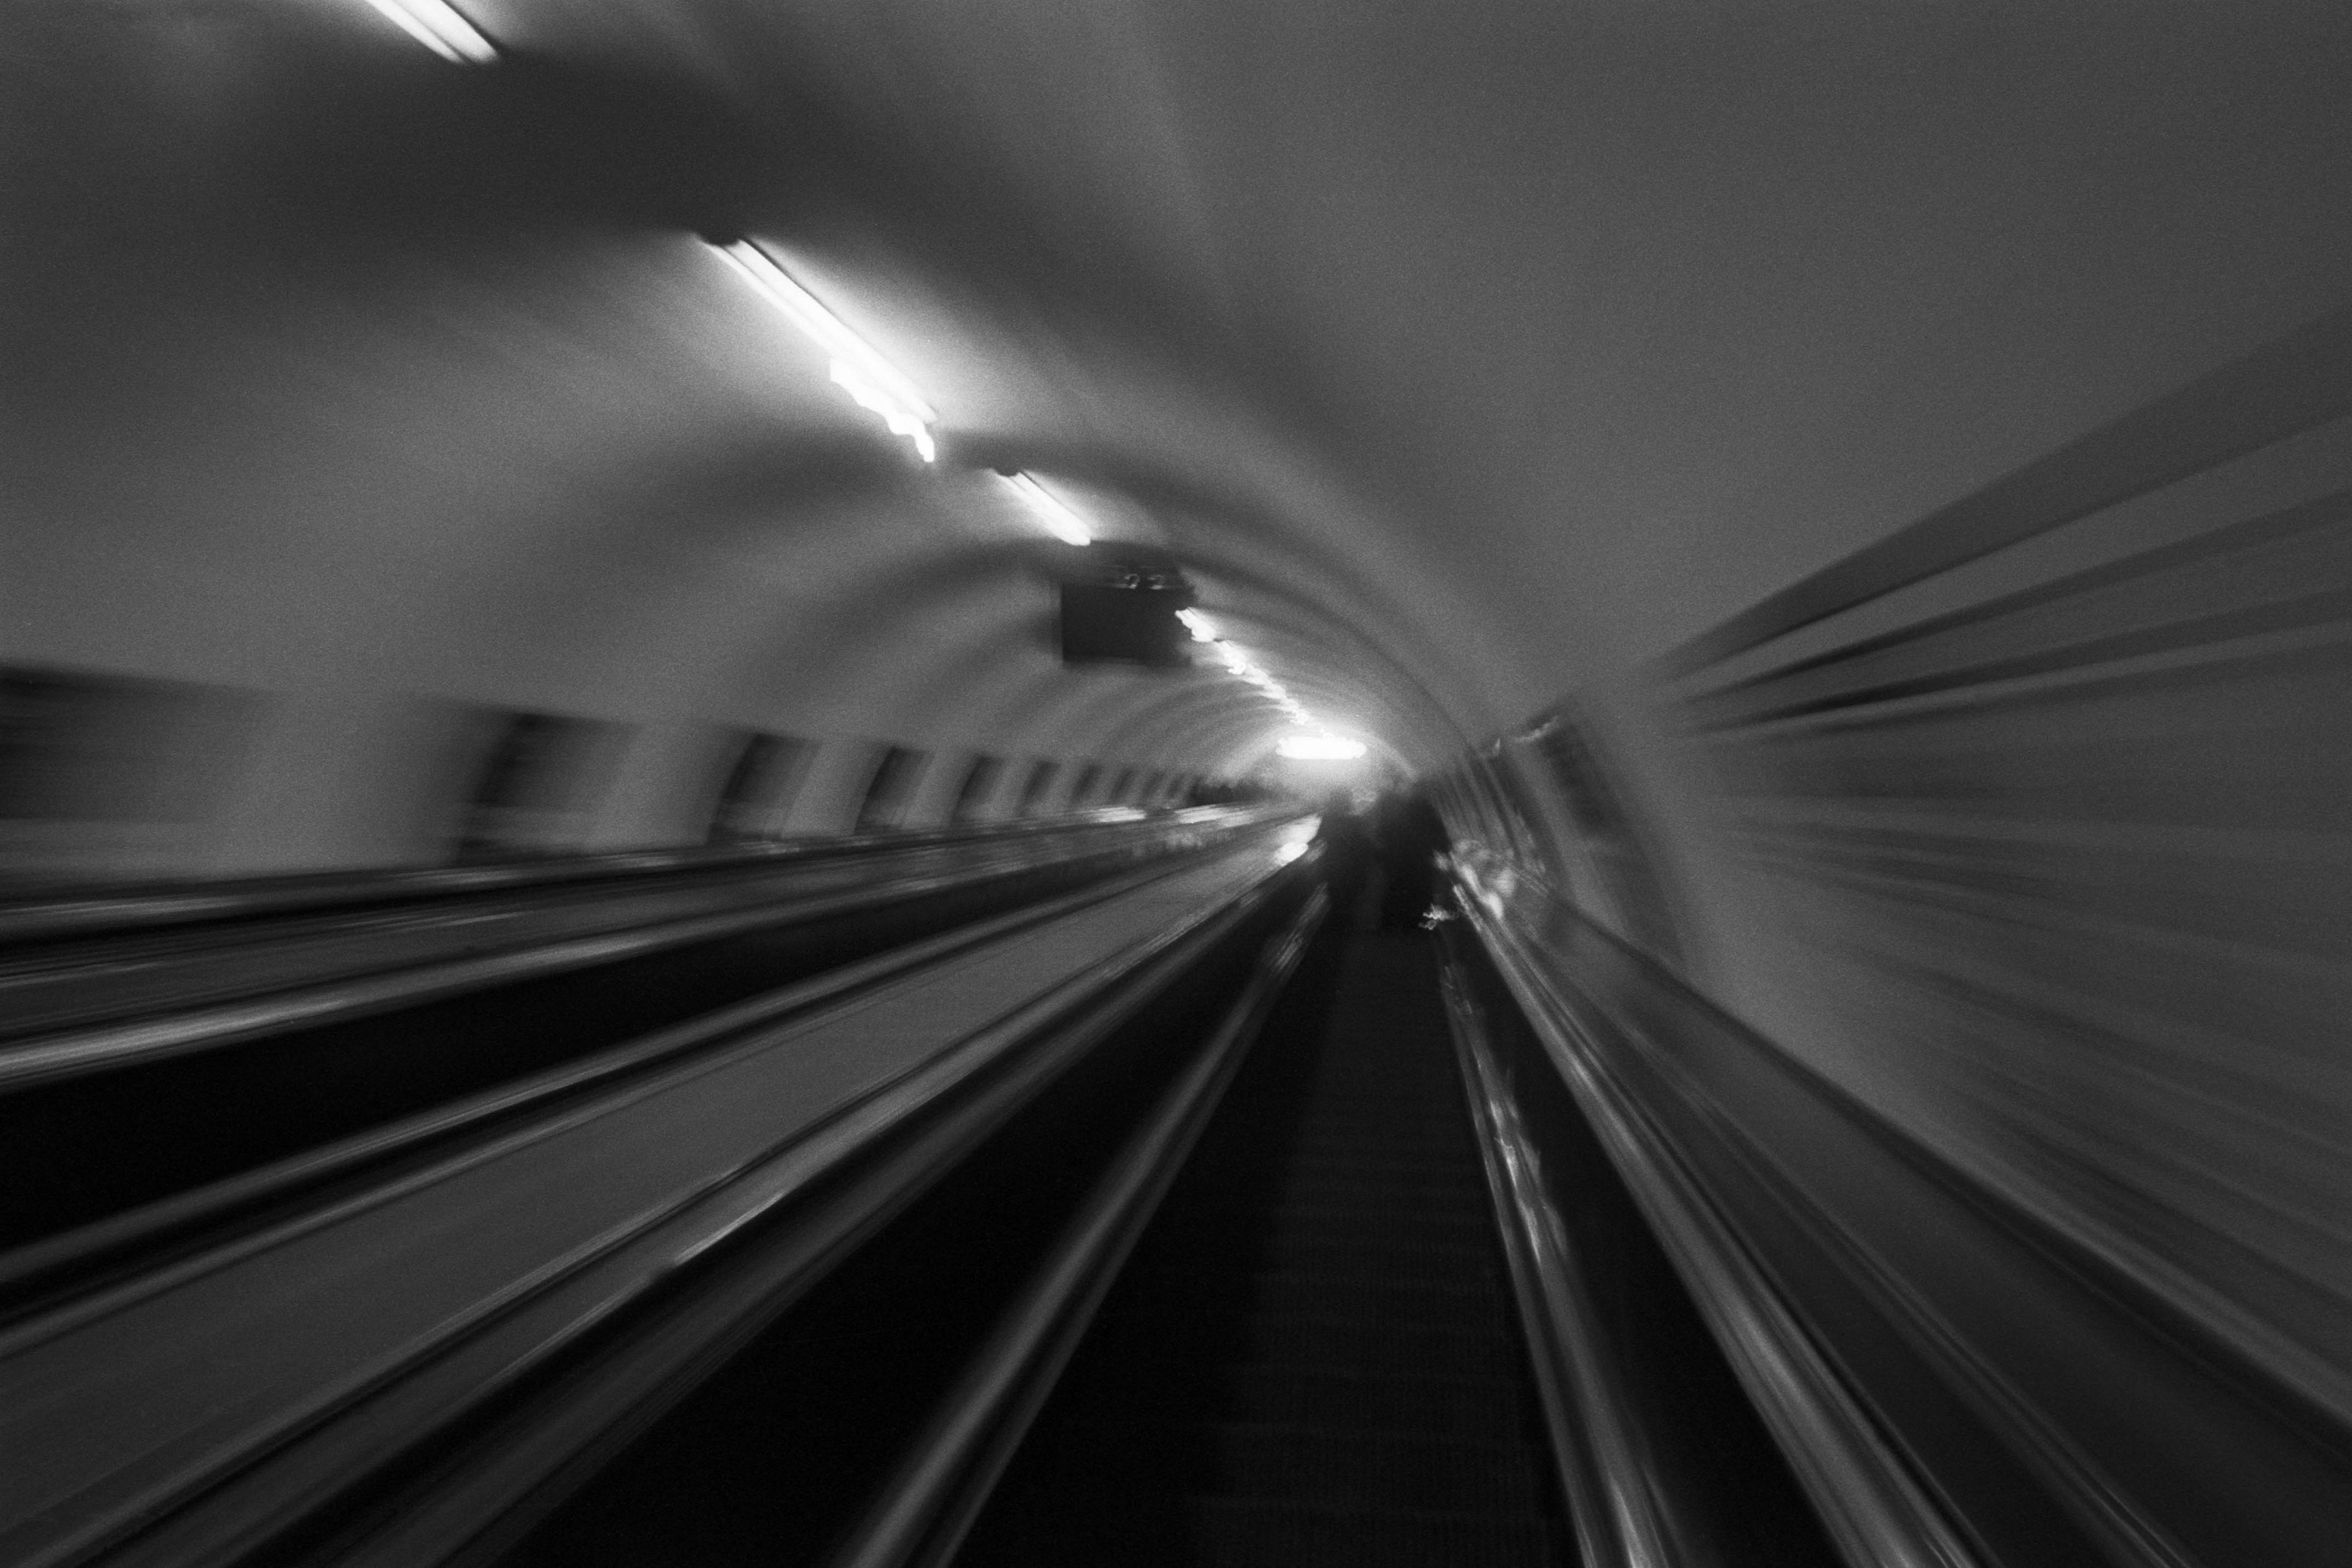
The Wall
2015Winner of the 1st prize & Golden Glass Award at the 11th Photographic Open Championship Olsztyn, and 1st place with the Special Prize of FORMAT magazine at the 3rd Biennial of Art in Piotrków Trybunalski.
View Series →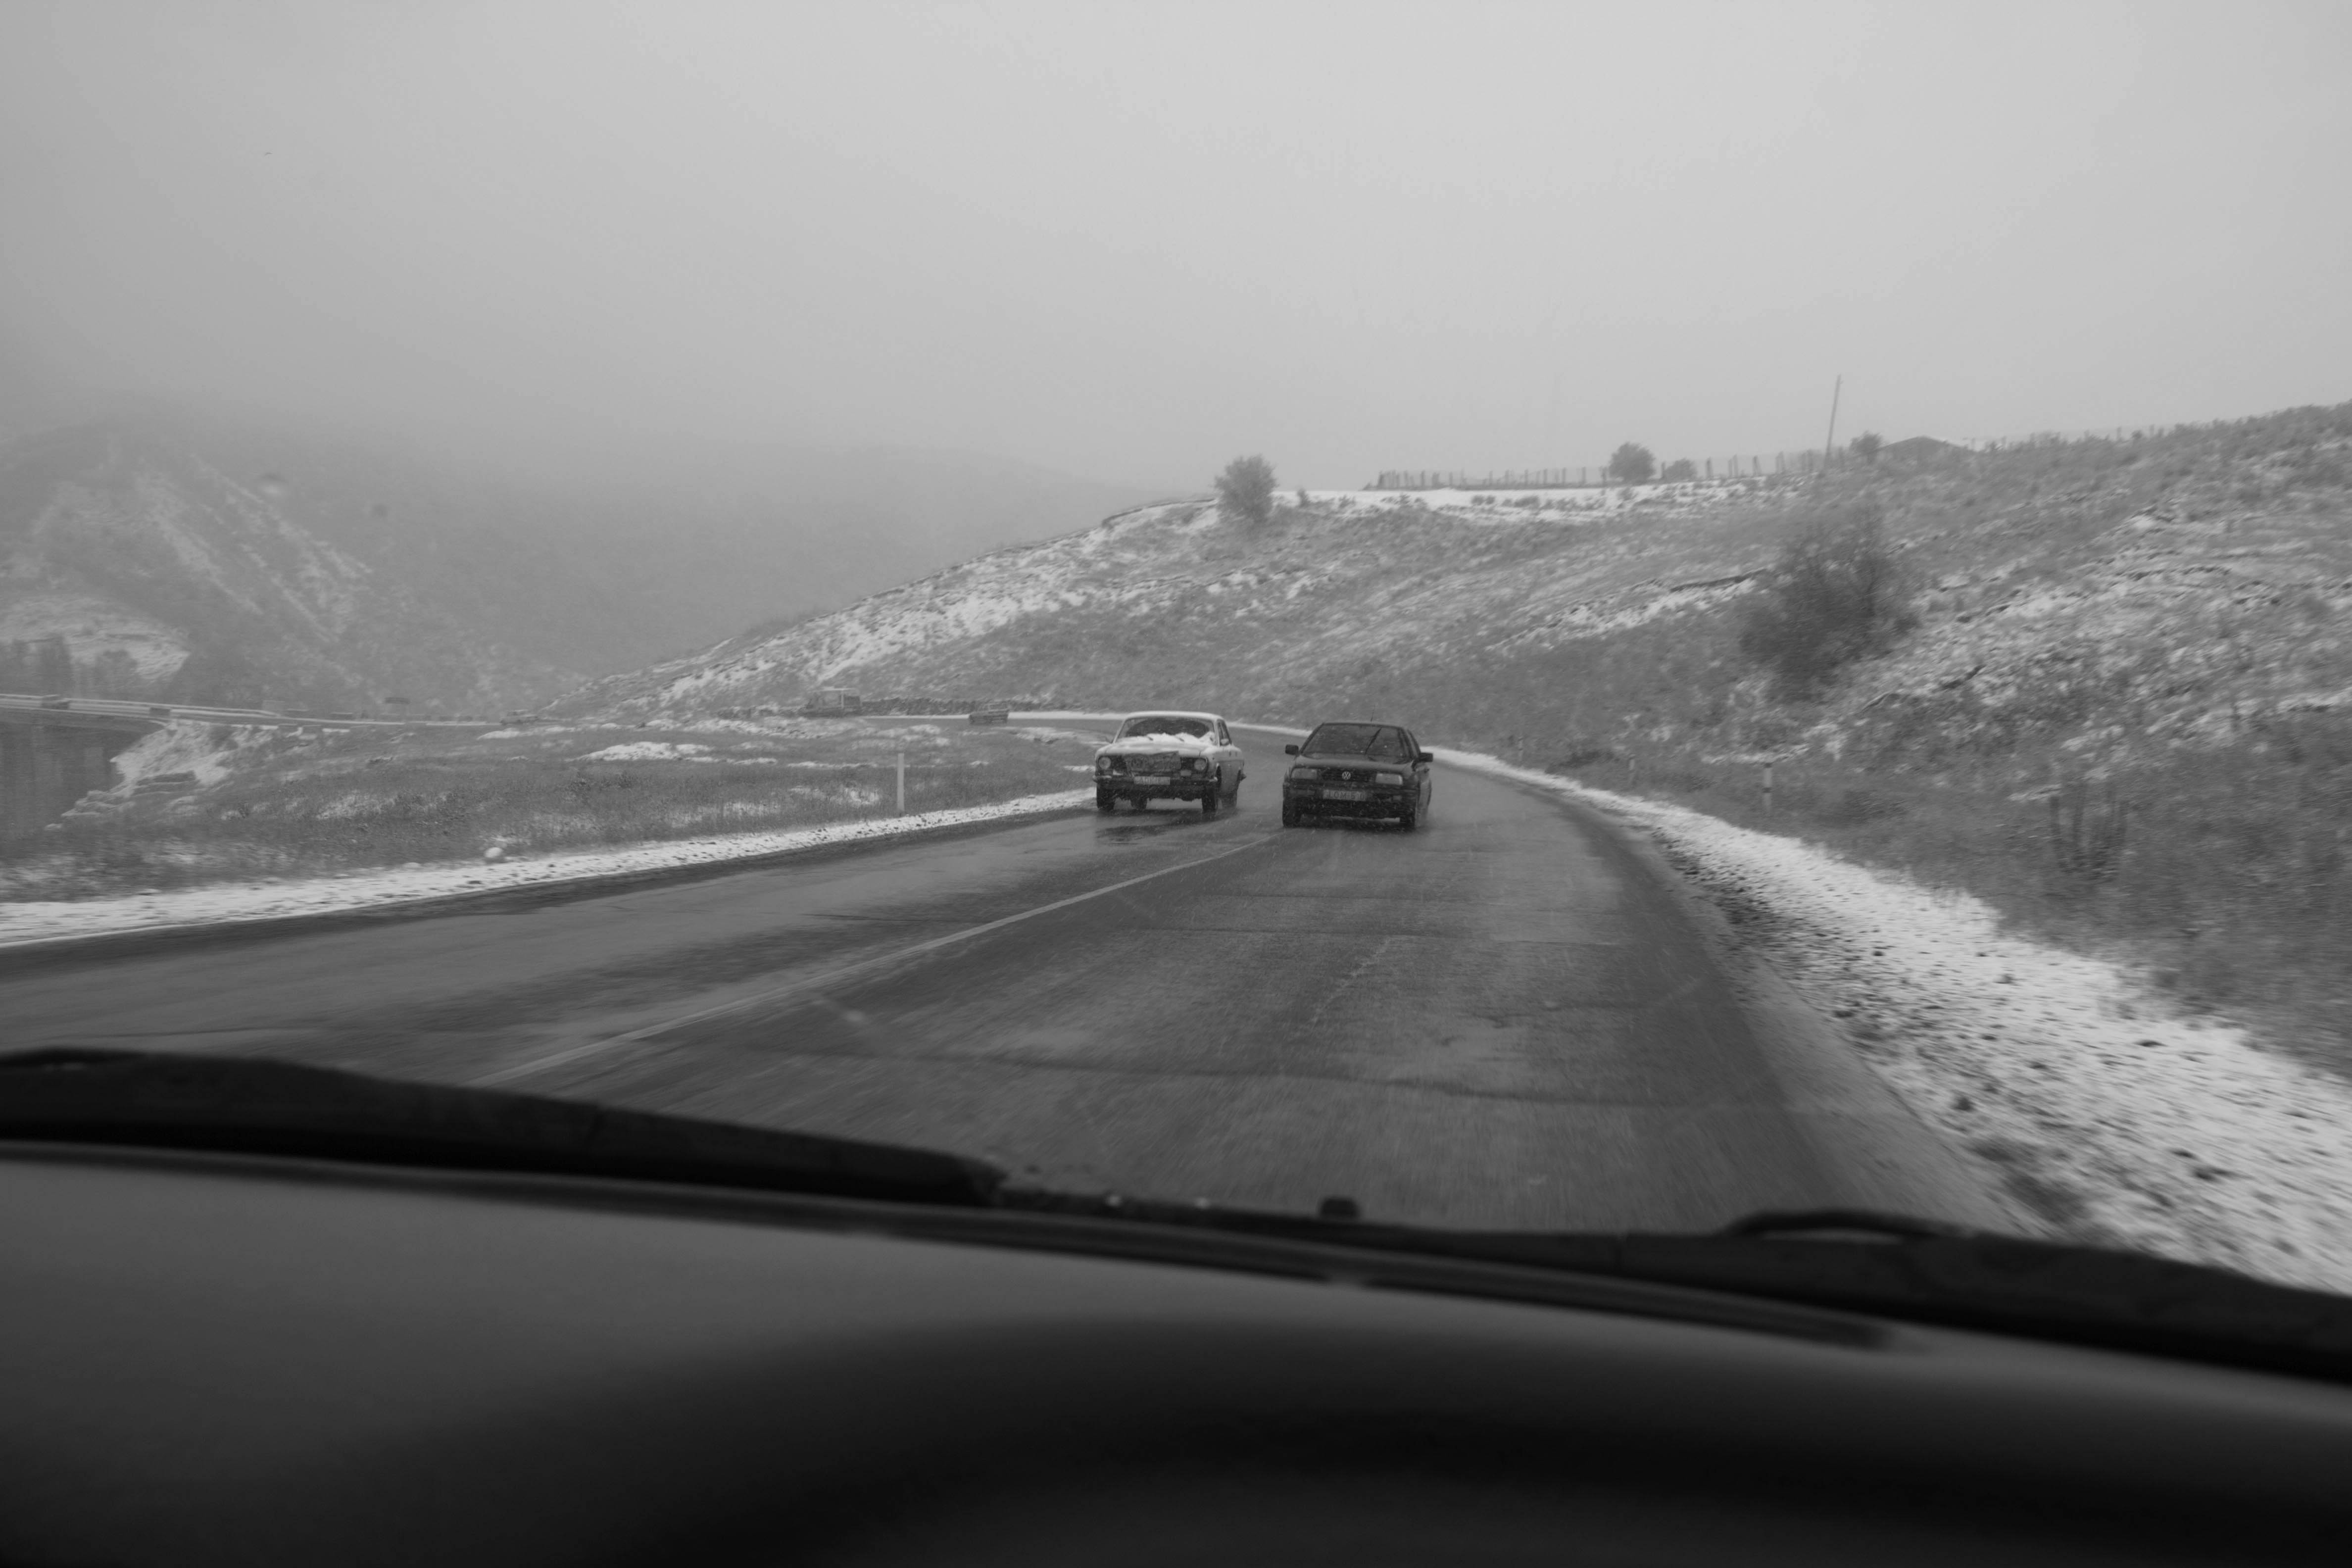
An Engagement Ring
2011A narrative series set in Wrocław in August 2011. Awarded 2nd prize & Silver Glass at the 10th Photographic Open Championship Olsztyn in 2014.
View Series →
Heat Wave
2014A documentary series recording spontaneous events across August and September 2014, capturing the raw energy of a city under the grip of summer.
View Series →