
"Photography is not about the thing photographed. It is about how that thing looks photographed."
Working with flash: balancing ambient and artificial light
Flash photography becomes persuasive when the added light belongs to the scene rather than competing with it. Ambient light gives a photograph its atmosphere, colour and sense of place, while artificial light provides direction, shape and control. The skill lies in allowing both sources to contribute with intention.
This balance matters across business portraits, fashion editorials, events and conceptual work. A flash can preserve the mood of a dim reception, add detail to a face beneath harsh Australian sun or create a graphic, studio-like effect in an ordinary office. The same equipment can produce subtle realism or a highly stylised image, depending on how it is measured and positioned.
For photographers working in Sydney, Melbourne, Brisbane or Perth, conditions can change quickly between locations. A bright north-facing window, a shaded veranda and a fluorescent conference room each demand a different relationship between daylight and flash. Local assignments also bring practical constraints, including short event schedules, EOFY campaigns and outdoor portraits affected by strong midday sun.
A thoughtful approach begins before the shutter is pressed. Observe the existing light, decide what should remain visible, and then use flash to support that decision. Whether the final image is made on digital equipment, medium-format film or black-and-white stock, the principles remain consistent: exposure, direction, colour and restraint.
Read the ambient light first
Before switching on a strobe, examine the light already present. Notice its direction, softness, colour and contrast. Window light may be broad and flattering, while overhead office lighting can create deep eye sockets and green or blue colour casts. At an event, practical lights, candles and illuminated signage may be essential to the atmosphere, even when they offer little exposure.
Take a test frame with the flash turned off. This reveals what the camera can record naturally and shows whether the background will disappear when artificial light is introduced. The result does not need to be technically perfect; it acts as a visual map. If the room is already bright and attractive, the flash may only need to lift the subject slightly.
Ambient exposure can be controlled through shutter speed, aperture and ISO. Shutter speed usually affects how much continuous light appears, while aperture influences both exposure and depth of field. ISO affects the whole exposure and can also change the character of grain, particularly when working with film. Establishing this base exposure gives the flash a clear role instead of asking it to illuminate everything.
Decide what the flash should do
A flash can be the primary light, a fill source, a rim light or a carefully controlled accent. Naming its function helps prevent contradictory choices. If the ambient light is the main source, reduce the contrast in the subject’s face with gentle fill. If the room is unattractive, allow the flash to dominate the subject while underexposing the surroundings.
Fill flash is especially valuable in Australian outdoor portraiture. Bright sun in Sydney or Perth can create hard shadows beneath the brow and chin, even when the overall exposure looks bright. A soft off-camera source placed near the camera axis can open those shadows while retaining the natural direction of daylight. The aim is usually a believable lift, rather than an obvious flash effect.
Artificial light can also establish a deliberate visual language. A hard source pointed across a fashion subject may create defined shadows and a crisp editorial quality. A large modifier close to the face produces smoother transitions and a more controlled portrait. The distance, size and angle of the source matter as much as its power, so changing position is often more effective than simply increasing output.
Balance brightness with shutter speed
The relationship between ambient and flash exposure becomes easier when handled as two connected decisions. First, set the aperture and shutter speed for the background and existing light. Then adjust flash power or distance for the subject. This separation gives the photographer a practical way to refine the image without changing everything at once.
A slower shutter speed allows more room light into the frame and can preserve colour in a dark venue. If the subject remains relatively still, this may create a rich, natural result. At a corporate event in Melbourne, for example, a shutter speed around 1/30 second can retain the warm glow of a hotel interior while a brief flash freezes the person’s expression. Movement in the background may become slightly blurred, adding energy rather than looking like a technical error.
Faster shutter speeds suppress ambient light and make the flash more dominant, although ordinary focal-plane cameras may impose a sync-speed limit. High-speed sync can extend the usable range for wide apertures in daylight, but it reduces flash efficiency. Neutral-density filters offer another route when a shallow depth of field is required outdoors. Each method affects the balance between power, motion and background brightness.
Shape light with distance and modifiers
The apparent size of a light source determines its softness. A large umbrella or softbox placed close to the subject wraps around the face and creates gradual shadow transitions. Move it farther away and it becomes relatively smaller, producing harder edges. This change can be more significant than the nominal wattage of the flash.
Bounce flash is useful when ceilings and walls are neutral, low enough and close enough to act as broad reflectors. In a Brisbane office with a white ceiling, angling a speedlight upwards can produce a soft overhead source with less direct glare. Coloured surfaces should be treated carefully because they can tint skin and clothing. High ceilings, dark timber and open industrial interiors often make bounce less reliable.
Flags, grids and black cards help control spill. A small flag can stop light from washing across a background, while a grid keeps a softbox from reaching a nearby wall. For conceptual portraits, negative fill can deepen one side of the face and create a more sculptural effect. These simple tools encourage precision without requiring a large studio setup.
Match colour and preserve atmosphere
Flash is commonly daylight-balanced, while interior lighting may be tungsten, fluorescent or LED. Leaving those sources unmatched can produce a deliberate colour contrast, but accidental mixed light often looks confused. A warm room with a neutral flash on the subject may be attractive when the background is allowed to remain golden; it becomes distracting if skin tones shift unpredictably across the frame.
Gels provide a practical solution. A CTO gel warms the flash so that it can be balanced with tungsten light, allowing the whole scene to feel coherent. A green correction gel may help when older fluorescent fittings dominate. The camera’s white balance should then be set for the combined sources, or the colour can be refined later during processing.
Colour decisions matter in analogue work as well. With film, the choice of stock, filtration and laboratory process influences how mixed sources are rendered. Black-and-white film removes hue but retains differences in brightness and contrast. Flash technique still needs to account for the luminous quality of the room, because a green or orange source becomes a different tonal value rather than disappearing.
Work with flash on location
Location lighting should serve the assignment’s schedule and environment. For a business portrait in a Sydney office, a compact battery strobe, a medium softbox and a collapsible reflector may provide enough control without disrupting staff. A fashion shoot in Melbourne may require additional grip equipment when wind, narrow laneways or changing cloud cover affect the setup. Efficient lighting is often more valuable than a large collection of fixtures.
Events require a different rhythm. Direct flash from the camera can flatten faces, but bouncing or using a small off-camera unit creates more depth. A modest amount of flash combined with a slower shutter can retain the venue’s atmosphere and show the scale of the gathering. It is important to anticipate movement, reflective surfaces and changing backgrounds rather than relying on one fixed exposure throughout the evening.
For photographers developing a professional kit, specialist information such as practical lighting guidance can sit alongside hands-on testing and manufacturer manuals. The useful principle is to choose equipment that matches the work: reliable triggering, fast recycling, portable modifiers and enough battery capacity for the assignment. A lightweight system is easier to position and less intrusive with clients.
Refine the image through observation
Reviewing the histogram and highlight warnings helps identify technical problems, but the face and background remain the final judges. Check whether the eyes have sufficient detail, whether skin highlights are controlled and whether the artificial light has created a visible transition on the wall. A technically balanced frame can still feel lifeless if the source direction has no relationship to the environment.
Small changes often produce the strongest improvements. Lowering flash power by one stop can restore a room’s depth. Raising the light slightly can reduce distracting shadows under the nose. Moving the subject away from a wall can separate the background and prevent an obvious hard-edged shadow. Changing the angle by a few degrees may reveal the shape of cheekbones or the texture of clothing.
The same discipline supports fine art and commercial photography. In a conceptual series, the contrast between a quiet ambient space and a sharp flash burst can express tension or isolation. In a commercial portrait, the balance may need to feel effortless, clean and repeatable across several people. The creative decision is different, but both depend on controlling the relationship between available light and added light.
A convincing flash photograph rarely announces the equipment used to make it. It preserves the character of the place, gives the subject presence and directs attention without overwhelming the scene. Whether the image records a Perth exterior, a Melbourne studio or a crowded Brisbane event, the best balance comes from treating ambient and artificial light as parts of the same visual composition.
Selected Series
A cross-section of commissioned and personal projects spanning fine art, commercial, and conceptual work.
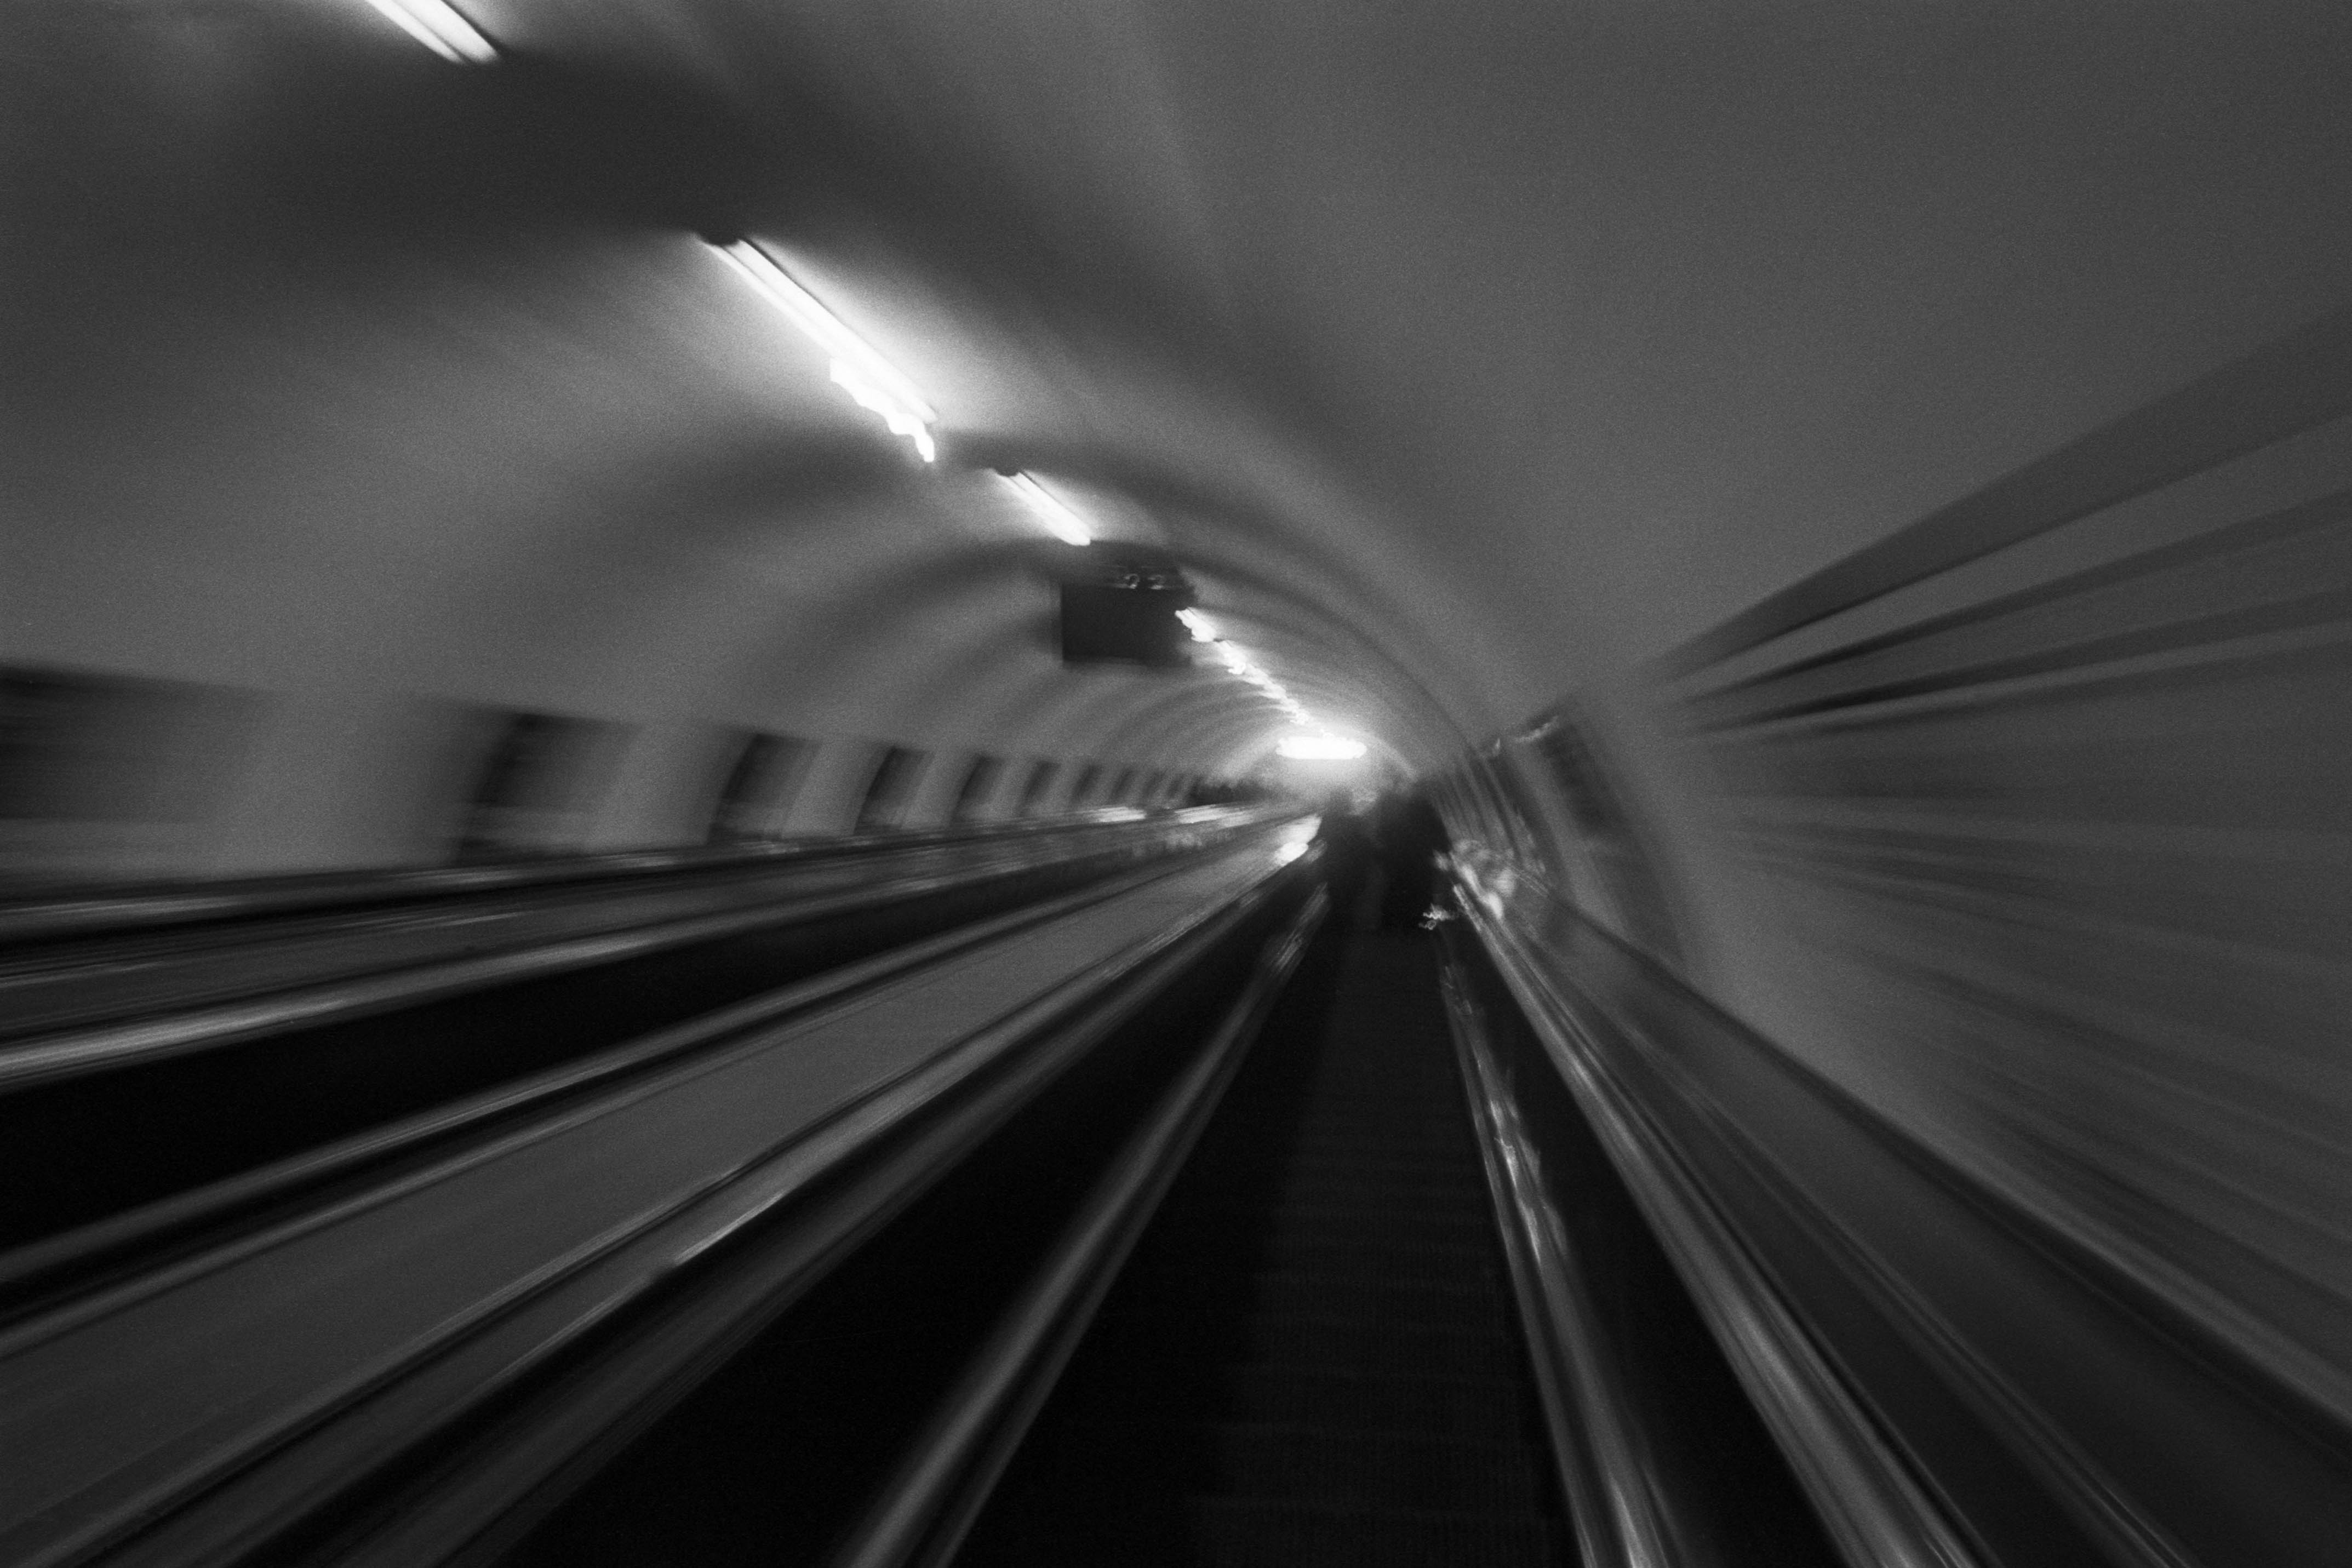
The Wall
2015Winner of the 1st prize & Golden Glass Award at the 11th Photographic Open Championship Olsztyn, and 1st place with the Special Prize of FORMAT magazine at the 3rd Biennial of Art in Piotrków Trybunalski.
View Series →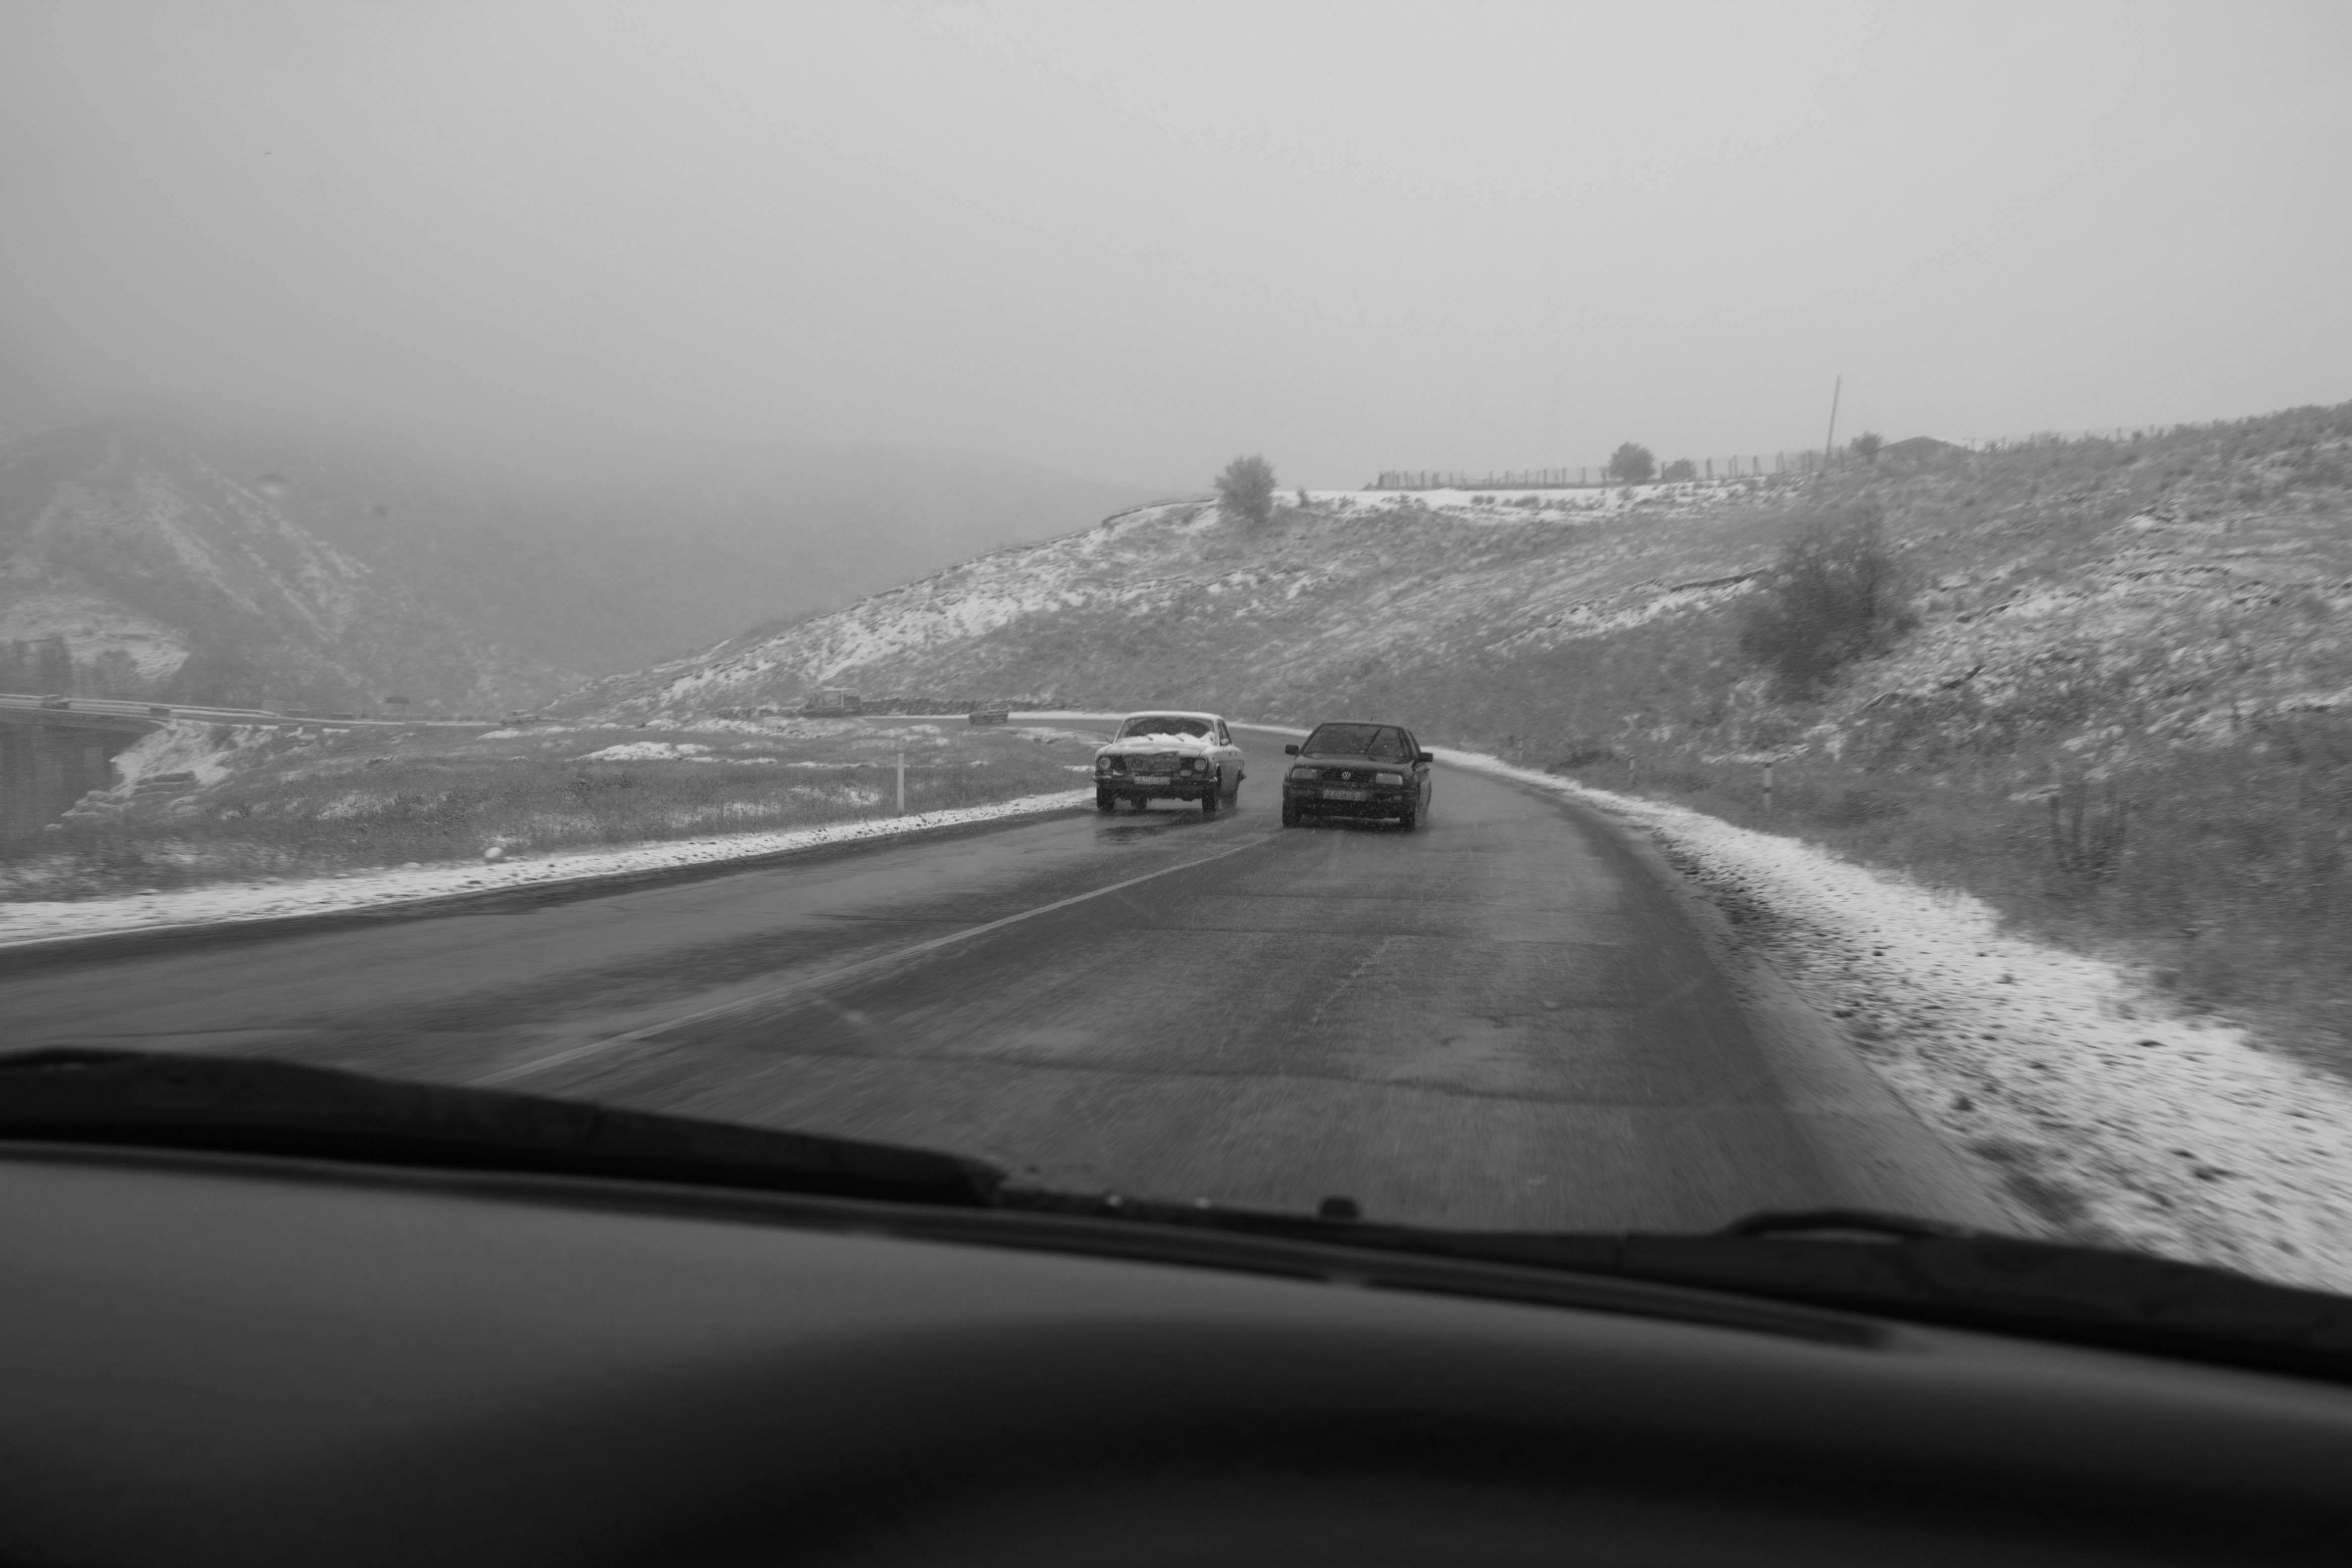
An Engagement Ring
2011A narrative series set in Wrocław in August 2011. Awarded 2nd prize & Silver Glass at the 10th Photographic Open Championship Olsztyn in 2014.
View Series →
Heat Wave
2014A documentary series recording spontaneous events across August and September 2014, capturing the raw energy of a city under the grip of summer.
View Series →