
"Photography is not about the thing photographed. It is about how that thing looks photographed."
Controlling bright overhead light for sharper photographs
Midday sun can make a familiar location look unexpectedly severe. Shadows become short and graphic, skin appears shiny, pale clothing loses its texture, and bright windows or sunlit walls can tempt the camera to expose so low that faces turn grey. Shooting in harsh midday sun without losing quality depends less on a magical filter than on controlling contrast, protecting highlights and giving the subject some relief from the overhead light. The aim is to preserve depth, character and natural colour rather than imitate the flat look of a phone snapshot.
A strong plan starts before the subject arrives. Check where buildings, trees, vehicles and reflective surfaces will send the light, then decide whether the strongest result should come from open shade, backlight, an angled portrait or a graphic environmental composition. Keep equipment cool, hydrated and shaded, especially during long outdoor sessions. Exposure decisions are easier when the crew has a clear intention for each frame, rather than reacting after the skin and highlights have already become difficult to recover.
Read the light before you raise the camera
A useful first exercise is to look at the light twice. First, notice the direction and hardness of the sun: where the eyebrows cast shadows, whether the subject is lit from the front or above, and which surfaces bounce light back upwards. White architecture, pale sand and water can act like a giant reflector, while dark windows, cars and shaded walls create contrast that changes rapidly as people move. Even on a clear day, those secondary sources may matter more to the face than the sun itself.
Scout for cover and visual depth. A doorway may provide soft shade; a low wall can prevent direct sun from reaching the eyes; a distant ridge or building can separate the subject from a pale background. Arrive early enough to make a test exposure and walk the route with the lens you intend to use. A polarised test can reveal glare, but do not assume a polariser will make every scene better: it can darken skies unevenly and remove useful reflections. Record changing conditions such as cloud cover, wind-driven dust and the time when light reaches a planned patch of shade.
Give the subject a softer place to stand
Open shade is the simplest control, but it must be chosen carefully. Put both photographer and subject under an awning, verandah, overhang or shade sail so the light arrives consistently. Dappled shade under trees creates distracting bands across the face. Look for reflected light from a nearby wall and turn the subject slightly towards it if that softens shadows without exposing them to direct sun.
When no suitable shade exists, make one. A large white scrim, diffusion panel or stretched pale sheet between subject and sun reduces the apparent size of the source and restores a gradual transition across the face. Keep it out of frame and far enough away that its shadow does not fall across the subject. Pale fabric often works better than a reflector against overhead sun because it softens the source before the light reaches the person.
Fill and negative fill should then be balanced. White or silver boards lift facial shadows; black fabric or a dark wall deepens them and gives the face more shape. The decision depends on the desired contrast: soft and open for fashion, or firmer and sculptural for a corporate headshot. If daylight is too strong, a flash or continuous light can provide controlled facial illumination. Diffuse it, lower its output and blend it with the ambient level rather than letting it become an obvious patch.
Expose for the brightest highlights
Meter for the brightest important area, not an average grey card. Highlight warnings, histograms and live view reveal clipping, but the histogram alone cannot show a small clipped face against a pale background. Check skin, white clothing, windows and reflective objects separately. If the subject cannot tolerate an exposure that protects those highlights, change the angle or add shade instead of accepting permanently white fabric.
In practice, an exposure slightly below the meter reading often holds more highlight texture. The adjustment depends on the scene, sensor and intended contrast, so a fixed rule such as one stop under is too crude. Use the histogram and warnings to judge, then bracket where the scene allows. A tripod keeps the foreground aligned between frames. Digital sensors recover some shadow detail more readily than overexposed highlights, which makes underexposure a more manageable file than a bright, clipped one.
Choose settings that keep the face sharp without motion blur. A fast shutter may force a higher ISO, but modern files usually hold that trade well. Aperture shapes background and light intensity: a wider aperture can keep the ISO manageable, while a narrow one may introduce diffraction at extreme settings. On film, latitude is narrower, so meter carefully and bracket when the subject can remain still. The goal is a technically complete frame, not simply the darkest exposure that appears acceptable on the camera screen.
Keep colour and skin believable
Keep white balance stable and make one deliberate choice for mixed light. Under a blue sky and open shade, faces can turn cool, while reflected ground or warm light can make them orange or red. A custom white balance or consistent preset based on the actual light gives more control than automatic shifts. Record RAW files and avoid crushing red, orange and blue channels to force neutrality. Freckles, lips, hair and pale fabric all contain colour information.
Skin should remain recognisable, not waxy. Judge colour against a neutral card or the subject’s clothing, and avoid making a tan complexion pale because a preset expects it. Reflections from dry grass, red earth or sandstone can colour the whole image. Correct the cast with white balance and restrained channel adjustment, then protect saturation in bright areas. In monochrome, use tonal separation rather than adding grain to disguise a flat file.
A circular polariser can reduce glare from leaves, water and smooth surfaces, and deepen a clear blue sky. It cannot recover clipped highlights or make hard sunlight soft, and it costs roughly one to two stops of light. Rotate it carefully because the effect changes across wide frames. Use it when a reflection is distracting, not as an automatic accessory. When contrast exceeds the camera’s range, changing position, adding diffusion or waiting for softer light usually produces a cleaner result.
Let film and digital reinforce each other
Film remains valuable for personal projects because it forces slower decisions and encourages attention to light before pressing the shutter. Rafal Michalak’s reflections on film over digital for personal projects describe that deliberate rhythm well. For a midday commission, a tested medium-format camera can also provide a large negative format and fine detail, but the process benefits from preparation: select the lens and film combination in advance, carry a light meter, and decide which frames deserve a full exposure rather than a quick test roll.
Colour negative film can hold attractive skin tones, but its response to severe contrast still needs control. Expose for the face and brightest clothing, watch the shadows for loss of detail, and use a large reflector or scrim to lower the ratio between sun and shade. Black-and-white film simplifies the challenge into a study of density, shape and highlight retention. A meter reading based on the subject’s clothing may expose for the wrong tone, so use an appropriate test and stay with one measurement system throughout the roll.
Digital tools should support that same discipline rather than compete with it. Tethering, a grey card and a quick histogram check can confirm a film-style lighting decision before committing to an exposure. If analogue technique is central to the practice, digital can be used for scouting, focus confirmation and client presentation, while film supplies the final aesthetic. Whatever combination is used, make a clean backup after each shoot and keep colour-managed files, raw captures and scan notes together.
Adapt the method to Australian conditions
Australian conditions make these choices practical. During the warmer months in Sydney and Melbourne, the sun sits high enough to create short, hard shadows, while high UV levels make unprotected skin and eyes vulnerable within a short exposure. A shaded setup is therefore a creative preference and a safer working condition. Broad-spectrum sunscreen, a brimmed hat, suitable sunglasses and regular breaks belong in the field kit, along with water.
Perth’s dry conditions can create clean shadows and strong glare, particularly around coastal locations, pale limestone and reflective glass. Alice Springs adds high heat, fine red dust and bounce colour from the ground that can affect equipment and skin. Keep lenses away from dusty ground, allow recovery time between frames, and watch for heat shimmer with long lenses. In remote areas, a reliable vehicle and tested shade structure may matter as much as another camera body.
The Australian market rewards images that feel bright without looking bleached. Commercial briefs often cover summer fashion, beach campaigns, outdoor retail, hospitality, corporate portraits and events, with schedules organised around customers and staff rather than ideal light. During the local tradition of Christmas on the beach, a midday commission can capture the atmosphere international campaigns seek, yet controlled reflections and protected skin tones keep it from looking accidental. Clear intent and quick shade decisions turn harsh sunshine into a polished asset.
Protect detail from capture to final file
A careful capture stage saves time in post-production. Work from a calibrated display, set the lens profile correctly, and make the first edit with broad tonal structure rather than heavy clarity, saturation or sharpening. Highlights with information can often be recovered from RAW; areas clipped at capture cannot. Lower highlights selectively, ease the whites and blacks gently, and preserve natural density in the face. If the frame feels empty, changing position is better than manufacturing detail.
Analogue habits translate well into digital finishing. Dodge and burn can shape light around the subject, restrained grain can unify a frame, and a black-and-white conversion should begin from a well-exposed colour file. Remove fine dust spots and sensor marks before adding aggressive texture. For film scans, compare the scan with the negative and correct density or colour balance only after the photographer’s intent is clear; over-processing can erase the subtlety that justified choosing film.
Finish with checks at the size the image will be seen. Inspect the face, highlight edges and reflective highlights, and watch for retouching that looks artificial. Deliver versions suited to print, web and commercial licensing without allowing compression to create hard edges around skin. A midday photograph succeeds when the light feels convincing, the subject remains present and the brightest surfaces still carry information. The strongest frames keep the character of the hour while protecting the person at its centre.
Selected Series
A cross-section of commissioned and personal projects spanning fine art, commercial, and conceptual work.
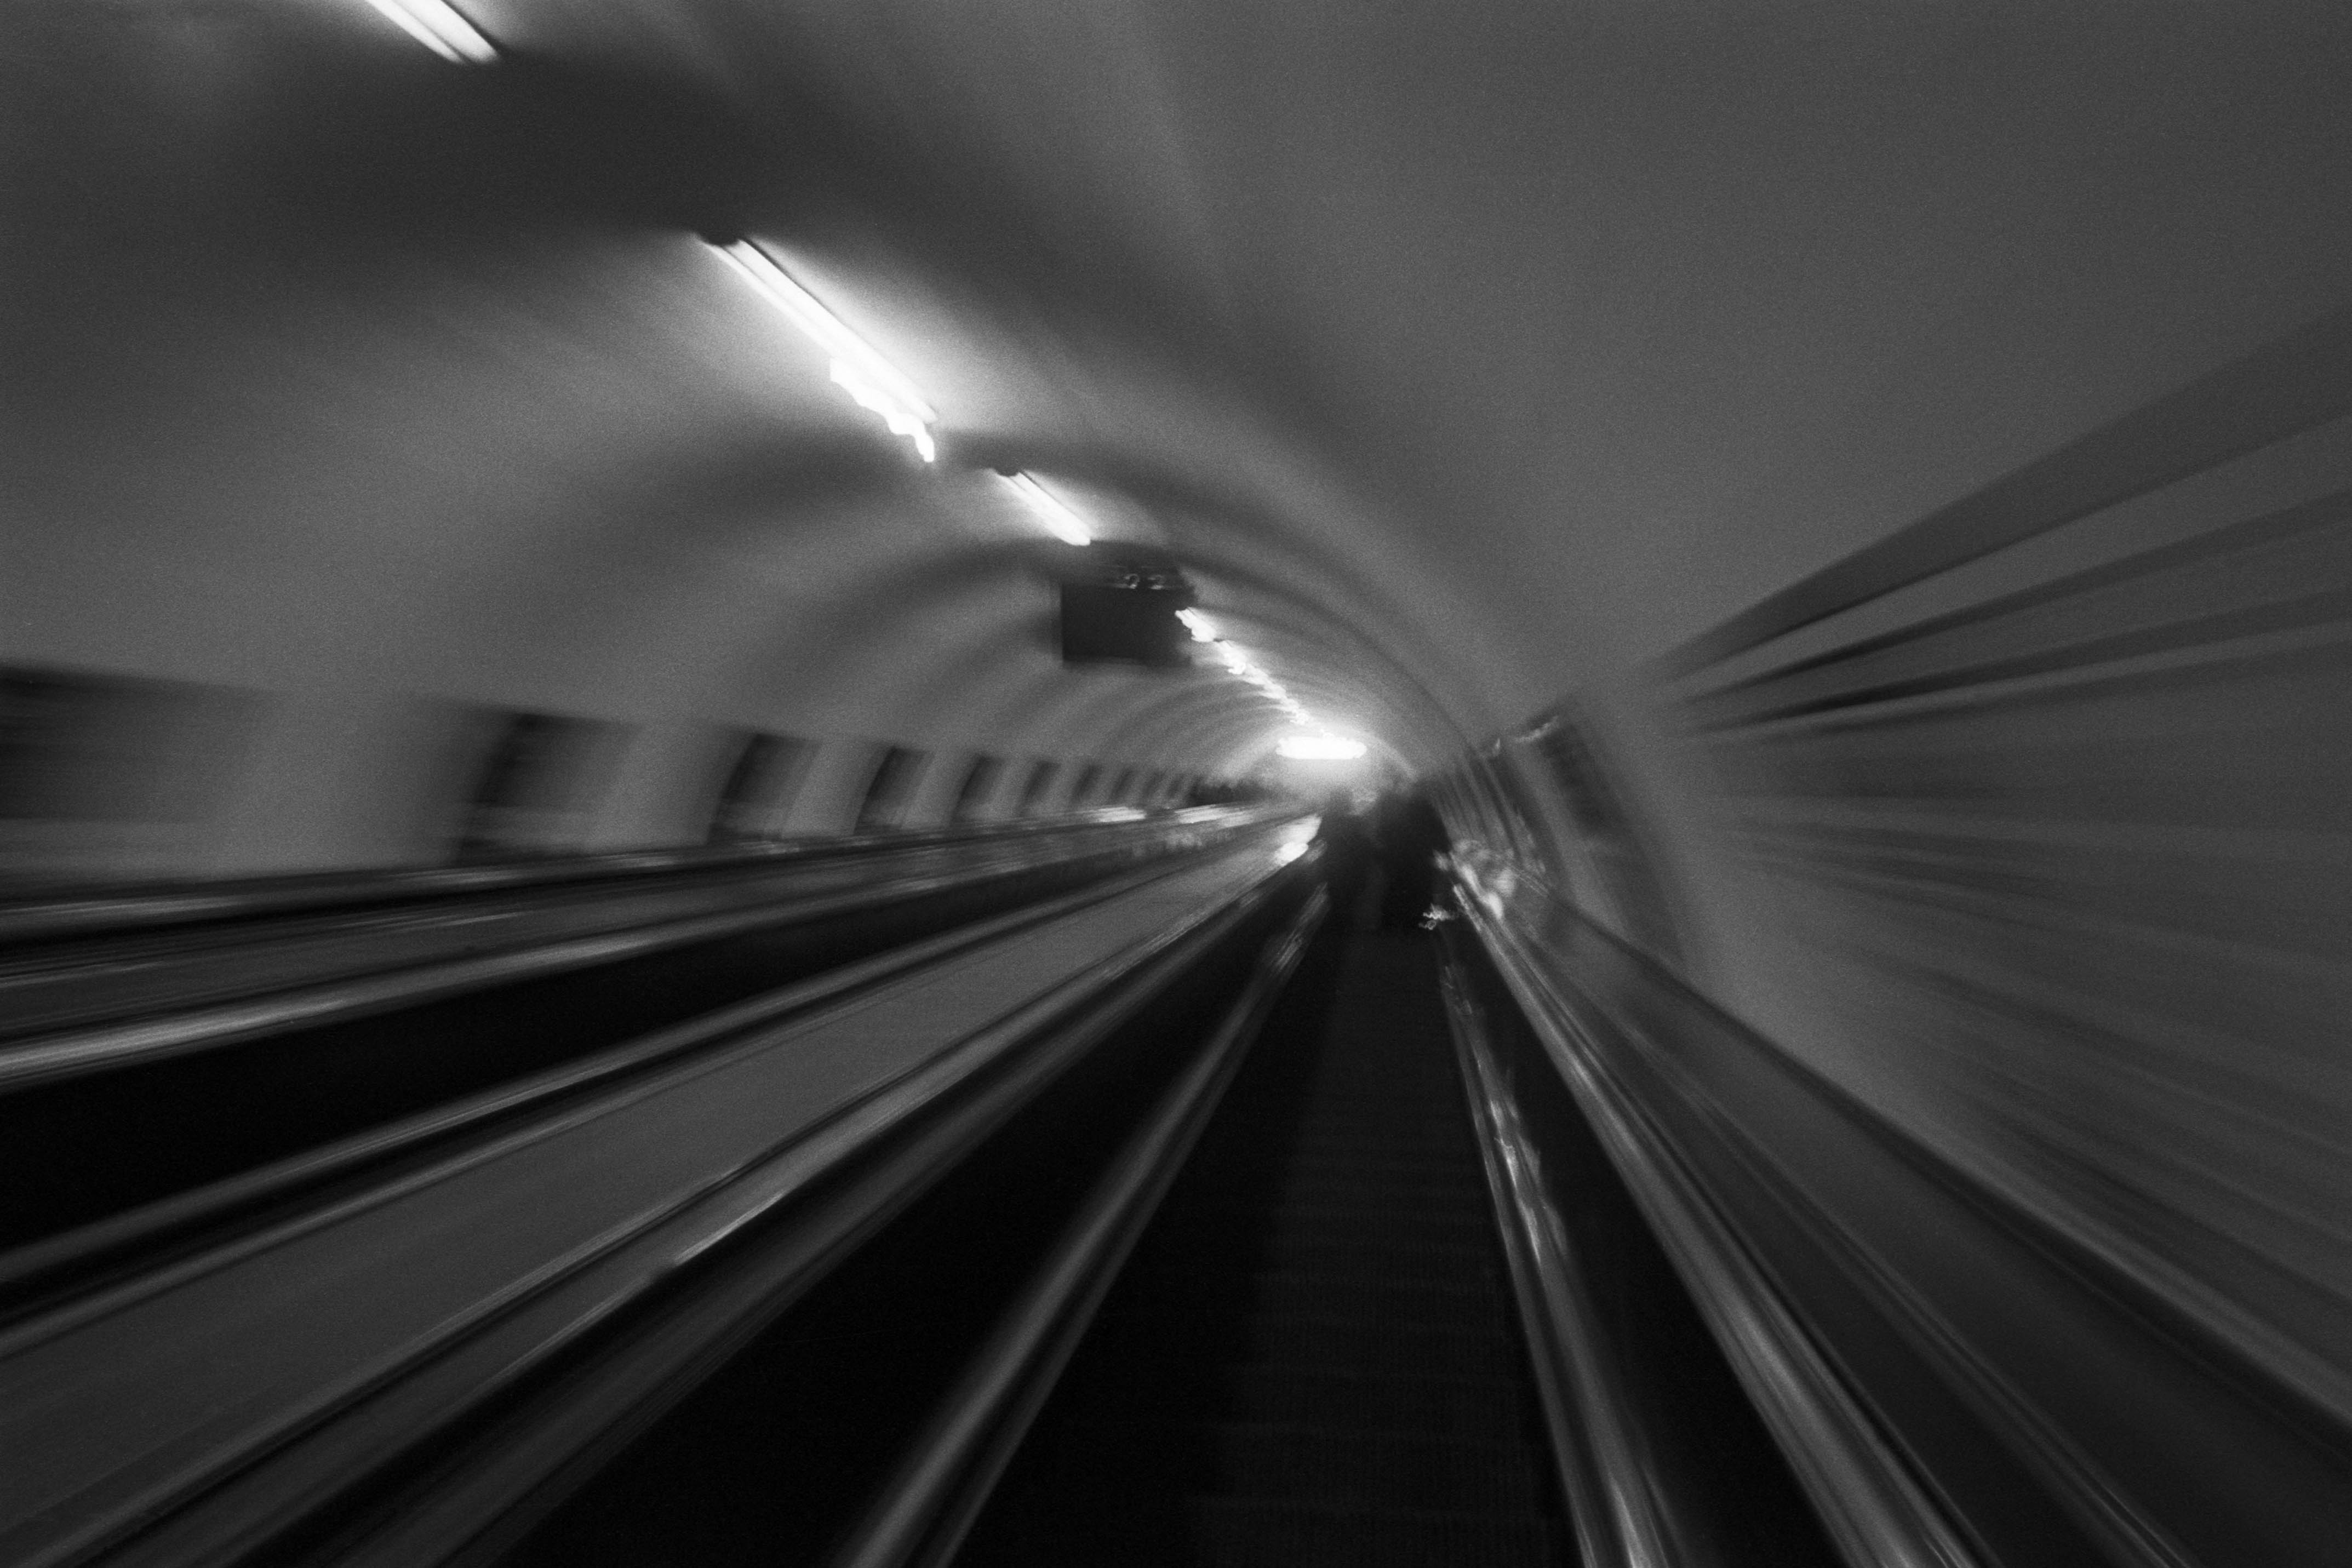
The Wall
2015Winner of the 1st prize & Golden Glass Award at the 11th Photographic Open Championship Olsztyn, and 1st place with the Special Prize of FORMAT magazine at the 3rd Biennial of Art in Piotrków Trybunalski.
View Series →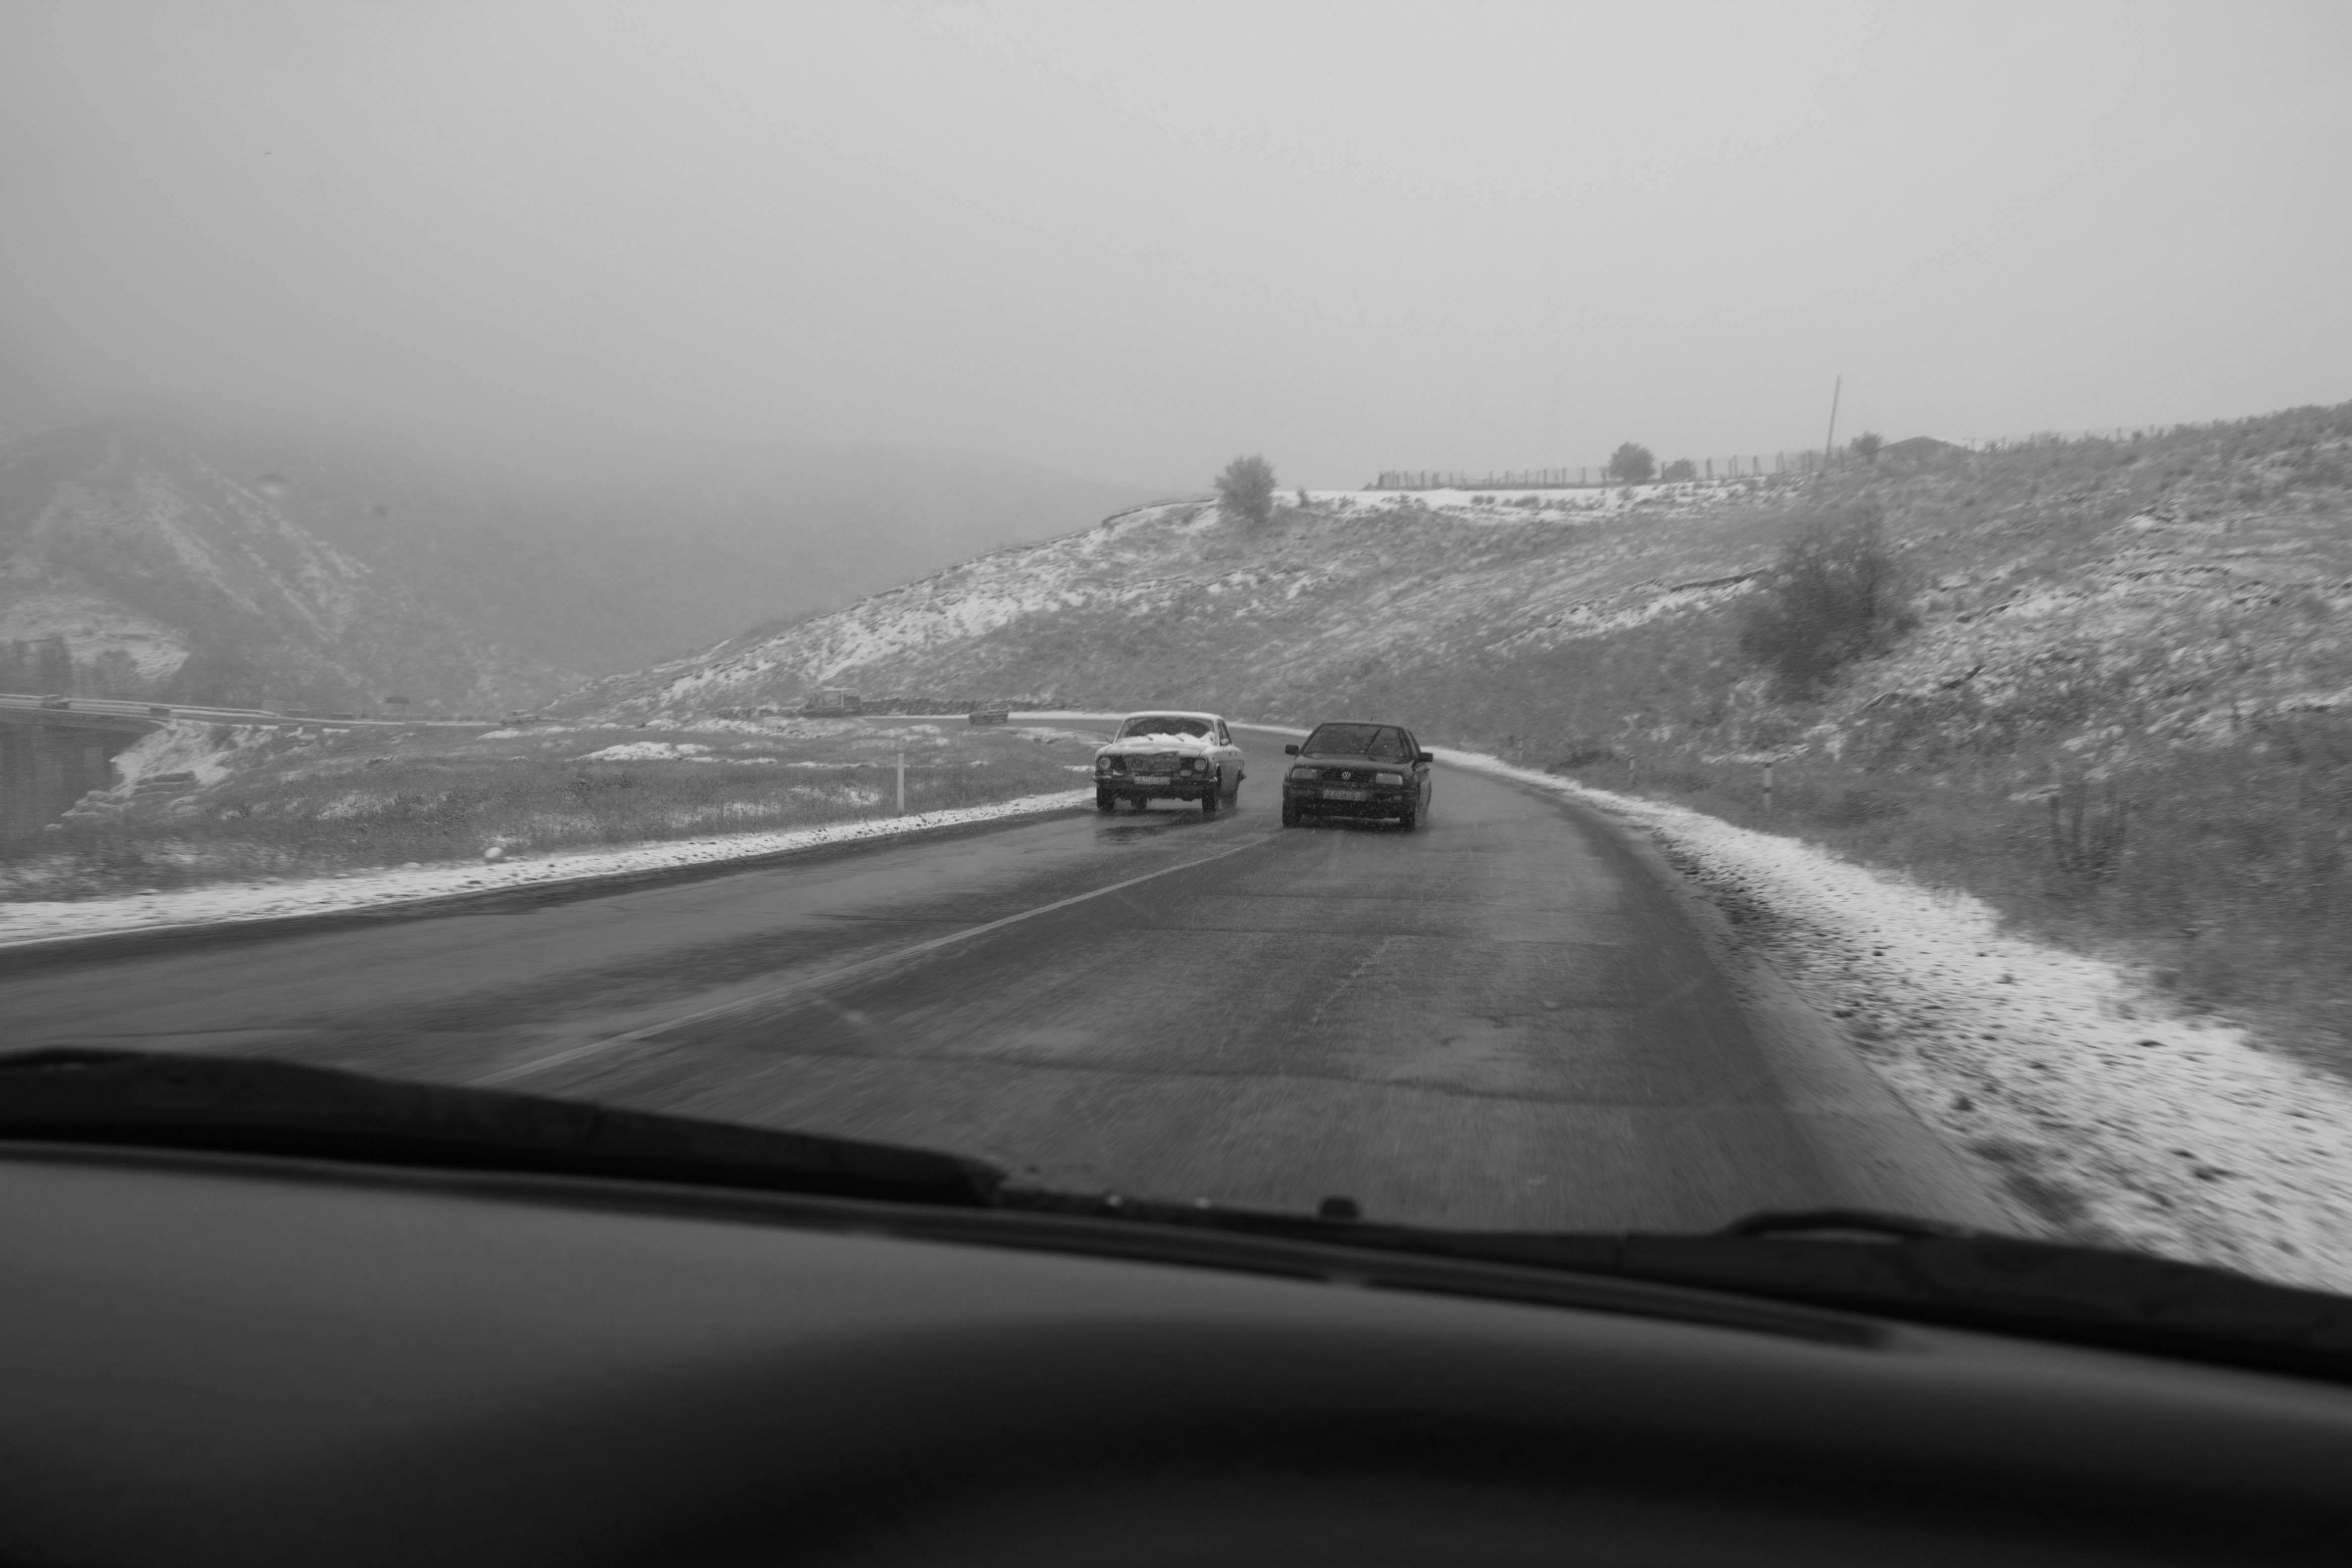
An Engagement Ring
2011A narrative series set in Wrocław in August 2011. Awarded 2nd prize & Silver Glass at the 10th Photographic Open Championship Olsztyn in 2014.
View Series →
Heat Wave
2014A documentary series recording spontaneous events across August and September 2014, capturing the raw energy of a city under the grip of summer.
View Series →