"Photography is not about the thing photographed. It is about how that thing looks photographed."
Shooting in low light for sharp, moody images
Low light can give a photograph its emotional weight. A dim room, a street after rain, or a single window illuminating a face can create tension and atmosphere that a bright, evenly lit scene often lacks. The difficulty is preserving detail and focus while working with limited exposure, especially when the subject is moving or the available light changes from one moment to the next.
Sharpness in these conditions comes from a combination of decisions rather than one camera setting. Shutter speed, aperture, ISO, focus technique, image stabilisation, and the photographer’s own movement all influence the result. A technically clean file is useful, but a successful moody image also needs deliberate shadow, controlled highlights, and a clear visual subject.
These principles apply across business portraits, fashion editorials, live events, and conceptual photography. They are equally relevant in a Melbourne laneway at dusk, inside a quiet Sydney bar, or during a winter portrait session in Adelaide. By combining digital tools with the discipline associated with analogue and medium-format photography, low-light scenes can remain expressive without becoming careless or blurred.
Read the available light before changing settings
The first step is to study the light rather than immediately raising the ISO. Look for its direction, colour, hardness, and consistency. A shopfront, desk lamp, street sign, or window may provide enough illumination if the subject is positioned carefully. Turning a person a few degrees towards a light source can add shape to the face and reduce the need for a slower shutter speed.
Low-light photography often benefits from accepting an imperfect distribution of brightness. Letting the background fall into deep shadow can make the subject more prominent, while allowing a small practical light to remain visible can establish the location. In a portrait, the important detail may be limited to the eyes, cheekbones, and hands. Trying to brighten every corner can flatten the mood and introduce unnecessary noise.
Australia offers many useful evening environments for this approach. The warm light spilling from cafés in Melbourne, the mixed neon and sodium lighting around Brisbane’s entertainment precincts, and the blue hour along Perth’s streets can all become part of the composition. Everyday scenes such as people waiting for a tram, carrying takeaway coffee, or leaving a late gallery event often have naturally layered light worth observing before setting up a shot.
Choose a shutter speed that protects the subject
A slow shutter speed records more light, but it also records movement. Camera shake and subject movement need to be treated separately. Image stabilisation may help with the first problem, yet it cannot freeze a person shifting their weight, turning their head, or gesturing during an event. For a still portrait, a shutter speed around 1/125 second is often a safer starting point, while a moving subject may require 1/250 second or faster.
The right value depends on the lens, the distance to the subject, and the visual effect desired. A carefully controlled drag of the shutter can preserve a sharp face while allowing hands, traffic, or passing lights to blur. This works particularly well for fashion and music photography, where a trace of motion can suggest energy. The technique should be intentional: use a stable stance, press the shutter smoothly, and take several frames while the gesture develops.
When photographing an event in Sydney or Melbourne, low ambient light may be combined with bright LED screens and stage lights. Metering for the darkest area can overexpose faces when a spotlight appears, while metering for the highlight may leave the rest of the frame too dark. Watch the subject’s face, keep the shutter fast enough for human movement, and allow the surrounding darkness to retain its depth.
Use aperture and ISO as creative controls
A wide aperture is a natural choice in dim conditions because it admits more light and can separate the subject from a distracting background. Lenses around f/1.4, f/1.8, or f/2 can produce a distinctive shallow depth of field, but the focus plane becomes very narrow. At close portrait distances, an eye may be sharp while the tip of the nose and the second eye soften. That can be beautiful, though it should be a conscious decision rather than an accident.
Stopping down slightly to f/2.8 or f/4 can provide more reliable sharpness while preserving a gentle background blur. This is often practical for business portraits, where both eyes and key facial features should feel clear. A medium-format camera can add tonal depth and a refined fall-off, but its larger sensor does not remove the need for accurate focus or a steady technique.
ISO should be raised when it allows a usable shutter speed, not treated as a failure. Modern cameras can produce attractive grain at moderate and high sensitivities, and a monochrome treatment can make that texture feel coherent. In digital post-production, avoid excessive noise reduction, which can erase skin texture and fine edges. Film photographers may embrace the character of pushed black-and-white film, where visible grain becomes part of the visual language rather than an unwanted defect.
Focus with precision in dark scenes
Autofocus systems need contrast, and a nearly black scene may give them very little to analyse. Aim the focus point at an edge with tonal separation, such as an eyelash against skin, the rim of a jacket, or a lit sign behind the subject. Single-point autofocus is often more dependable than allowing the camera to choose among several low-contrast areas.
Eye-detection can be valuable, especially when a person is moving slowly, but check its behaviour before relying on it during a paid session. It may lock onto a nearer object, eyelashes, glasses, or a bright reflection. For a conceptual portrait with a fixed pose, magnified manual focus through live view can provide greater control. Once focus is set, ask the subject to maintain their position and make small adjustments to posture rather than repeatedly changing distance.
A photographer working on location should also make practical use of available light for focusing without allowing it to dominate the final image. A small continuous lamp or phone screen can briefly help establish focus, then be removed. In a darkroom-minded workflow, this attention to the decisive area of the frame mirrors the care given to a negative: shadow detail matters, but clarity must serve the image’s central idea.
Stabilise the camera without losing flexibility
A tripod is valuable for architecture, interiors, landscapes, and carefully posed portraits. It permits a slower exposure and encourages a deliberate composition. Turn off stabilisation when the camera is firmly mounted if the manufacturer recommends doing so, and use a timer or remote release to minimise vibration. For long exposures, keep the tripod on solid ground rather than a resonant wooden floor or a platform affected by foot traffic.
Handheld work calls for a repeatable body position. Tuck the elbows in, support the lens from underneath, keep the camera close to the face, and exhale gently as the shutter is released. Bracing against a wall, pole, or table can add stability, though public locations require awareness of pedestrians and property. Burst shooting can increase the chance of obtaining a sharp frame, but it should support timing rather than replace it.
In Australia, location work may involve sudden practical constraints: a windy foreshore in Perth, a crowded laneway in Melbourne, or a humid evening in Brisbane. A compact monopod or small tripod can be easier to manage than a large support system. Always check venue conditions before bringing equipment into a concert, museum, or commercial space, since event staff and property owners can impose restrictions even where general street photography is permitted.
Shape mood with colour and contrast
Low light is rarely neutral. Tungsten bulbs, fluorescent tubes, LED panels, shop signs, and daylight from a window may all appear in the same frame. Rather than correcting every colour difference, decide which source should define the mood. A warm practical lamp against cool window light can create visual separation between the subject and the environment. If mixed colour becomes distracting, use a black-and-white treatment to emphasise form, texture, and luminance.
Exposure should protect important highlights while retaining enough information in the shadows for a controlled edit. Raw files provide flexibility, but lifting every dark area can make the image look flat and reveal distracting noise. A stronger approach is to decide which shadows should remain quiet. Gentle adjustments to contrast, local exposure, and black point can preserve atmosphere more effectively than applying a heavy preset.
This balance has a strong connection with landscape and portrait traditions. Rafal Michalak’s reflections on Polish landscape influences describe how place can shape a visual sensibility through atmosphere, tonal restraint, and a relationship with natural surroundings. The same principle can guide an Australian night image: the darkness of a coastal road, a suburban garden, or a city under cloud should feel specific to its setting rather than used as a generic dramatic effect.
Plan responsibly for portraits and commissioned work
A moody portrait still needs communication. Explain the intended darkness, ask the subject to hold a position, and show a test frame so they understand how the light is shaping their face. For business portraits, preserve enough expression and eye detail to maintain approachability. A dramatic look may suit an artist, designer, or fashion campaign, while a law firm or healthcare client may need a more open and evenly controlled result.
Local permissions matter when working in Australia. Photography in public places is generally allowed, but private venues, shopping centres, galleries, transport facilities, and event spaces can set their own rules. Commercial use may also require permission from a property owner, organiser, or identifiable person, particularly when the image suggests endorsement. The Privacy Act 1988 regulates personal information handled by many organisations, so client records, releases, and storage practices deserve careful attention even when the act does not prohibit ordinary street photography.
The local photography market also rewards reliability as much as visual style. A corporate client in Canberra may expect a consistent set of headshots, while a fashion team in Sydney may value experimental shadow and grain. In either case, carry spare batteries, a fast lens, backup storage, and a small continuous light where appropriate. Keep a written record of the agreed usage, delivery format, and location permissions. Technical control in darkness becomes truly useful when it is paired with clear planning and respect for the people and places in the frame.
Low-light images become convincing when their technical limitations are made purposeful. A sharp eye surrounded by darkness, a controlled trail of movement, or grain across a quiet street can all communicate more than a brightly exposed scene. Work slowly enough to read the available light, choose settings according to the subject’s movement, and allow colour, shadow, and texture to carry emotional meaning.
The strongest results usually come from restraint. Do not brighten every surface, eliminate every trace of grain, or force a perfectly clean background. Whether the final photograph is made on medium-format film, in a darkroom-inspired monochrome process, or through a modern digital workflow, the objective remains the same: preserve the decisive detail while giving the surrounding darkness a reason to exist.
Selected Series
A cross-section of commissioned and personal projects spanning fine art, commercial, and conceptual work.
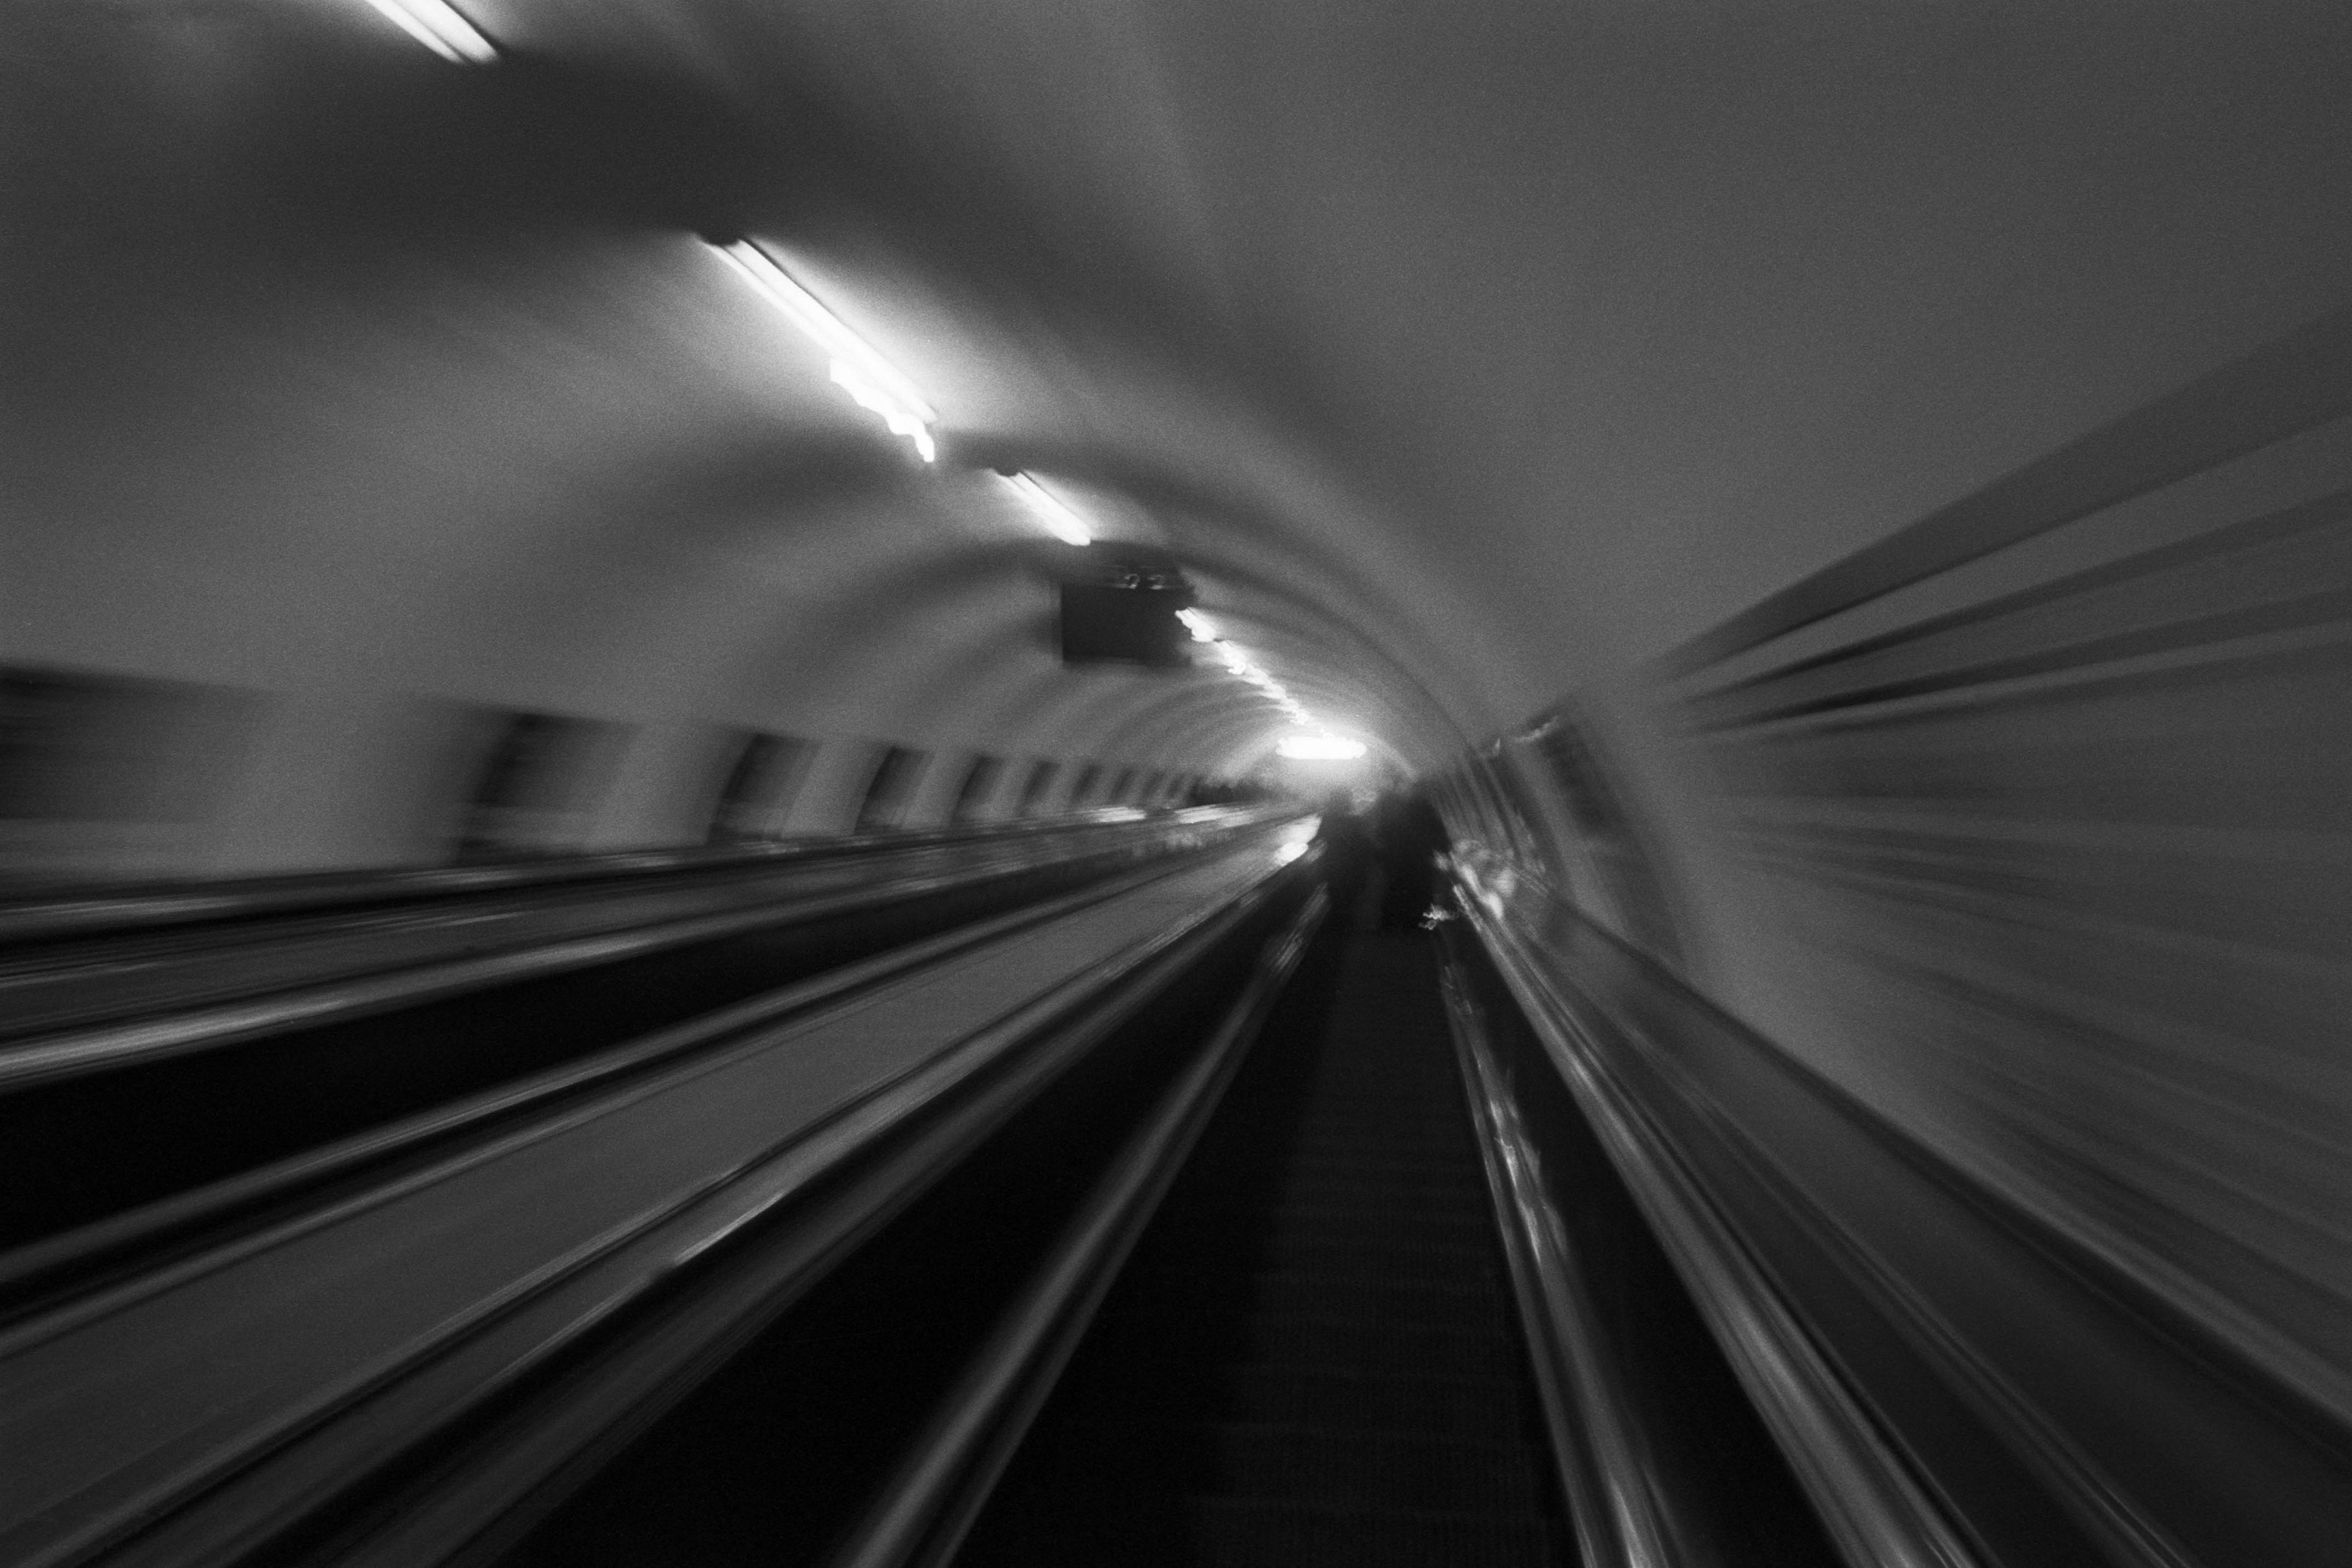
The Wall
2015Winner of the 1st prize & Golden Glass Award at the 11th Photographic Open Championship Olsztyn, and 1st place with the Special Prize of FORMAT magazine at the 3rd Biennial of Art in Piotrków Trybunalski.
View Series →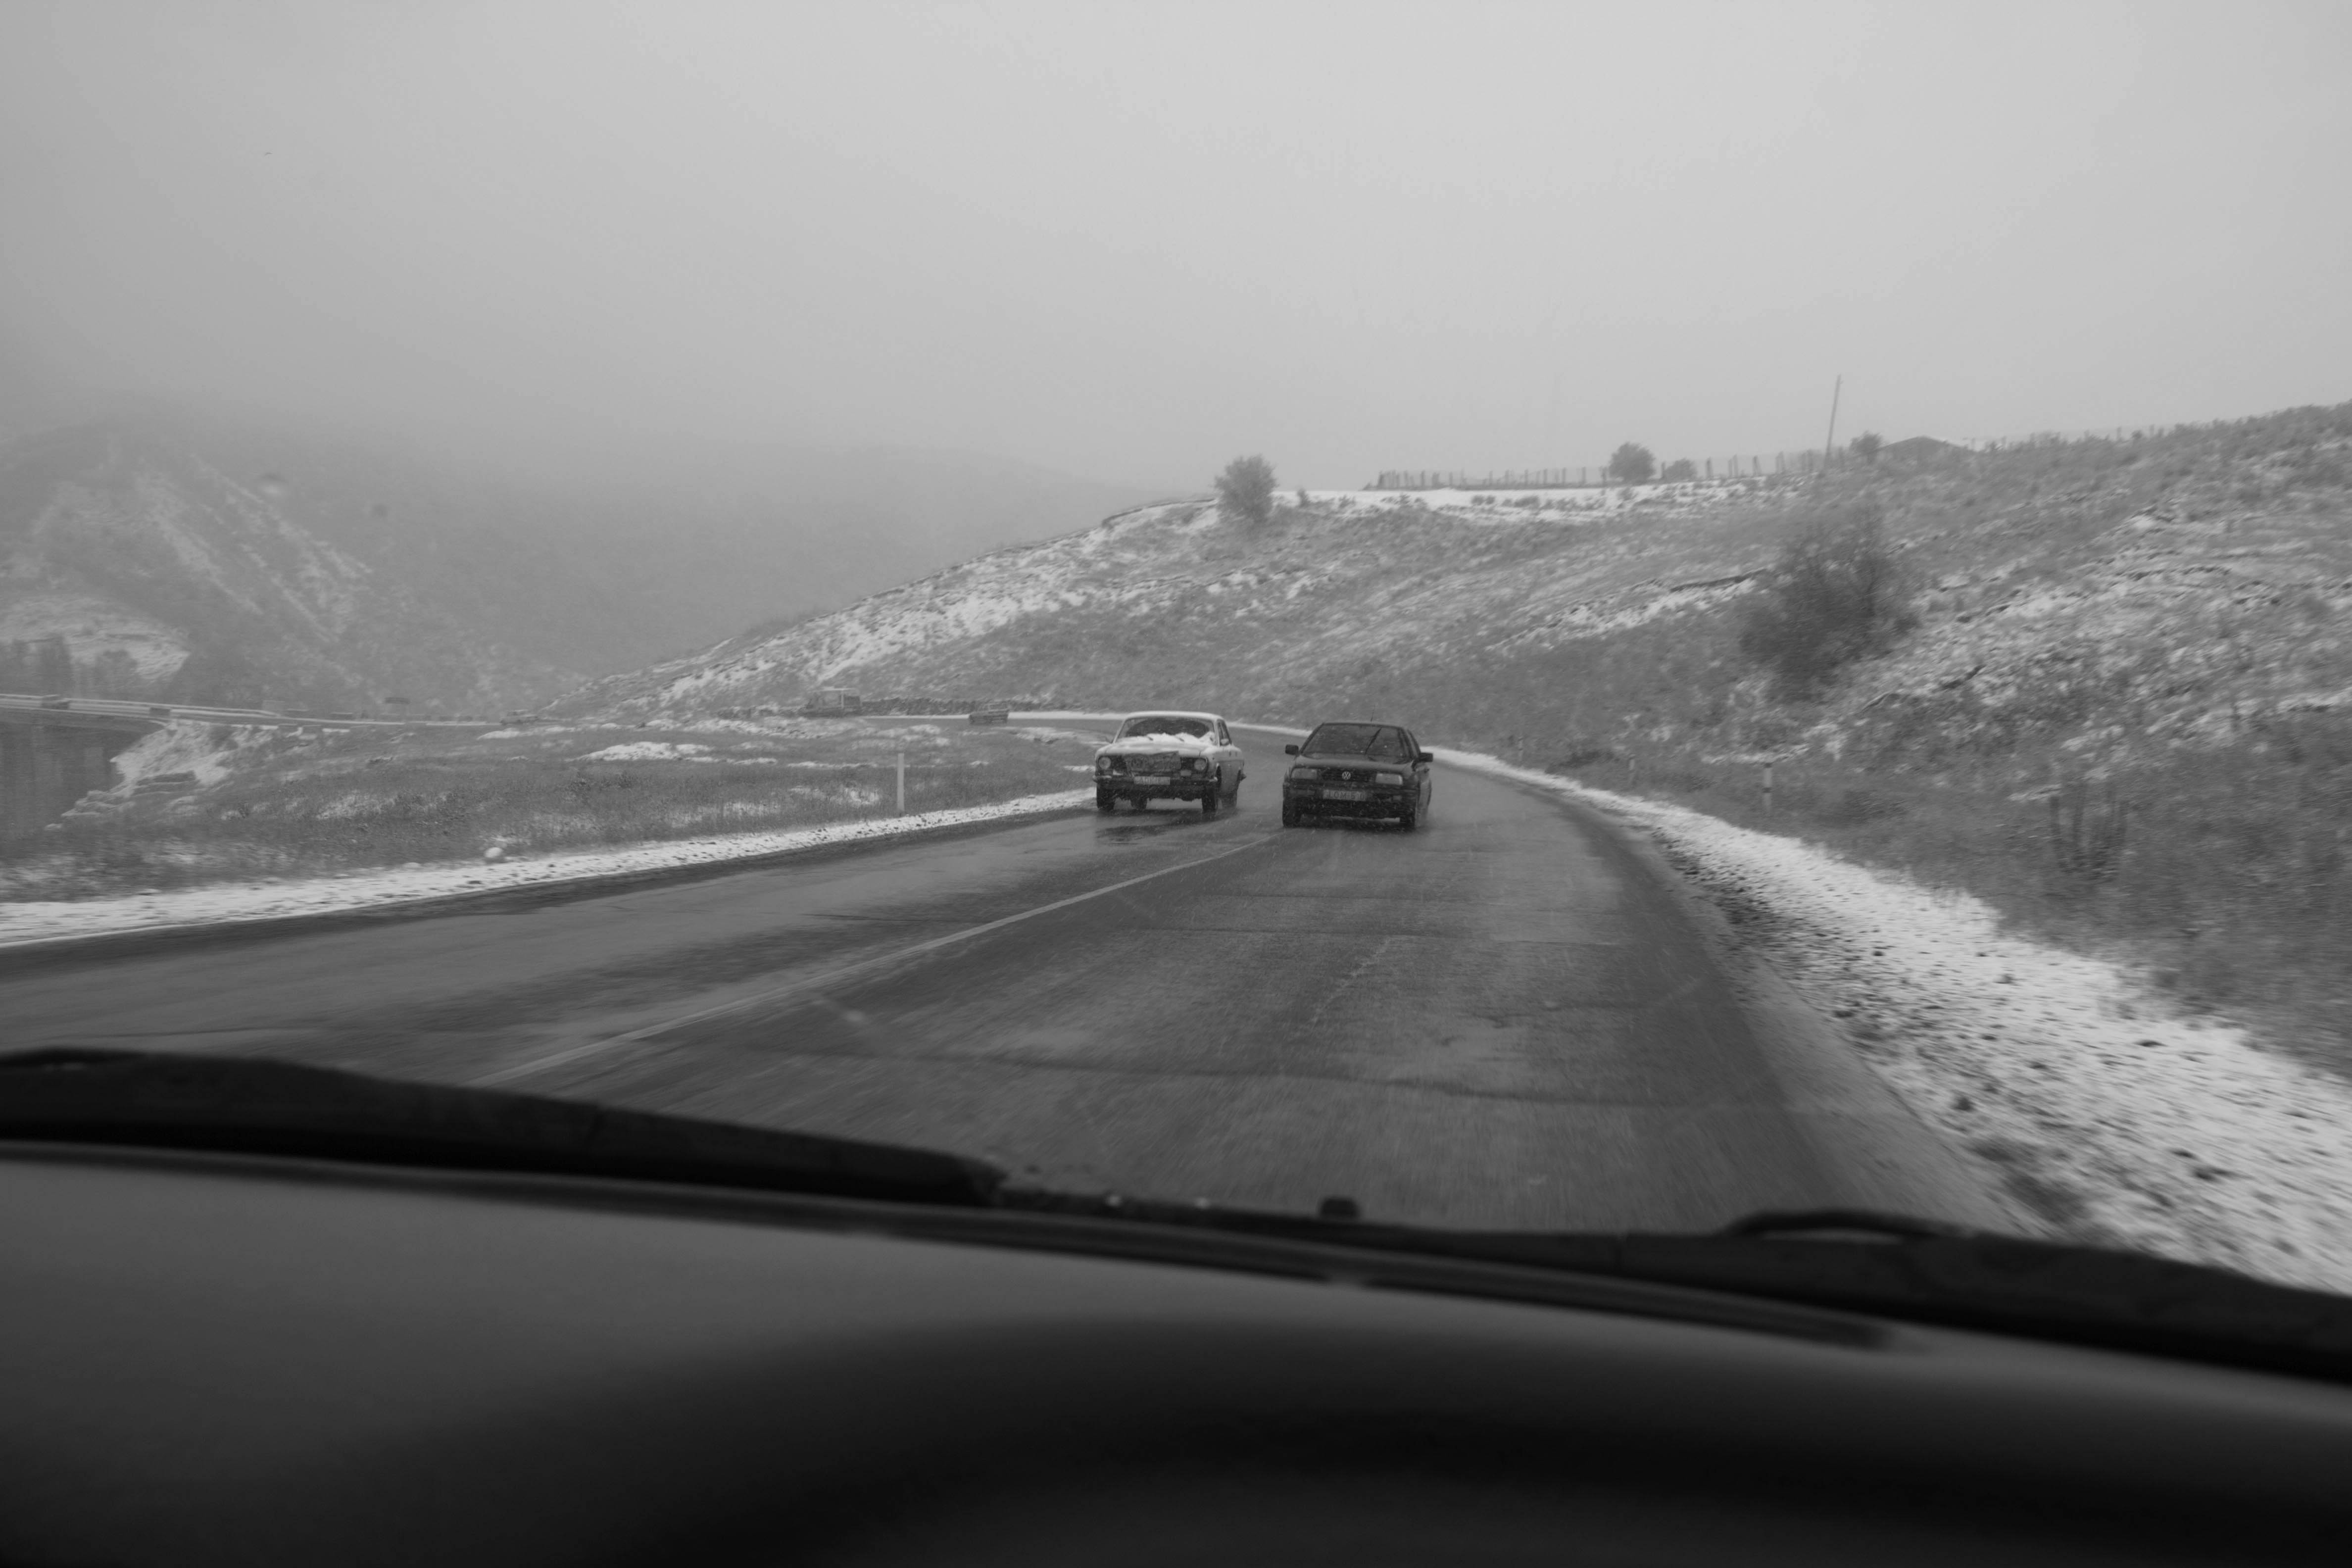
An Engagement Ring
2011A narrative series set in Wrocław in August 2011. Awarded 2nd prize & Silver Glass at the 10th Photographic Open Championship Olsztyn in 2014.
View Series →
Heat Wave
2014A documentary series recording spontaneous events across August and September 2014, capturing the raw energy of a city under the grip of summer.
View Series →